Prepare for test day
You need to complete the onboarding steps first to be eligible to take a main event test.
Important
Once you complete the onboarding steps, your face and ID scan data is run through a verification process. This process can take up to 24 hours, so complete onboarding with enough time to redo the steps if there are any problems with your identity scans on the first attempt.
Step 1 — Check your device meets the minimum requirements
Janison Remote uses Proctortrack software to supervise your test remotely. You need to download and install the software for onboarding and for sitting your test. Your computer must meet the following minimum requirements.
Hardware
- A desktop or laptop computer, either:
- PC (Windows 7+)
- Mac (macOS Sierra 10.12+)
- A web video camera (webcam) with:
- A resolution of 800×600 or better
- A working microphone
- Processor/RAM:
- Windows: dual-core 2.4 GHz CPU, 8 GB RAM or better
- macOS: Intel processor, 8 GB RAM or better
- Free disk space: 1 GB+
Software
- Browser: Chrome 70+ or Firefox 69+ (download Chrome from Google)
- JavaScript: enabled
- 3rd-party cookies: enabled
- HTML5: enabled
- Screen resolution: 1024×768 px
Internet speed
- A cable modem, DSL, or better connection with:
- Download: 300 kbps minimum
- Upload: 250 kbps minimum
- You can run a speed test to check your speed.
Important
Tablets and mobiles can't be used for Proctortrack.
Step 2 — Log in to Proctortrack
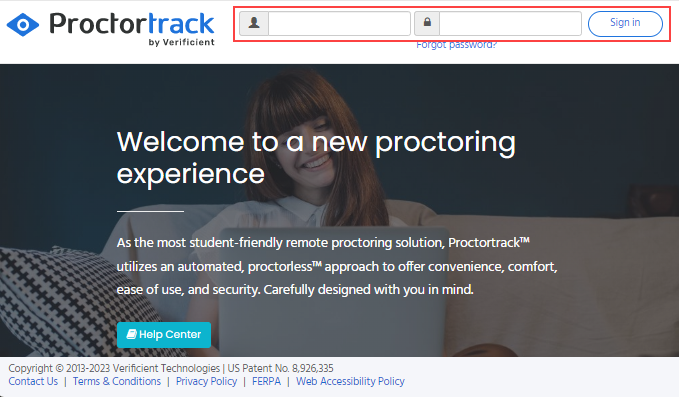
- Go to the Proctortrack website using the link sent to you by your institution.
-
Enter the username and password sent to you by your institution and select Sign in.
-
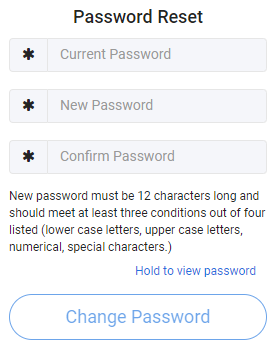
Reset your password as instructed. You only need to do this once — this becomes your password from then on.
Important
The temporary password provided by your institution will no longer work from this point onwards.
Step 3 — Select the test and review guidelines
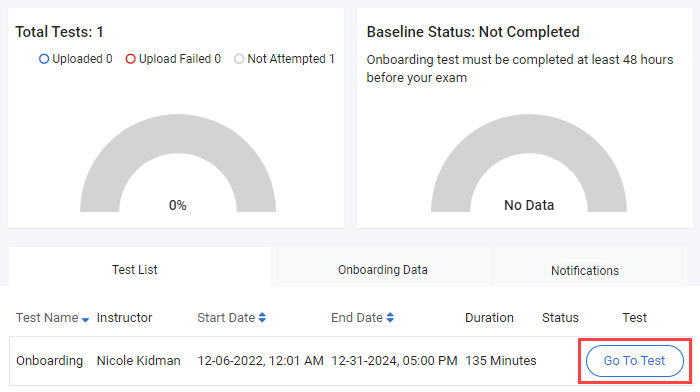
The Proctortrack dashboard loads and should include an onboarding test set up by your institution.
-
Select Go To Test.
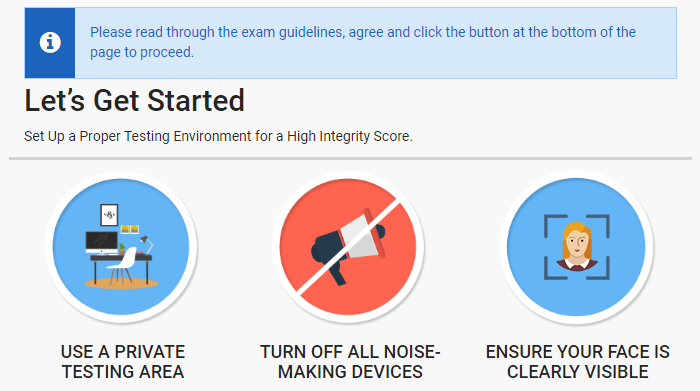
The first step in the onboarding process displays — a page about setting up your testing environment and the guidelines for the current test. Read through the guidelines and scroll to the end.
-
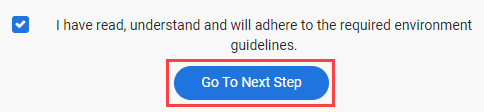
If you agree with the guidelines, select the I have read, understand and will adhere to the required environment guidelines checkbox at the bottom of the page and then select Go To Next Step.
Step 4 — Install Proctortrack
-
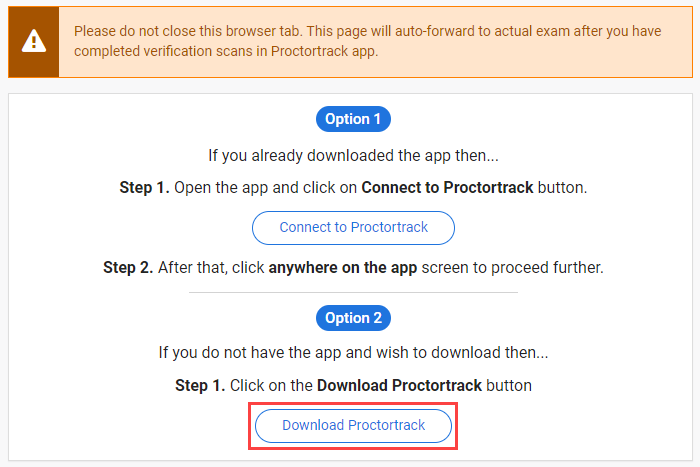
Select Download Proctortrack to save the install file to your computer.
Tip
Any practice test your institution included in onboarding will open in the same browser tab you use to download the Proctortrack files. Keep this tab open so the test loads.
- Once the file has downloaded, select it and select Open, or navigate to the install file in your downloads folder and run it from there.
- The Proctortrack installer launches. When the install completes, the Proctortrack software opens and connects to the internet.
Additional steps for Mac users
If you're using a Mac, there may be additional steps to install and run Proctortrack. If a malicious software notification appears, follow the steps in Additional steps for Mac users.
Step 5 — Set up your identification profile
Once Proctortrack is installed, the app launches and does a system check. You then create a baseline identity profile by scanning:
- Your face
- A valid form of ID
The scans are used to verify your identity and create your profile. Your identity profile is then used to check that the correct person is sitting main event tests.
Important
Refer to your test invitation for the form of ID accepted by your institution.
Follow the on-screen instructions in the Proctortrack application. The process is intuitive.
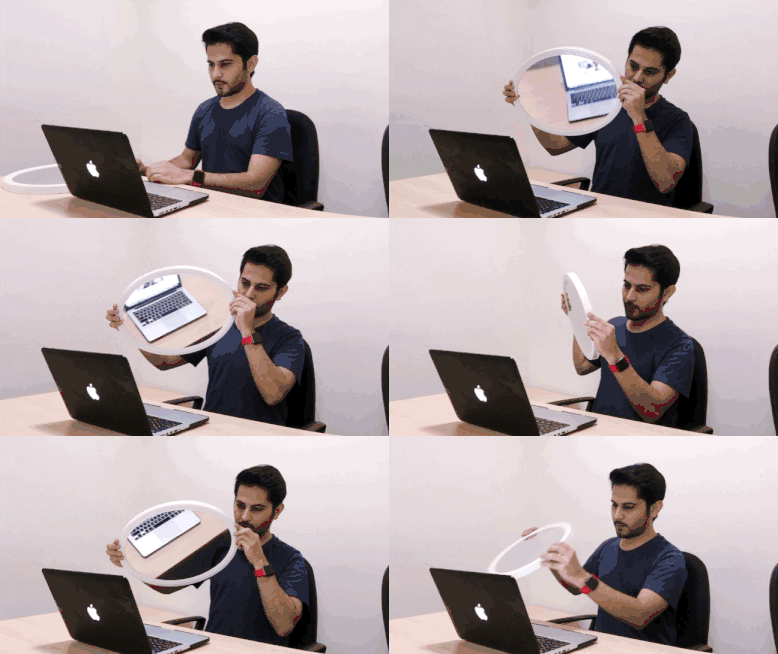
More about the room scan
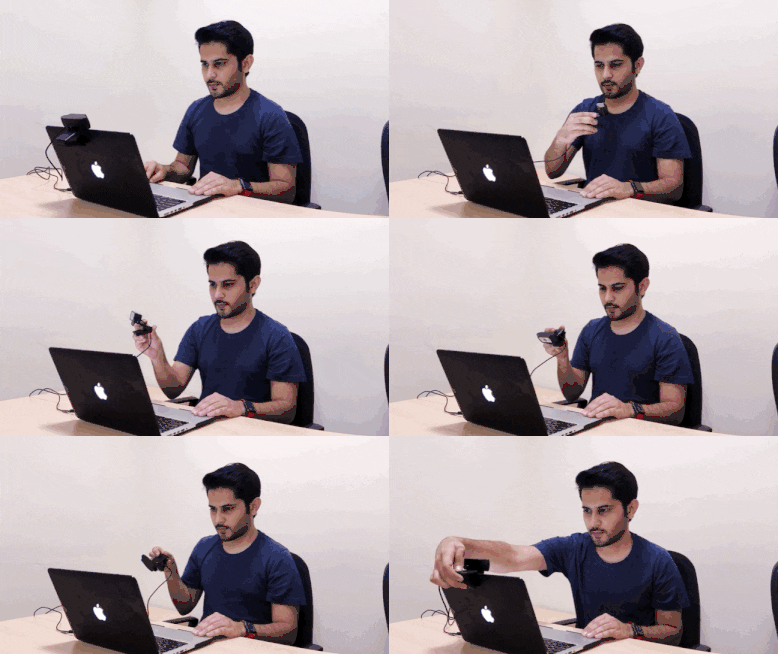
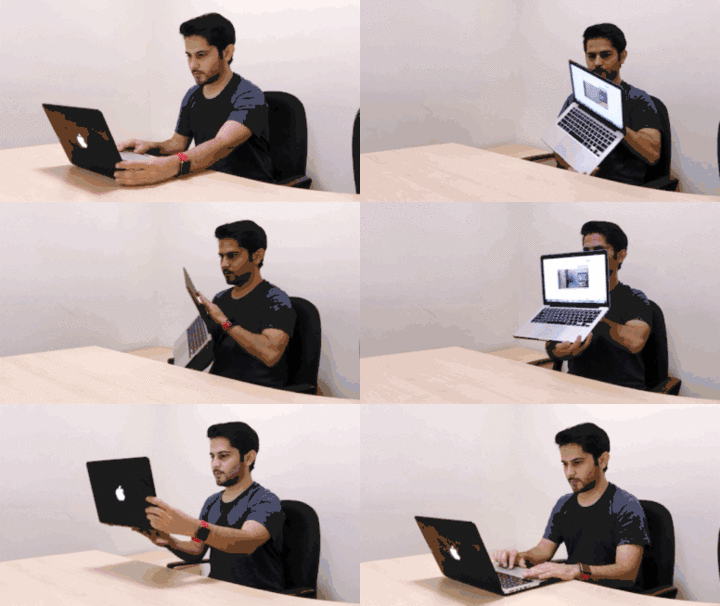
If you're required to do the room scan, you can use any of these methods:
Pan your webcam. If you're using an external webcam, move it around to capture your desk and room. Make sure you capture the area on and under the desk.
Pan your laptop. If you're using your computer's internal webcam, move your laptop around to capture your desk and room. Make sure you capture the area on and under the desk.
Use a mirror. Position a mirror in front of the webcam and move it around to capture the room and the area on and under the desk.
Step 6 — Take the practice test
You may be required to take a practice test if your institution has provided one as part of onboarding.
If the TEST GUIDELINES screen displays in Proctortrack after completing your onboarding scans, a practice test has been provided.
Tip
Sitting a practice test is very similar to sitting a main event test.
To sit the practice test, review the test guidelines and select START PROCTORING.
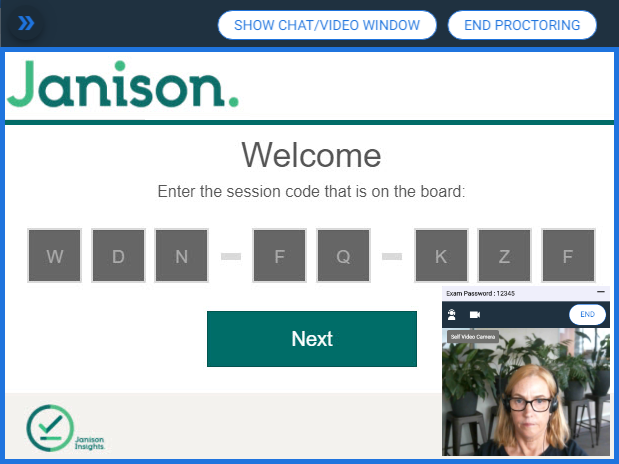
The practice test loads in the browser window you used to download and launch Proctortrack. A blue border appears around the edges of your screen and a video panel of yourself displays.
Make your way through the test questions and submit the test once you reach the end.
Once you finish your test, Proctortrack should close automatically — this ends the monitoring of your behaviour and environment and submits all scan and video data.
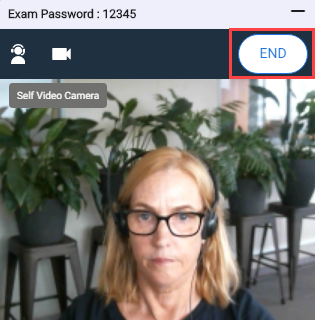
Occasionally Proctortrack may not close. If this happens, select END.
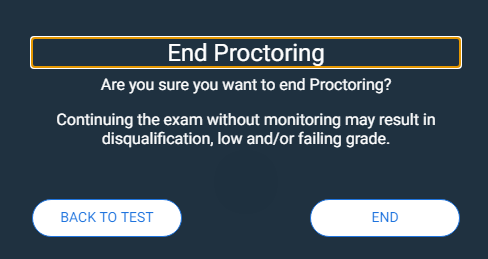
You have an option to return to the test or to confirm that you want to end the session.
Proctortrack uploads your proctoring data. Don't quit the app during the upload.
Once the upload is complete, the status shows as 100% and you have the option to close or uninstall Proctortrack.
- Select QUIT APP to exit Proctortrack but leave it installed for later tests.
- Select UNINSTALL to remove Proctortrack from your computer.
Step 7 — Check verification scans
After you complete and submit your onboarding test, your face and ID scans are run through a verification process.
While your onboarding data is being processed, you'll see a processing message on the Proctortrack dashboard.
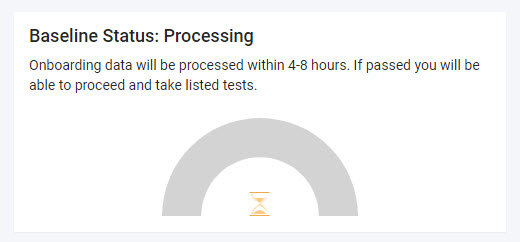
Once processed, you'll receive an email notifying you that your scans have either passed or failed.
Onboarding scans pass
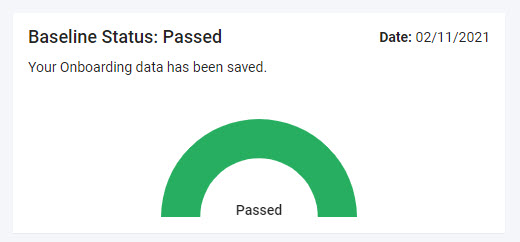
You'll receive an email saying your onboarding profile has been accepted. Your dashboard shows your baseline ID profile with a status of passed.
Tip
Once your scans are successfully verified, an encrypted profile containing your identity information is created and stored. At the start of each proctored test, you'll complete relevant scans that are checked against this profile.
Onboarding scans fail
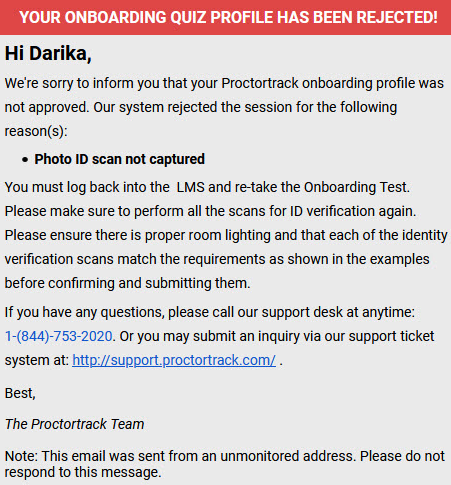
If your scans fail, you'll receive an email saying your onboarding profile has been rejected. The email will include details of why the test wasn't accepted and advise you to retake the onboarding test.
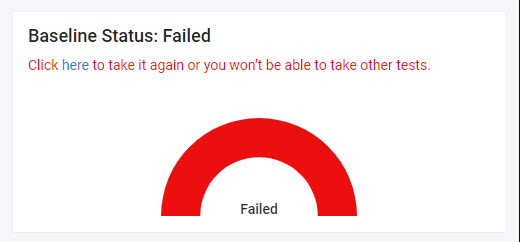
The Proctortrack dashboard will show your baseline ID has a status of failed and you need to take the onboarding scans again.
To retake the onboarding scan process:
- Note the reason your onboarding test failed verification previously, so you can avoid the same problem this time.
-
Select Retake test next to the onboarding test.

-
Follow the steps to complete setting up your identification profile as you did on your previous attempt.