Test day
The steps you take on test day are very similar to the steps you took during onboarding.
Important
You can't take your test unless your onboarding scans have been approved. See Prepare for test day for the onboarding process.
Step 1 — Log in to Proctortrack
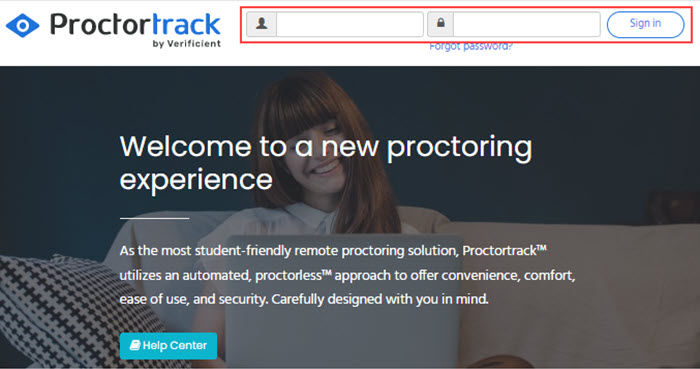
Go to the Proctortrack website using the link sent to you by your institution and sign in.
Step 2 — Select the test and review guidelines
-
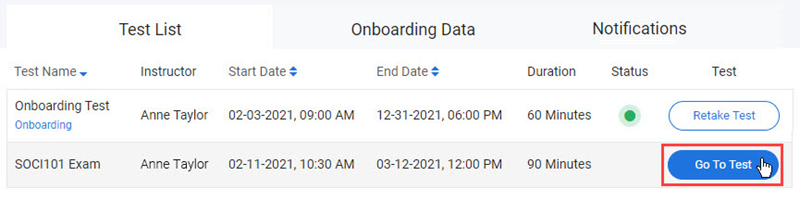
Select Go To Test next to your main event test.
-
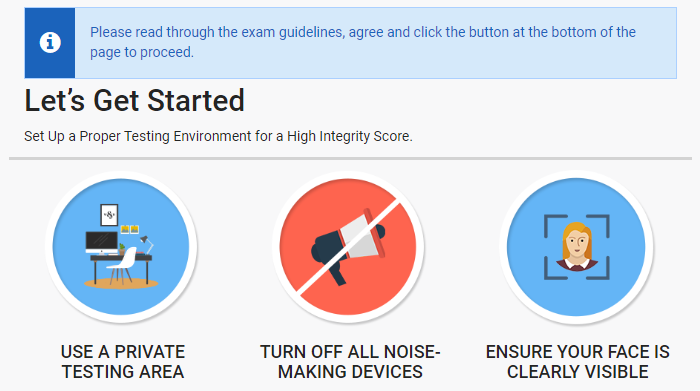
Review the tips for setting up a proper testing environment to earn a high integrity score. Make any changes you need to your testing environment now, before the test starts. See Behaviour and environment guidelines for more.
- Review the instructor's guidelines for this test.
Tip
Each test may have different guidelines, so review and understand the instructor's guidelines every time you take a test.
-
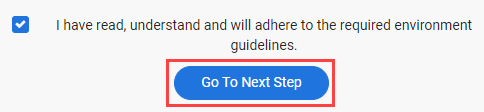
Once you've read through all the details, select I have read, understand and will adhere to the required environment guidelines at the bottom of the page and then select Go To Next Step.
Step 3 — Connect to, or install, Proctortrack
Tip
Your test opens in the same browser tab you use to open or download the Proctortrack files. Keep this tab open so the test loads.
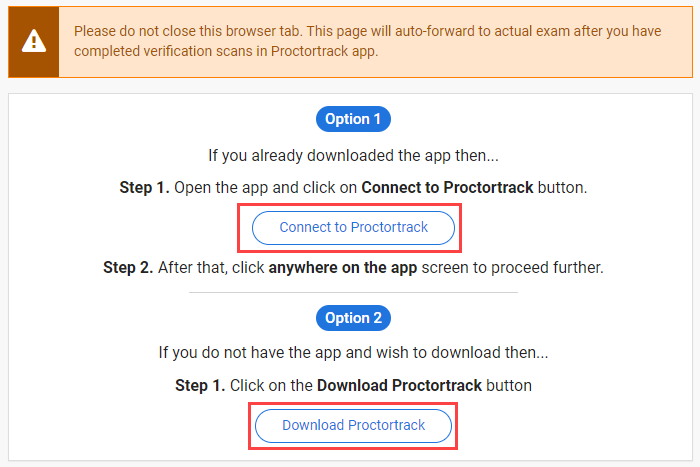
If you uninstalled Proctortrack after onboarding, download and install it again as you previously did by selecting Download Proctortrack. See Prepare for test day.
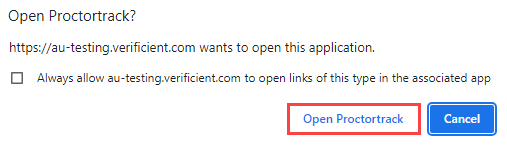
If you have Proctortrack installed, a popup displays. Select Open Proctortrack.
Important
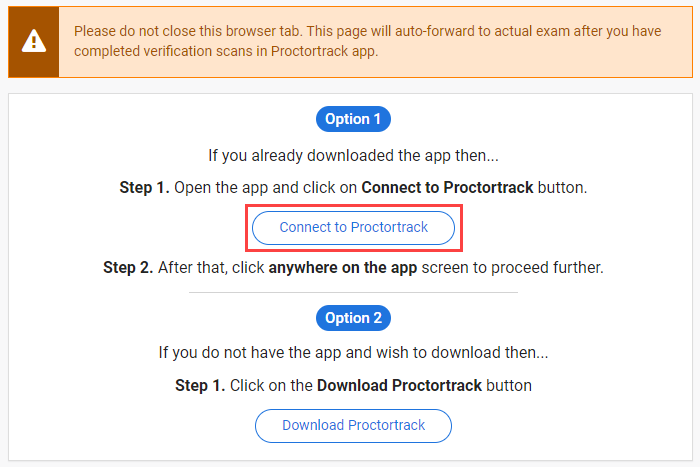
You may need to select Connect to Proctortrack if Proctortrack is already open and stuck on the Connect to Proctortrack screen.
The Proctortrack software launches.
Important
If you're using a Mac, you may need additional steps to run Proctortrack — see Additional steps for Mac users.
Step 4 — Complete verification scans
Proctortrack does a system check, then you scan your face and ID card. The scans are checked against the baseline identity profile you created during onboarding to verify the correct person is sitting the test.
The steps are the same as onboarding. Follow the on-screen instructions — the process is intuitive.
You'll only be prompted to do the room scan if your institution requires it.
More about the room scan
Use any of these methods:
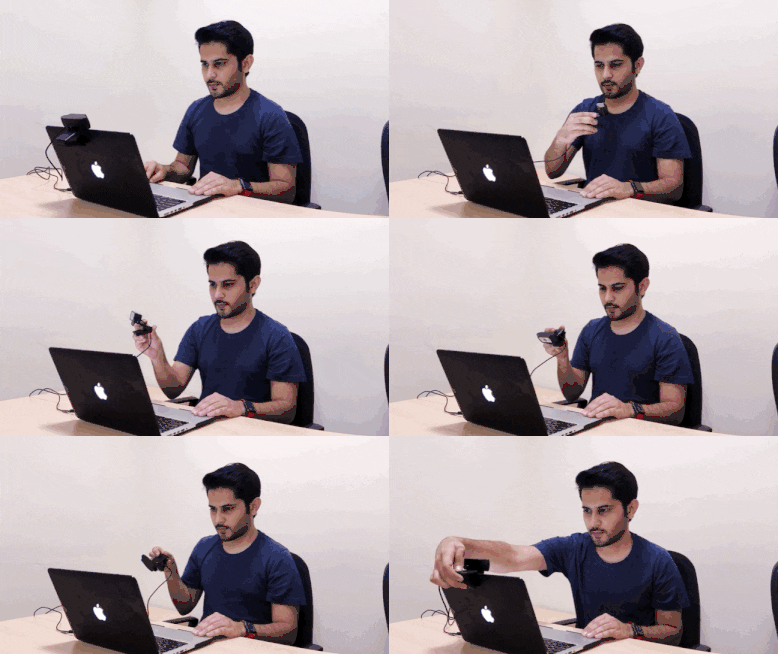
Pan your webcam. If you're using an external webcam, move it around to capture your desk and room. Make sure you capture the area on and under the desk.
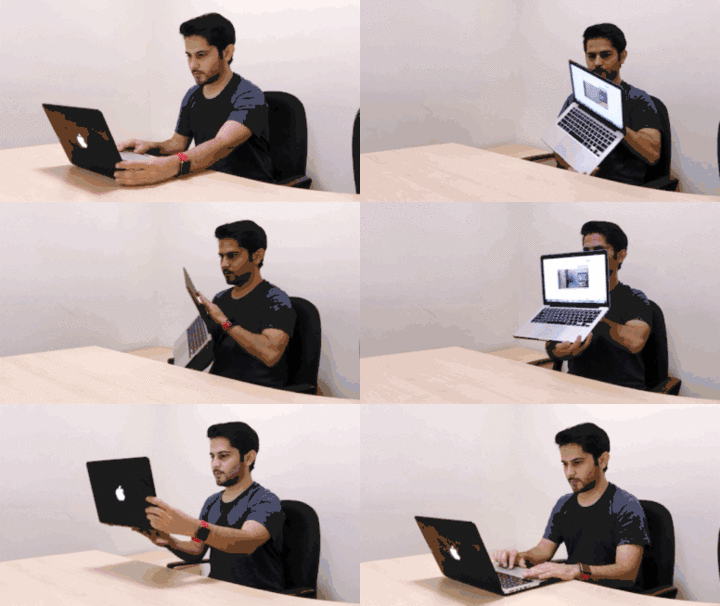
Pan your laptop. If you're using your computer's internal webcam, move your laptop around to capture your desk and room.
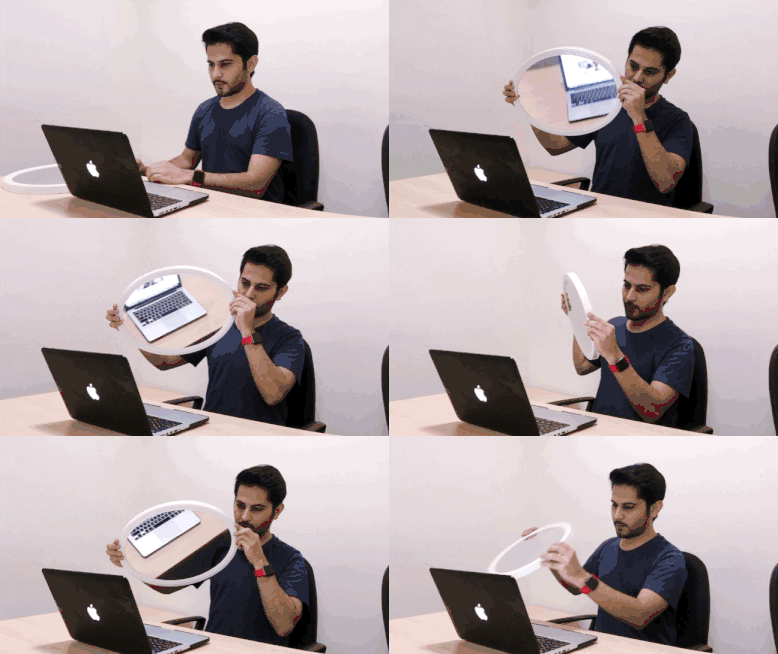
Use a mirror. Position a mirror in front of the webcam and move it around to capture the room and the area on and under the desk.
Step 5 — Complete the test
To start the test, review the test guidelines and then select START PROCTORING.
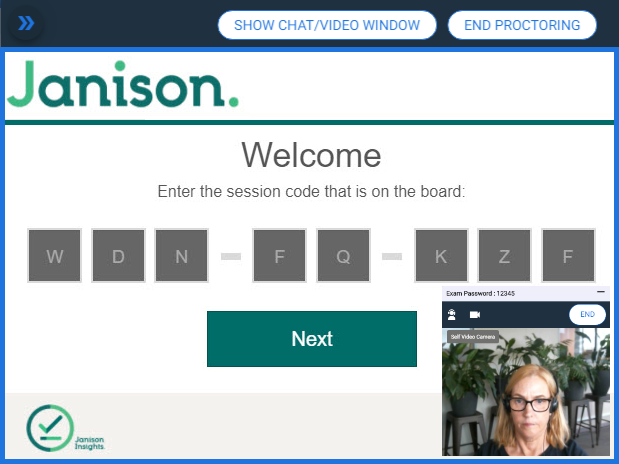
The test loads in the Janison Replay test player, in the Chrome browser window you used to access your test.
Proctortrack starts monitoring you and your computer. A blue border appears around the edges of your screen and a video panel of yourself displays.
Important
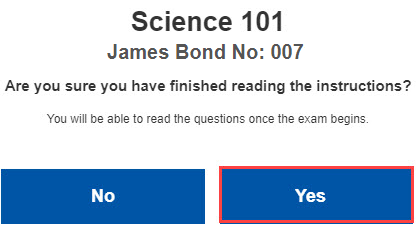
The test's time limit doesn't include the time spent on preparation steps. Once you confirm you've finished reading the instructions, the timer starts.
Make your way through the test questions and submit the test once you reach the end.
Proctortrack controls available
Select the two blue arrows to minimise or maximise the bar at the top of the screen:

Move the student video panel around your screen by dragging the top with your mouse:
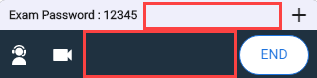
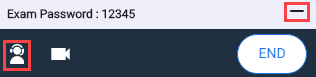
Minimise the student video panel by selecting the minus (-) icon.
Open the Proctortrack support page by selecting the person icon  .
.
Step 6 — End proctoring
After you complete and submit your test, end the Proctortrack session.
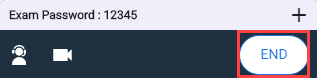
Either select END PROCTORING in the top Proctortrack menu bar or select END on the student video panel.

You can return to the test or confirm that you want to end the session.
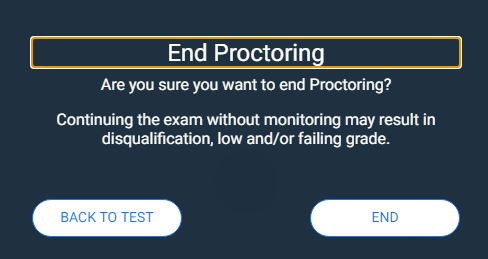
When you select END, Proctortrack uploads your proctoring data. Don't close the Proctortrack software while the upload is in progress.
Once the upload is complete, the status shows as 100% and you can close or uninstall Proctortrack.
- Select QUIT APP to exit Proctortrack but leave it installed for later tests.
- Select UNINSTALL to remove Proctortrack from your computer. If you need it again, you'll be prompted to reinstall it next time you take a test.
Troubleshoot upload issues
A problem with your internet connection can cause Proctortrack to stay on the uploading screen.
Your proctoring data (scans and videos) is stored on your local device until it can be uploaded — but it must be uploaded within 24 hours of your test being submitted.
To resolve the issue, restore your computer's internet connection while Proctortrack is still open. Once you're back online, Proctortrack will resume the upload automatically.
If you can't reconnect, close Proctortrack — your data is still held locally. Once you're back online, reattempt the upload:
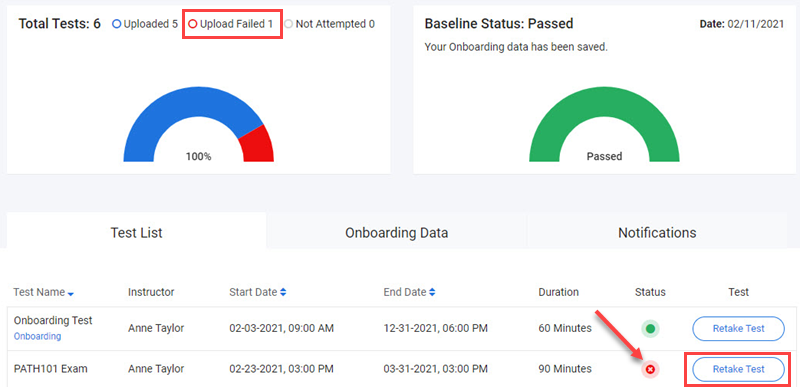
- Log in to the Proctortrack website using the link from your institution. The test will show upload failed at the top of the summary and a red status icon.
-
Select Retake Test next to the test with the failed upload. You won't actually retake the test — this just retriggers the upload.
-
Select the I have read, understand and will adhere to the required environment guidelines checkbox and select Go To Next Step.

-
Select Connect to Proctortrack to open the software on your computer.
Proctortrack will open and automatically restart the upload. Once complete, the status shows as 100%. Select QUIT APP or UNINSTALL as required.
The test's status on the dashboard will now show as a green Upload Successful.
