Review candidate scans and videos
Instructors can review candidate identity scans and test videos in Proctortrack and pass or fail them as required. This task can be completed for both onboarding tests and main event tests.
Review onboarding scans
After a candidate completes onboarding, you can review the scans in Proctortrack and pass or fail them. Onboarding captures a baseline identity profile (face and ID) that's valid for 365 days and used to verify the candidate at each main event.
Step 1 — Select the required onboarding test
- Go to the Proctortrack instructor dashboard by logging in (or selecting Dashboard).
-
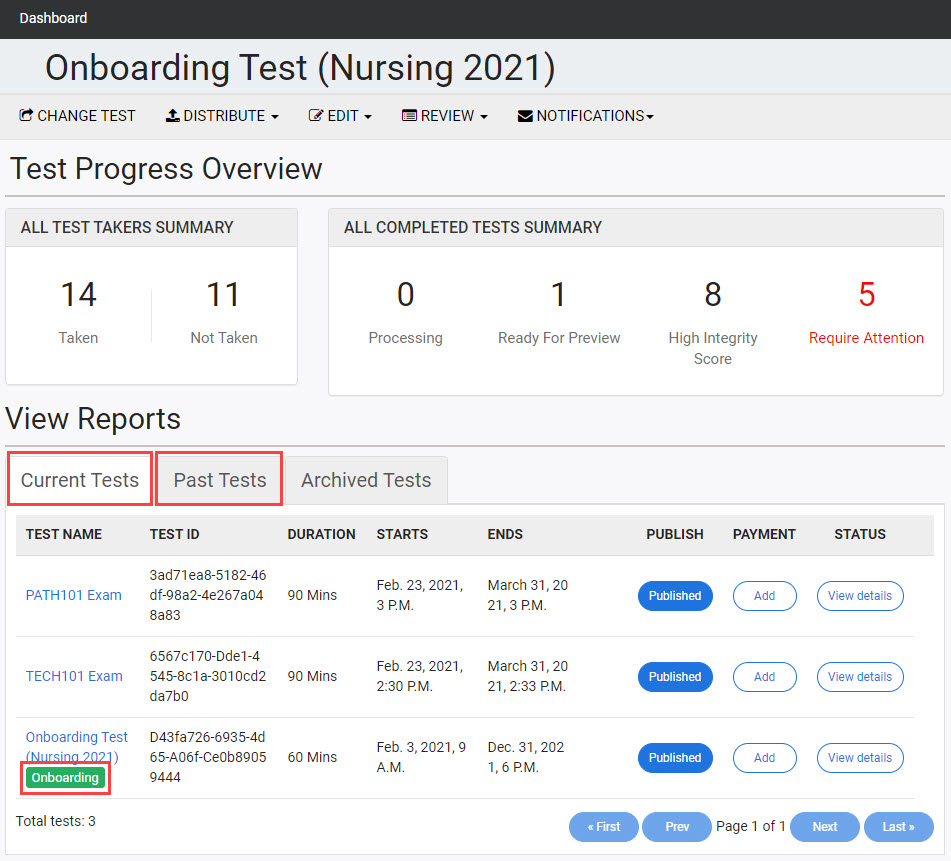
Locate the required onboarding test in the View Reports list.
Tip
- Onboarding tests have a green Onboarding label under the test name.
- Open tests are on the Current Tests tab; closed tests are on Past Tests.
-
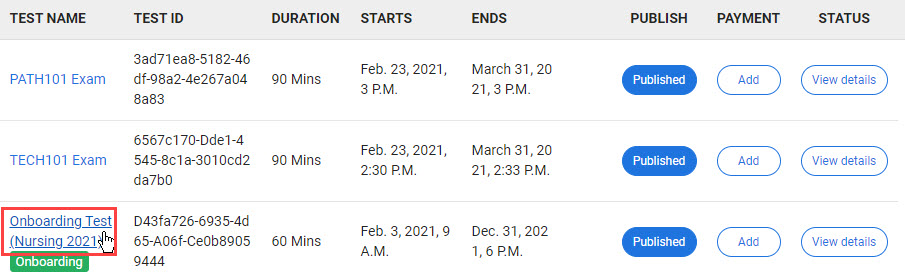
Select the onboarding test's name in the TEST NAME column.
-
The onboarding test's dashboard displays.
Step 2 — Review the onboarding test's dashboard
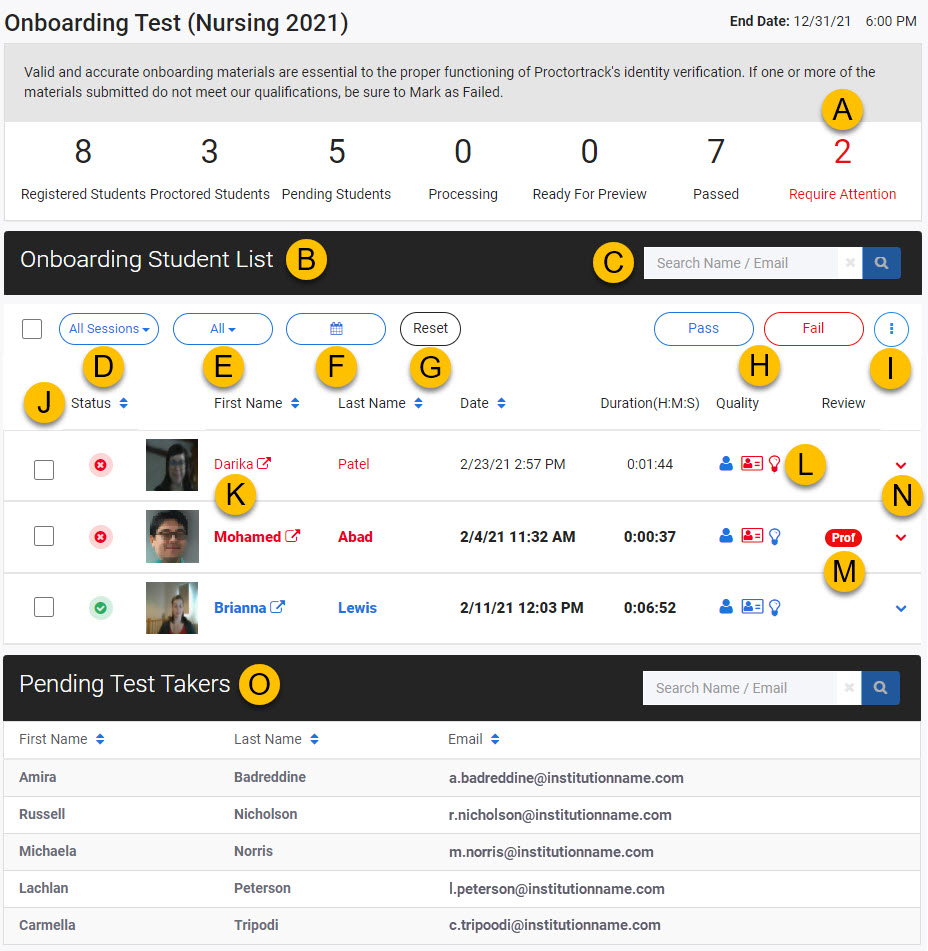
The dashboard contains these sections:
| # | Item | Description |
|---|---|---|
| A | Candidate count summary | A count of candidates with each status. The Require Attention count (red) indicates onboarding attempts to review — Proctortrack has flagged quality issues. |
| B | Onboarding Student List | Candidates who have completed onboarding. Blue = passed (auto or manual). Red = scan issue. Bold = not yet viewed by an instructor. |
| C | Search | Search by name or email. |
| D | Review status filter | Filter by All Sessions, Reviewed Sessions, Unreviewed Sessions (default), Archive Sessions. |
| E | Proctoring status filter | Filter by All / Failed / Passed / Suspicious / Pending Sessions. |
| F | Date filter | Filter by completion date range. |
| G | Reset button | Clear all filters. |
| H | Pass and Fail buttons | Pass or fail one or more selected sessions. |
| I | Options menu | Archive selected sessions, or raise a request to Export Test Takers List (emailed within 4 hours). |
| J | Column headers | Sort by selecting a header with arrow icons. |
| K | Candidate details link | Select a candidate's first name to open their details in a new browser tab. |
| L | Onboarding scan quality icons | At a glance — person icon = face scan, ID card icon = identification scan, light bulb icon = room lighting. Blue = passed, red = failed. |
| M | Professor feedback label | Proctortrack found a quality issue it recommends an instructor review. |
| N | Candidate record dropdown | Opens a limited view of the candidate's record below their row. |
| O | Pending Test Takers list | Candidates enrolled but not yet completed. |
Step 3 — Review onboarding scans
You can review scans inside the Onboarding Student List itself (quick check), or in a new browser tab (more options).
Tip
Scans may be obfuscated (blurred) for privacy. Use your best judgement when deciding to pass or fail. Candidates receive an email if you change their status to failed — they'll need to retake the onboarding test.
Review inside the Onboarding Student List
-
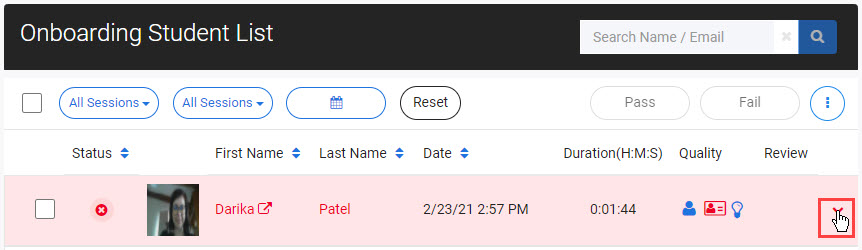
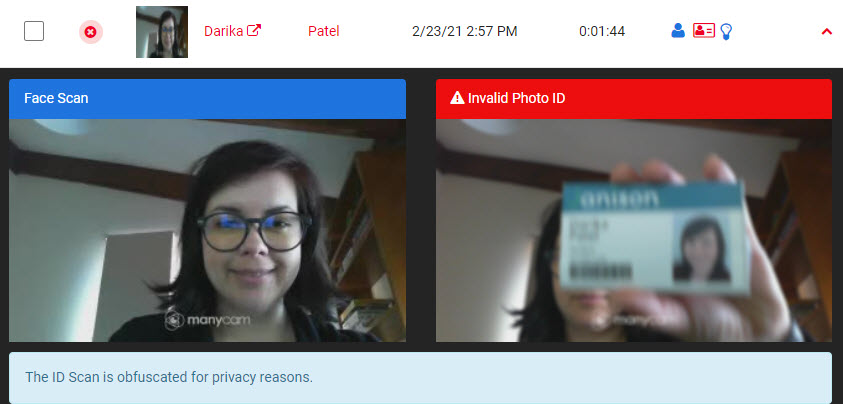
Select the dropdown arrow next to the candidate session.
-
The candidate's scans open below the row. Review the images. The reason for any failed scan is shown above the scan.
-
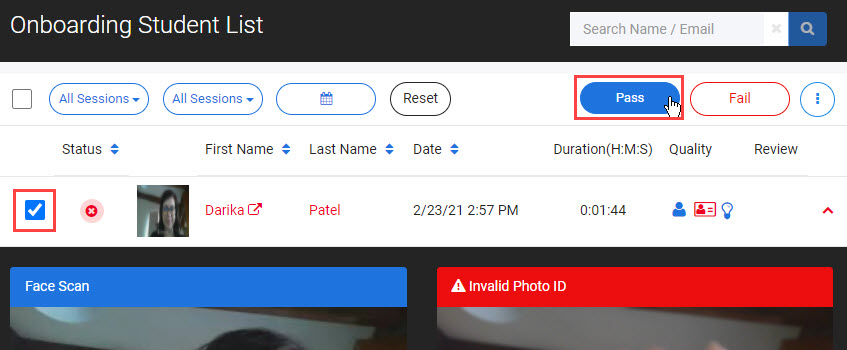
To change the status, select the checkbox next to the session and then Pass or Fail above the list.
-
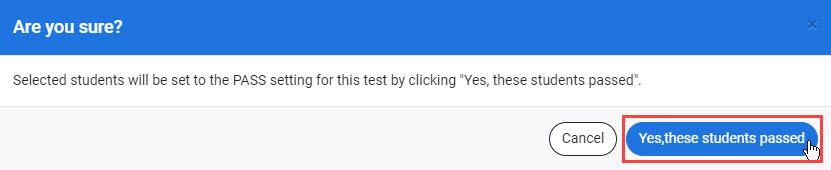
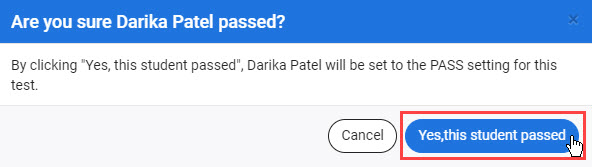
Select Yes to confirm.
-
The session is now shown with the new status. Passed sessions appear in blue with a Prof label indicating instructor review.

Tip
Select multiple checkboxes to pass or fail a batch of sessions at once.
Review in a new browser tab
This option offers more functionality — better for closer inspection and notes.
-
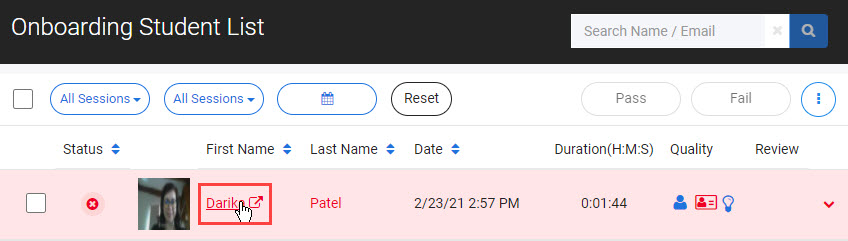
Select the candidate's First Name in the Student Onboarding List.
-
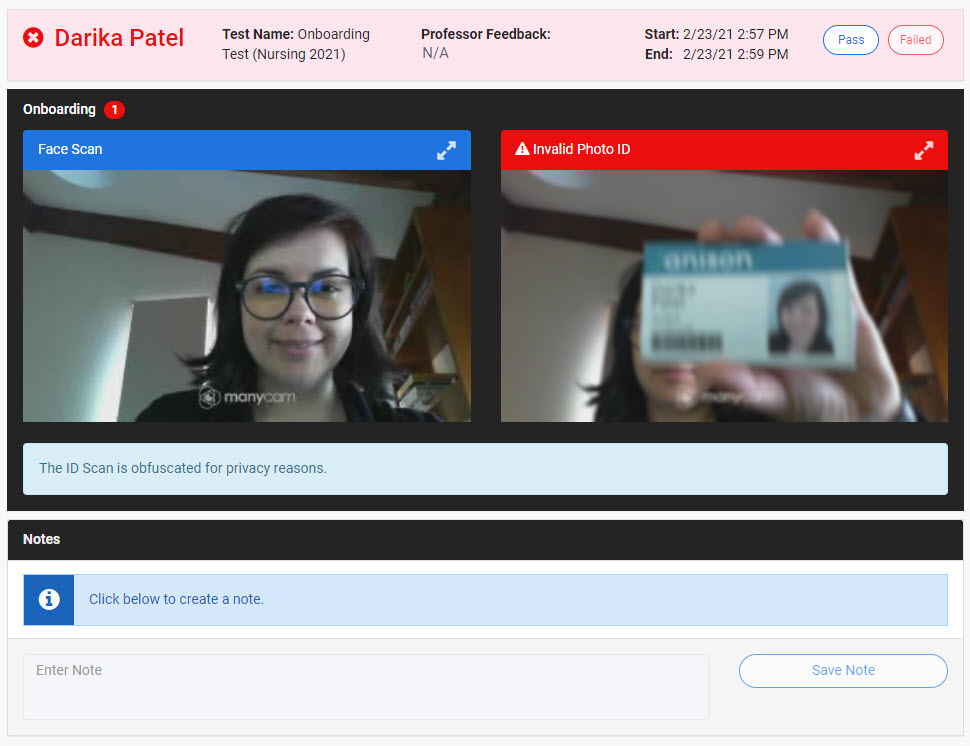
The session details open in a new tab.
-
Review the scan images and reasons for any failures.
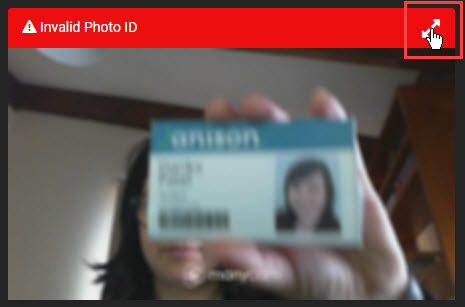
- Select the expand arrows in the top-right of a scan to open an expanded popup.
- Use the arrows to skip between scans in the expanded view.
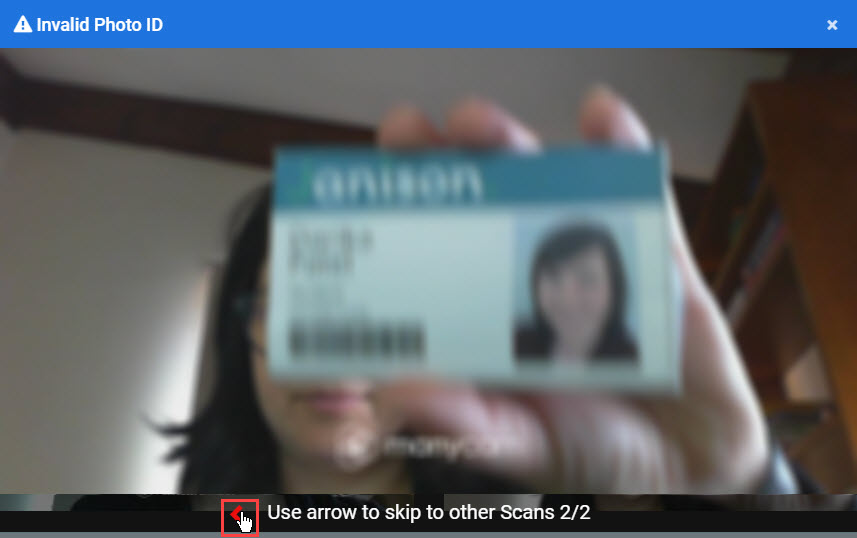
- Select the x to close the expanded view.

-
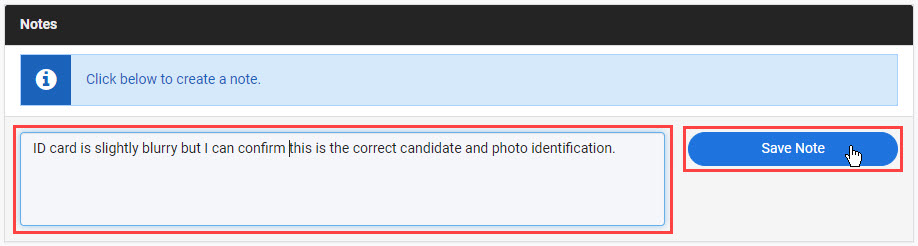
Add a note in the Enter Note field and select Save Note.
-
To override the current status, select Pass or Fail. You can only select the opposite of the current status.

-
Confirm on the popup.
Review main event videos and scans
You can review exam attempts requiring attention — for example, where there have been violations during the exam. Two types of violations are flagged:
- Soft violations — incidents such as a candidate looking away from the screen for more than three seconds.
- Hard violations — more serious incidents such as a candidate leaving the room. The exact list depends on the test's configuration.
Step 1 — Select the required main event test
- Go to the Proctortrack instructor dashboard by logging in (or selecting Dashboard).
-
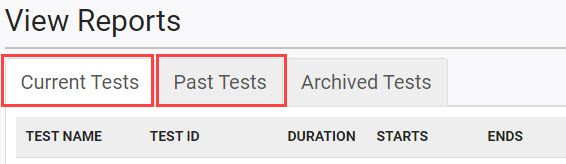
Locate the required main event test in the View Reports list (Current Tests or Past Tests tab).
-
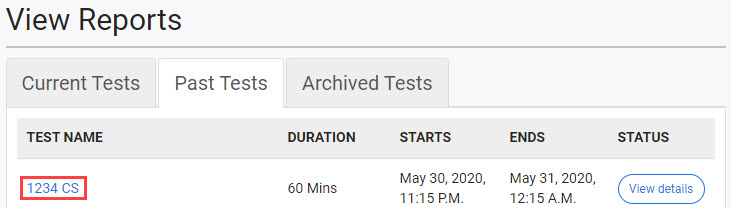
Select the test's name.
-
The main event test's dashboard displays.
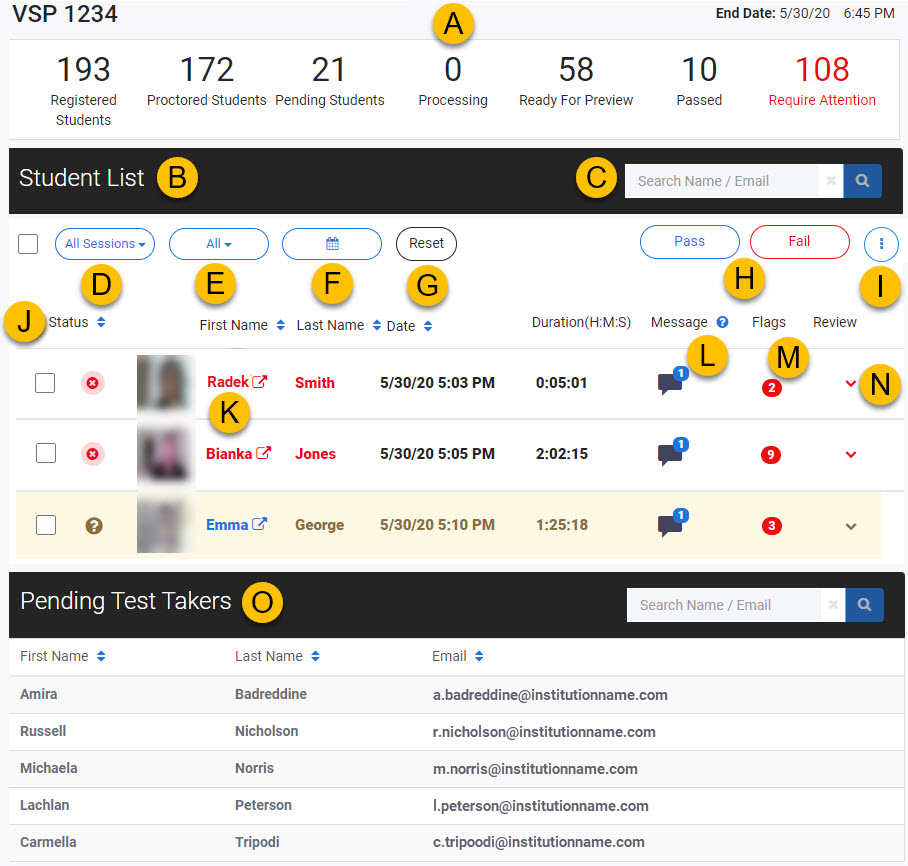
Step 2 — Review the main event test's dashboard
| # | Item | Description |
|---|---|---|
| A | Candidate count summary | A count of candidates with each status. The Require Attention count (red) indicates attempts flagged as suspicious or with violations. |
| B | Student List | Candidates who have completed proctoring. Blue = no issues. Red = issues or violations. Bold = not yet viewed. |
| C | Search | Search by name or email. |
| D | Review status filter | All / Reviewed / Unreviewed (default) / Archive Sessions. |
| E | Proctoring status filter | All / Failed / Passed / Suspicious / Pending Sessions. |
| F | Date filter | Filter by completion date range. |
| G | Reset button | Clear all filters. |
| H | Pass and Fail buttons | Pass or fail selected sessions. |
| I | Options menu | Archive selected sessions, Export Sessions Data (video and desktop snapshots, emailed within 4 hours), Export Test Takers List. |
| J | Column headers | Sort by clicking a header. The Status icons indicate Passed (green tick), Ready for Preview (yellow arrows), Suspicious (yellow ?), or Failed (red cross). |
| K | Candidate details link | First name opens the session in a new browser tab. |
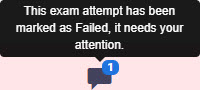
| L | Message column | A comment icon shows Proctortrack messages. Hover to view. |
| M | Flags column | Count of violations flagged in the proctoring videos. |
| N | Candidate record dropdown | Opens a limited view below the session row. |
| O | Pending Test Takers list | Enrolled but not yet completed. |

Step 3 — Review proctoring videos and scans
You can review inside the Student List (quick check) or in a new browser tab (more functionality).
Tip
Use your best judgement and follow your institution's policies when reviewing.
Review inside the Student List
-
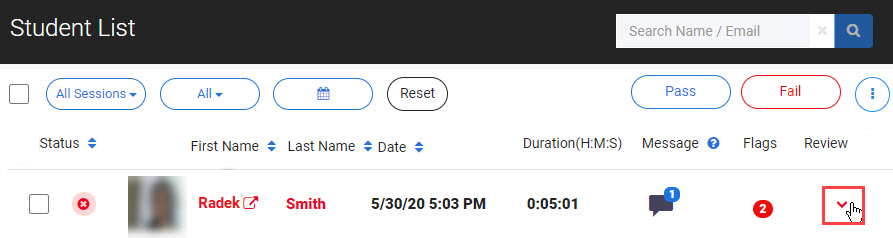
Select the dropdown arrow next to the candidate session.
-
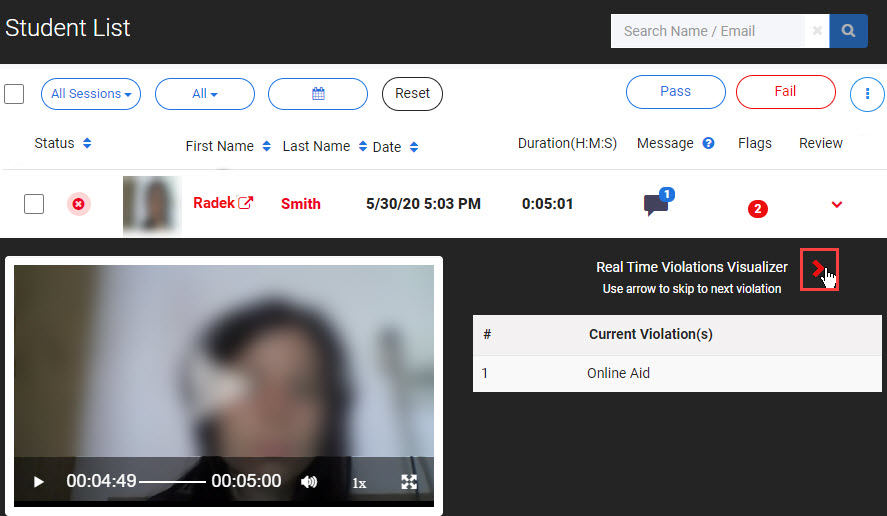
The candidate's proctoring video opens below the row. Review the video — select a red arrow next to the Real Time Violations Visualizer to skip between violations.
-
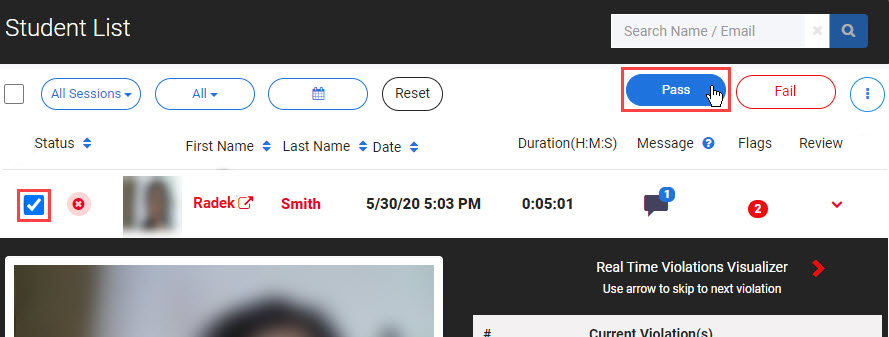
Select the checkbox next to the session and then Pass or Fail above the Student List.
-
Select Yes to confirm.
Review in a new browser tab
-
Select the candidate's First Name in the Student List.
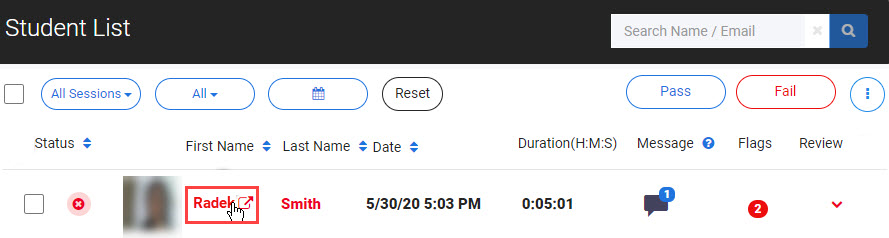
-
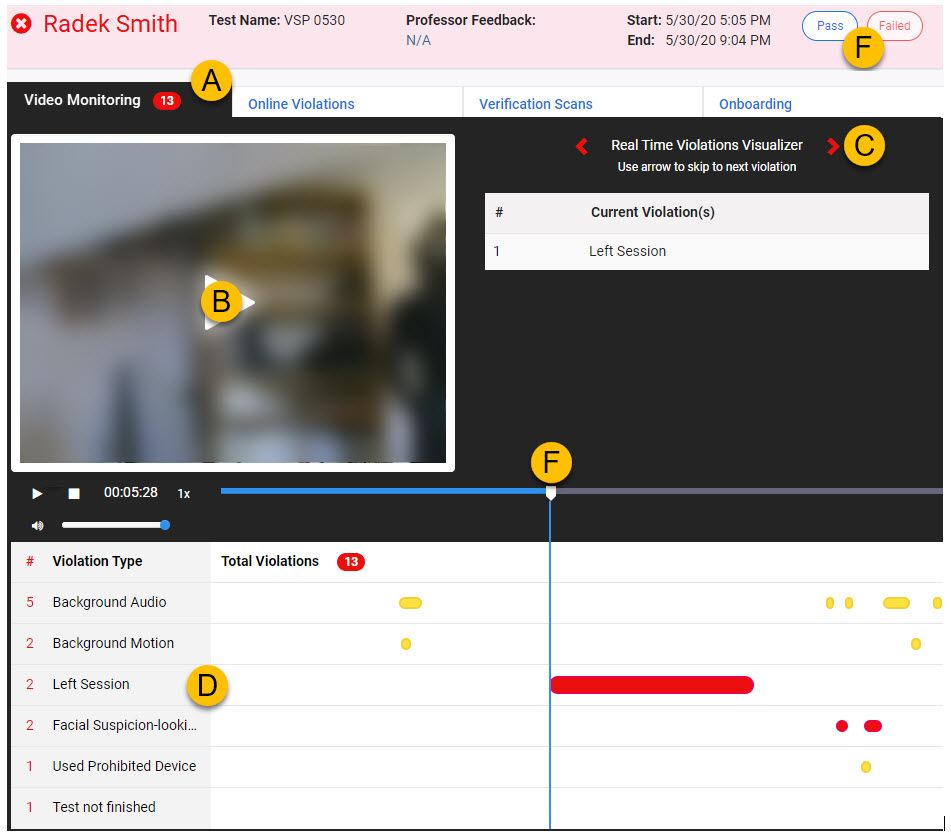
The session opens in a new tab with these features:
# Item Description A Candidate data tabs Video Monitoring (default — proctoring video with timeline), Online Violations (desktop and online activity screenshots), Verification Scans (current vs onboarding face scan), Onboarding (face and ID scans from onboarding). B Video play button Play the whole proctoring video. C Real Time Violations Visualizer arrows Skip between violations in the video. D Violation Type list Reference list of detected violations. E Video play head Drag to jump to a specific point. F Pass and Fail buttons Pass or fail the session.
-
Review the video and violations on the Video Monitoring tab.
-
Review screenshots on the Online Violations tab.
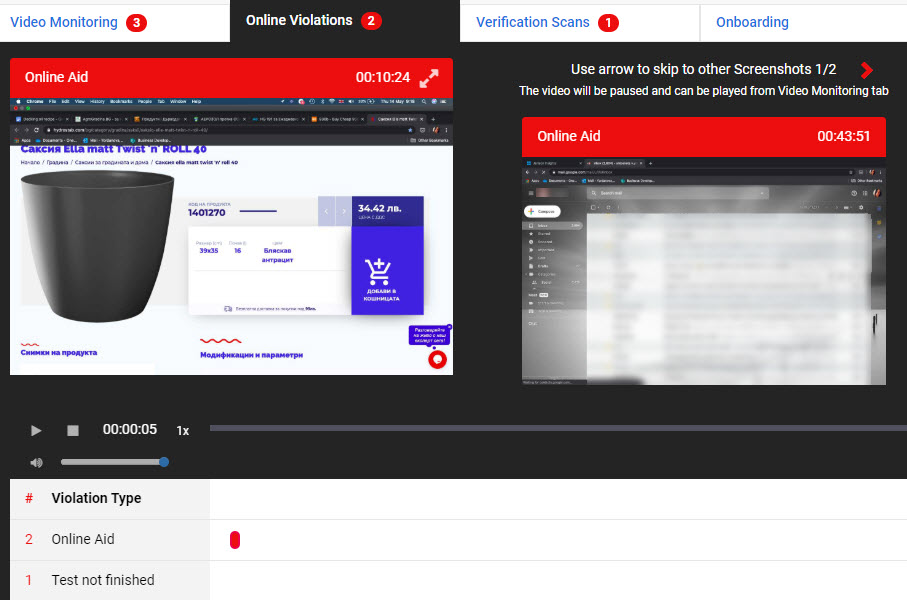
-
Review the Verification Scans tab. Example: the candidate's room scan flagged as invalid.
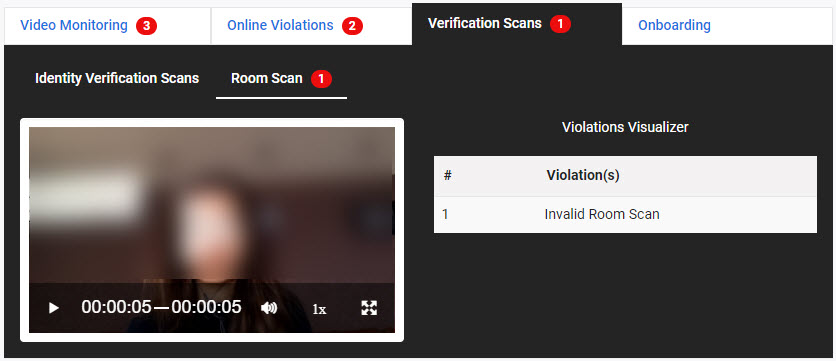
-
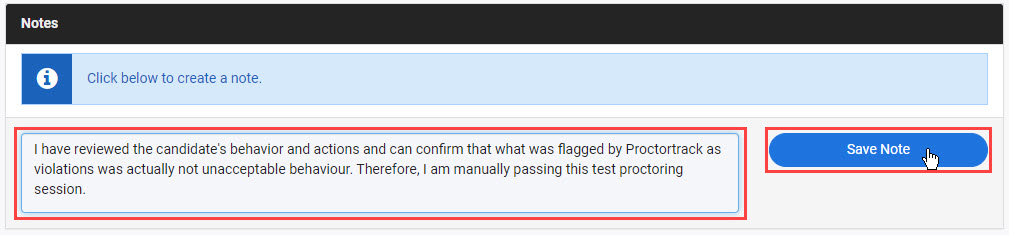
Add a note at the bottom of the screen with the Enter Note field and Save Note.
-
Select Pass or Fail above the candidate data tabs to override the status. You can only select the opposite of the current status.
-
Confirm on the popup.
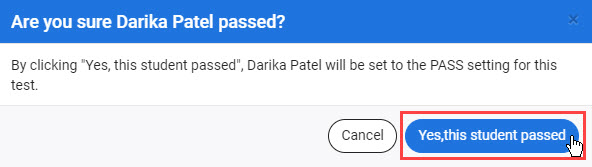
The candidate's session now shows the new status in the Student List.