Assessment stimuli
A stimulus is a resource composed of one or more images, texts, videos, or other content. Stimuli can be linked to questions that are part of assessment modules.
When a stimulus is linked to a question, some or all of it (depending on its setup) appears at the side of the question along with two chevrons. The test-taker selects the chevrons to bring the stimulus fully on or off the question screen.
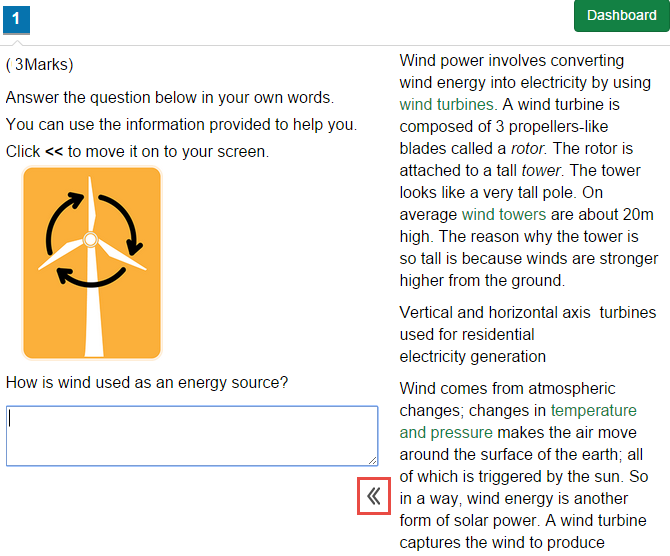
A stimulus can provide supplementary information, instructions, images, and so on. It can be composed of several resource types — audio, video, image, HTML — and one stimulus can contain multiple items.
A stimulus is linked to a question through the question's details screen. A stimulus can only be linked to a question if they're both in the same assessment module.
There's only one copy of a stimulus in the system, so changes made to it apply to all questions it's linked to.
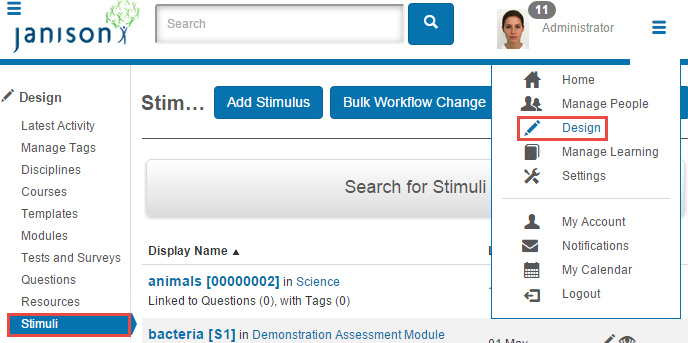
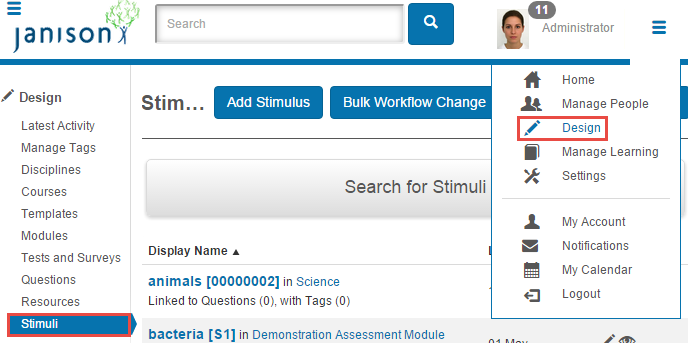
Stimuli are managed by navigating to Design > Stimuli.
Add a stimulus
Navigate to Design > Stimuli and select Add Stimulus from the Actions dropdown.
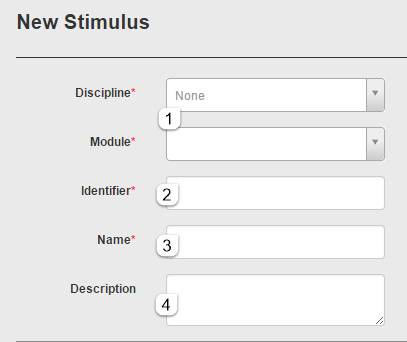
- Select the Discipline and Module where the stimulus is located. A stimulus can only be linked to a question if they're both in the same module.
- An Identifier is automatically generated if the appropriate option is enabled in Resource Settings, and can't be changed. If auto-generation isn't enabled, enter a unique identifier.
- Enter a unique Name for the stimulus.
-
Optionally enter a Description.
-
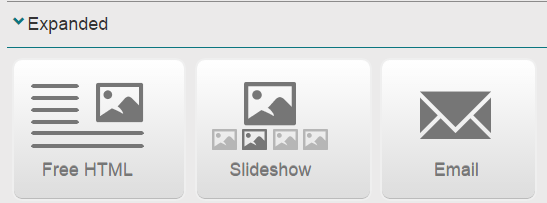
Open Expanded to see the menu. Depending on Resource Settings, you can choose:
- Free HTML
- Slideshow
-
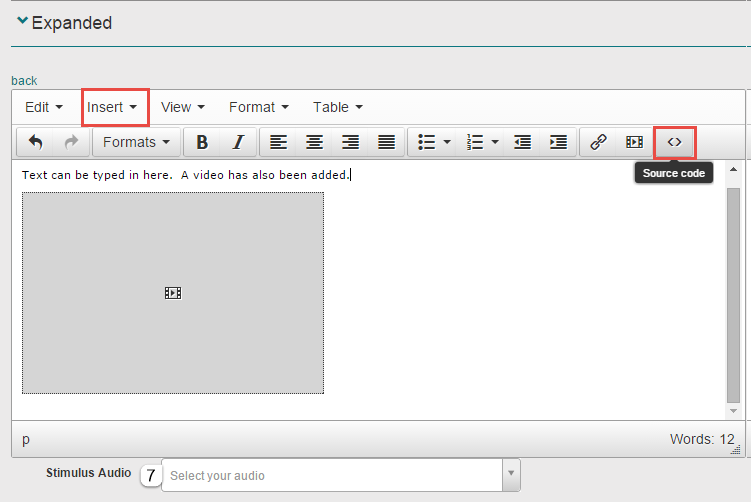
In this example, Free HTML is selected. You can add information by:
- Typing text directly into the text box.
- Using the source button (
<>) to edit the HTML. - Adding text or image resources via the Insert menu.
-
Audio can be added to the stimulus by selecting from the dropdown beneath the text box.
-
Open the Preview window to specify how the stimulus appears at the side of the question screen.
Leave Same as expanded stimulus ticked to use a smaller version of the stimulus as the preview. If you uncheck it without supplying an alternative, the test-taker sees no preview — only the chevrons. To customise the preview, uncheck the option and use the same tools as step 6. This is particularly useful for video stimuli — you can supply an image as the preview screen rather than the default grey screen.
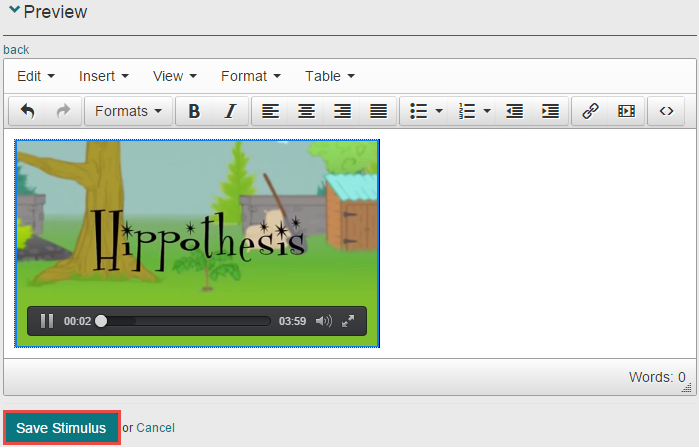
- Select Save Stimulus.
Search for a stimulus
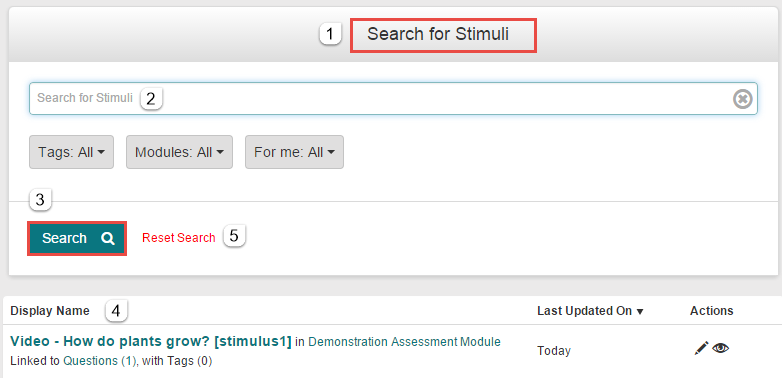
The search feature lets you quickly find a stimulus. Search is only useful when the list is large.
Navigate to Design > Stimuli.
- Select Search for Stimuli — a search field appears.
- Enter your search word.
- Select Search.
- Results appear in the Display Name column.
-
To perform another search, select Reset Search.
Edit a stimulus
Use this function when stimulus details need to be changed.
Navigate to Design > Stimuli.
-
Search for the required stimulus or select it from the Display Name list.
-
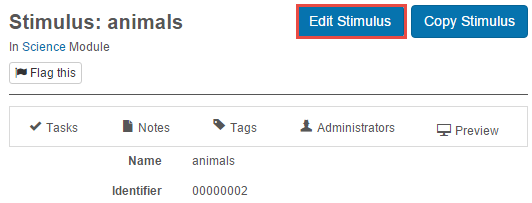
Select Edit Stimulus.
-
Change details as required.
- Select Save Stimulus.
Settings
Administrators can configure the following settings at Settings > Stimulus Settings and Settings > Resource Settings.
Stimulus Settings — customises how stimuli are presented (preview defaults, available content types).
Resource Settings — controls auto-generation of stimulus identifiers and which content types (Free HTML, Slideshow, Email) are available when adding a stimulus.