User settings
User settings let you configure how users are viewed, added, and edited in Manage People > Users. You can also activate self-registration forms and portfolio functionality.
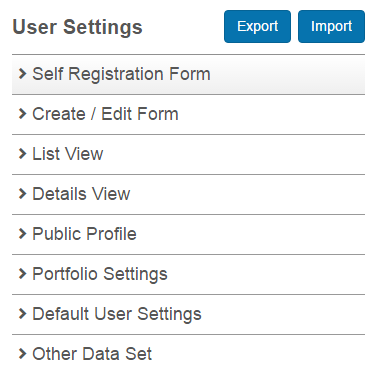
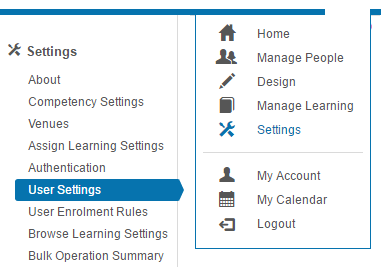
Navigate to Settings > User Settings.
Setting form and view fields
Several forms and views share a common section for configuring how fields are presented. Each form and view can be customised individually — for example, you can have Date of Birth visible on the create/edit form but hidden on the details view.
Forms and views containing the section:
- Self-registration form
- Create / edit form
- List view
- Details view
- Public profile
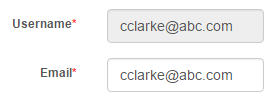
Certain fields are mandatory by default — they're greyed out and not editable (for example, Username).
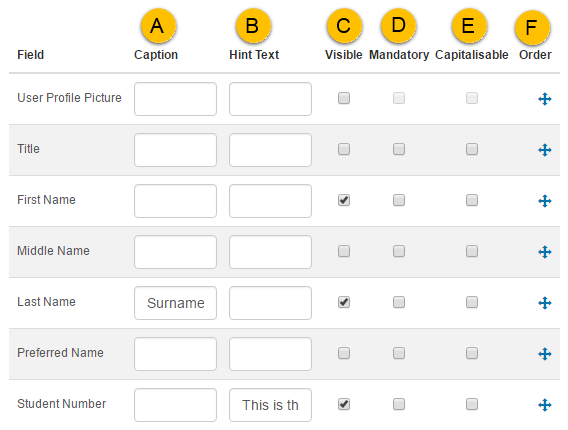
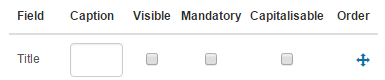
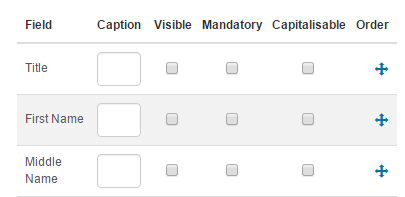
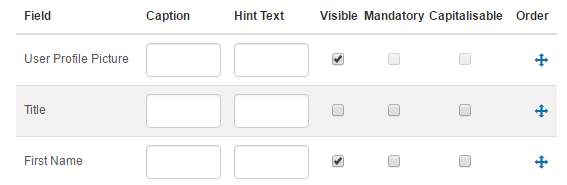
- A — Caption — use a different term to the system (for example, Surname instead of Last Name).
- B — Hint Text — places an info icon next to the field. Hovering shows the text.

- C — Visible — make fields visible by selecting the checkbox.
- D — Mandatory — required fields are marked with an asterisk.
- E — Capitalise — data entered is automatically capitalised.
- F — Order — drag items to reorder.
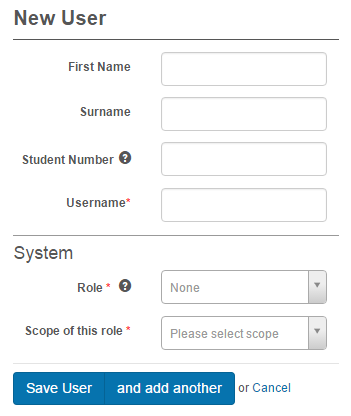
The selections above produce this new-user screen:
Self-registration form
Several methods can add users to the system — spreadsheet load, HR sync, and self-registration. By default, self-registration is disabled.
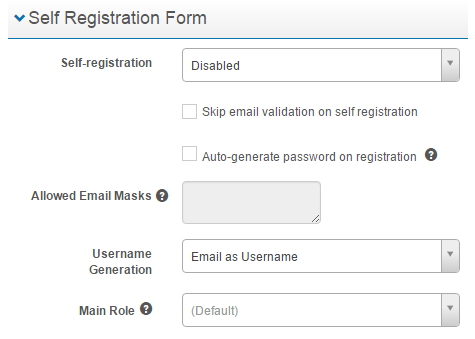
The fields can be customised — visible/hidden, mandatory, capitalised, reorderable, with captions. See Setting form and view fields.
Self-registration
Two methods are available:
- Registration form on a separate page.
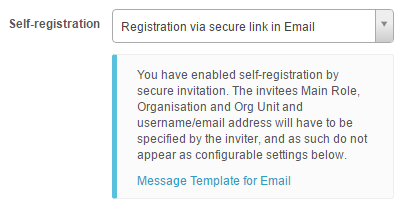
- Registration via secure link in an email.
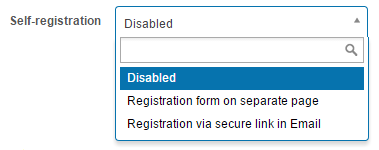
Registration form on separate page
Adds a Register link to the login screen.
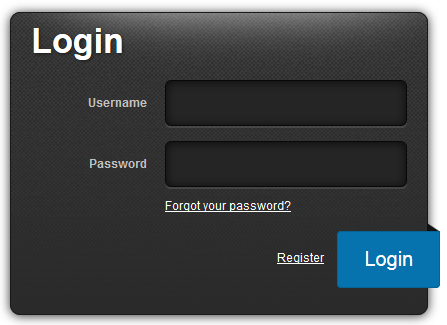
Selecting the link opens a Sign Up screen.
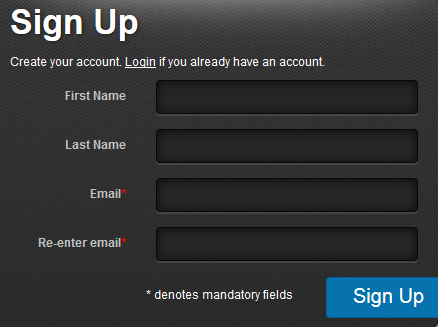
Registration via secure link in an email
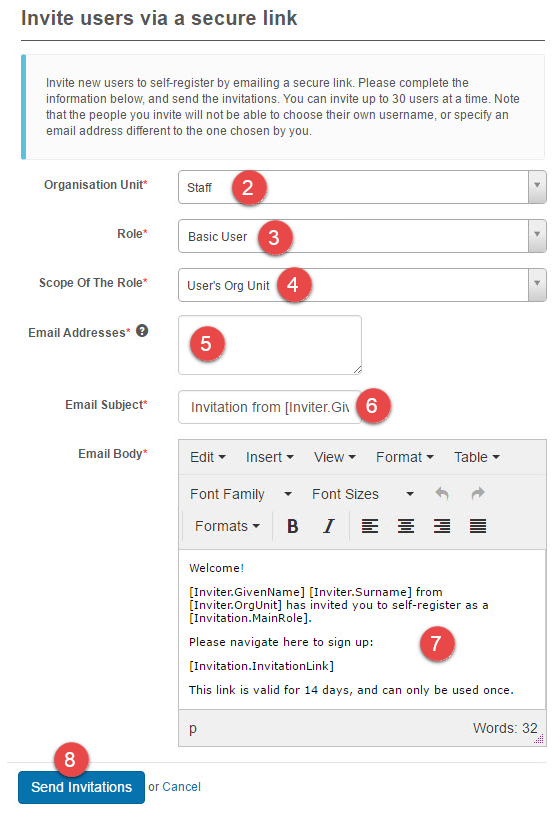
Invite up to 30 users at a time to self-register by emailing them a secure link.
Navigate to Manage People > Users.
-
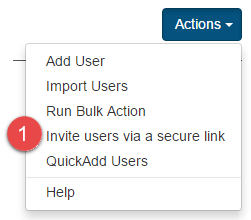
From the Actions menu, select Invite users via a secure link.
-
Select an Organisation Unit.
- Select a Role.
- Set the Scope of the Role.
- Enter one or more Email Addresses.
- Optionally change the Email Subject and Body.
-
Select Send Invitations.
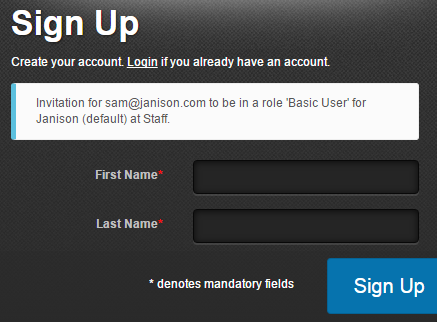
The recipient selects the link and is directed to a Sign Up screen.
Skip email validation on self-registration
Bypasses the email validation step and signs the user directly into the site.

Auto-generate password on registration
System-generated passwords for special circumstances (such as assessment events). Only valid if password generation is enabled — see Passwords.

Allowed email masks
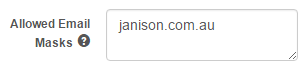
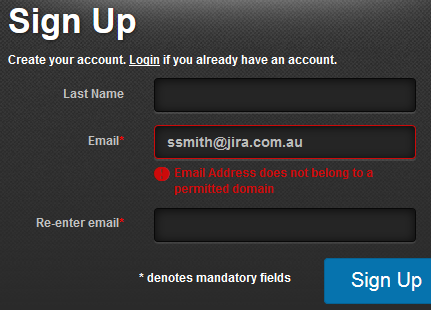
Only users with email addresses in listed domains can register. Wildcards * are permitted. For example, *.com.au restricts to addresses ending in .com.au.
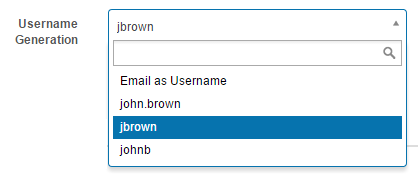
Username generation
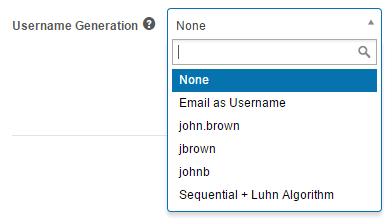
Specify the format the system uses to generate usernames — for example, email addresses or combinations of first and last name.
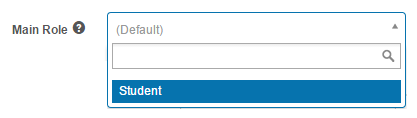
Main role
By default, users are assigned Basic User. Customise if needed. In-built system administrator roles aren't selectable.
Setting fields and their properties
The form fields can be customised — see Setting form and view fields.
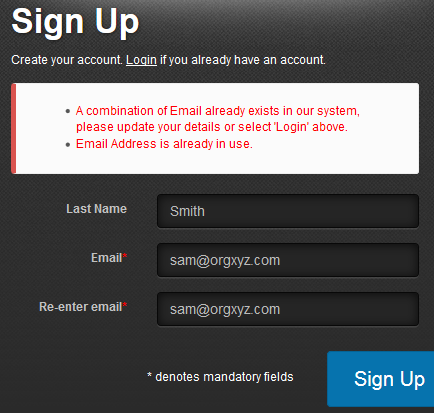
Validation check
Check that emails or last names are unique, or that the combination is unique.

If the email or last name exists, feedback is provided.
Using groups to auto-enrol users into catalogue items
You can add users to groups and then auto-enrol them into catalogue items on self-registration. For example, add an age-range selector and enrol users into age-appropriate courses.
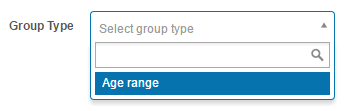
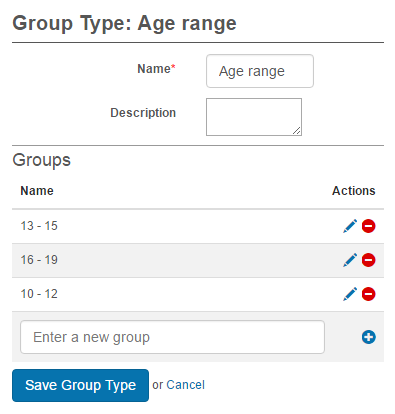
Step 1 — Group type
Set up a group type and groups. See Group Types.
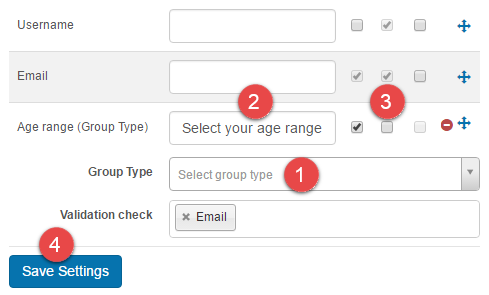
Step 2 — Add the group type to self-registration
- Select the Group Type — it appears at the bottom of the field list.
- Optionally enter a Caption.
- Optionally set mandatory.
- Select Save Settings.
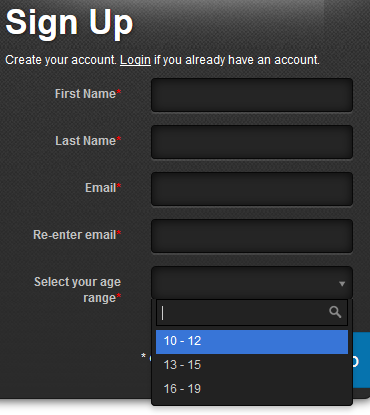
When users select an age range, they're added to the related group.
Step 3 — User enrolment rule
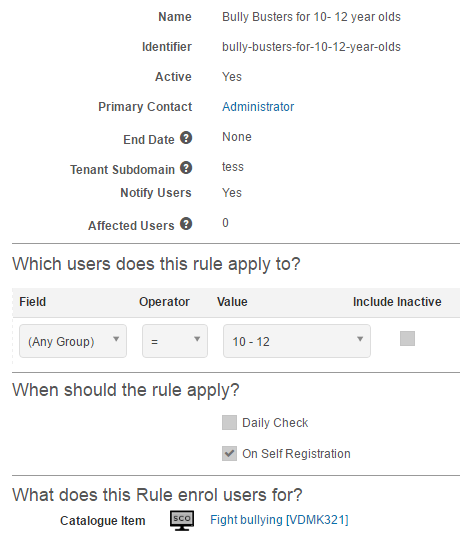
Set up a user enrolment rule for each age range to trigger automatic enrolments.
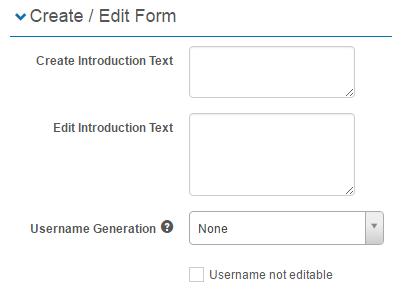
Create / Edit form
Customise the Manage People > Users screens for creating and editing users.
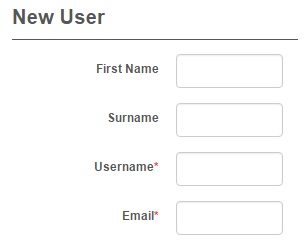
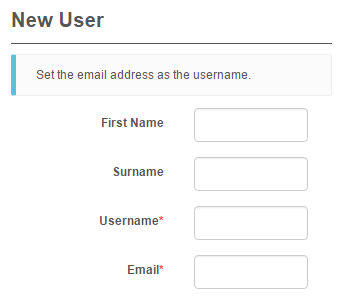
Example new-user screen with a few fields visible:
Create introduction text
Adds custom text displayed when administrators create new users.

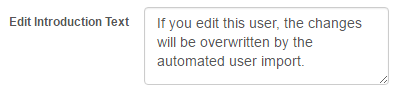
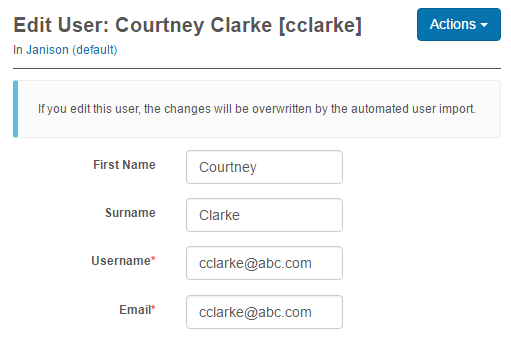
Edit introduction text
Adds custom text displayed when administrators edit a user.
Username generation
Specify the format the system uses to generate usernames. Generated when the new user is saved.
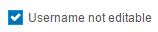
Username not editable
If selected, editing of usernames isn't possible.
Setting fields and their properties
Form fields can be customised — see Setting form and view fields.
List view
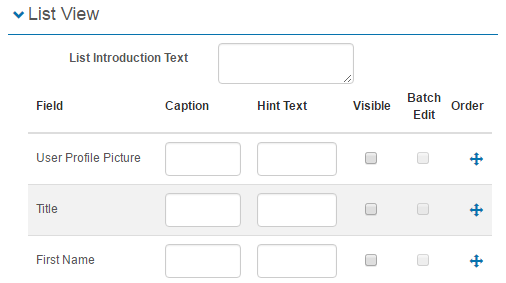
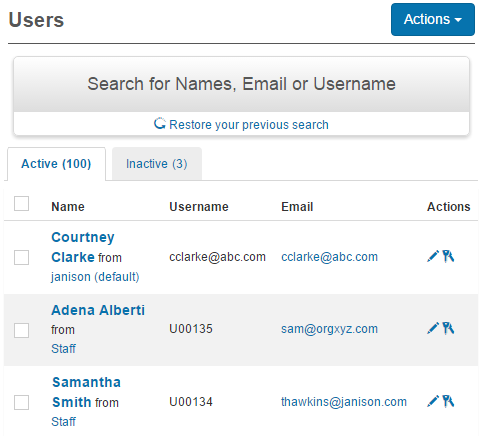
Customise the Manage People > Users list screen.
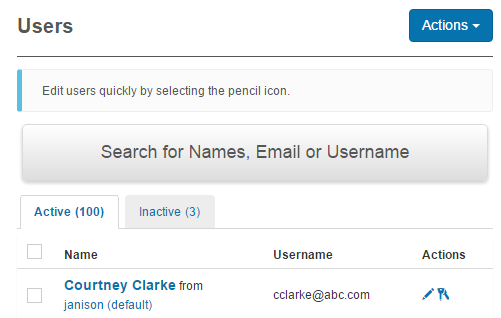
Example users list with only four visible columns:
List introduction text
Adds custom text on the user list.

Setting fields and their properties
Customise visibility, ordering, and captions — see Setting form and view fields.
Batch edit
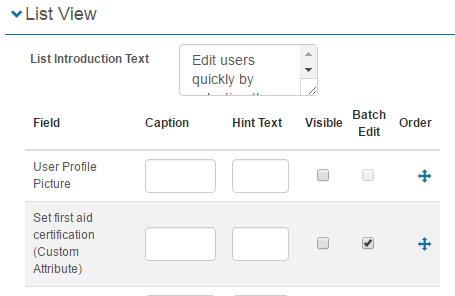
An additional Batch Edit column is available — only applicable to custom attribute fields. Steps:
-
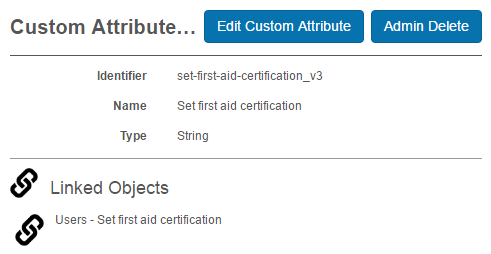
Create a custom attribute of String type linked to Users. See Custom Attributes.
-
In the list view section, select Batch Edit for the new custom attribute and save.
-
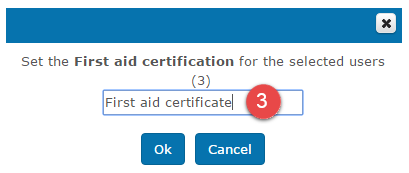
On the users list, select users and select the new button.
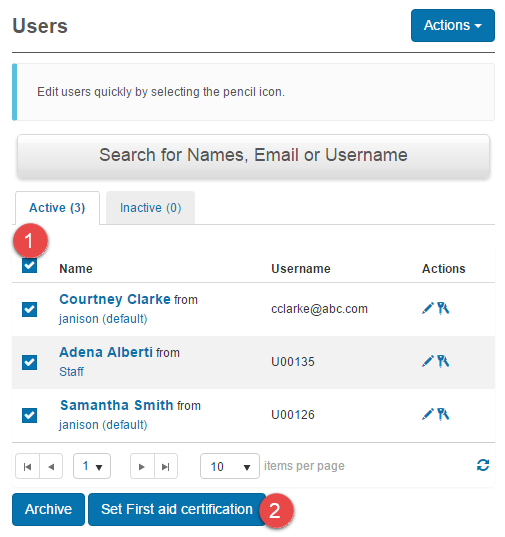
A popup appears — enter text.
-
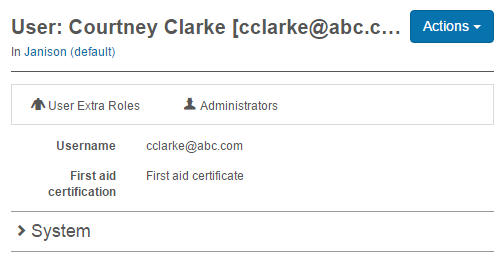
View the attribute on the relevant form/view.
Details view
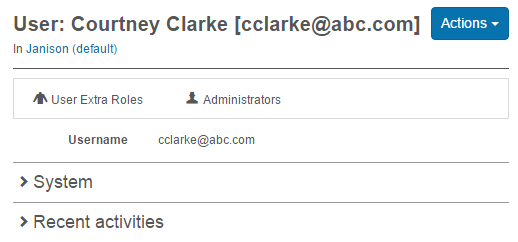
Customise an individual user's details screen.
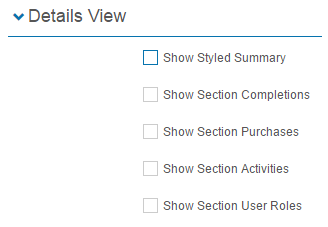
These settings control the visibility of sections.
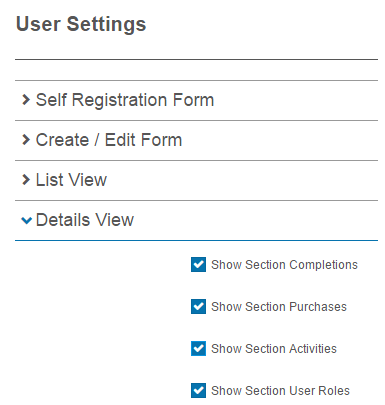
Show section: Completion
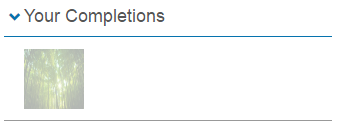
Makes a section visible listing catalogue item enrolments (only if catalogue items have small thumbnails linked). Certificates can be accessed via the image icon.
Show section: Purchases
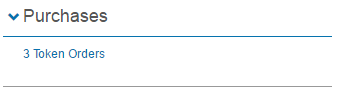
Lists all purchases made by the user.
Show section: Activities
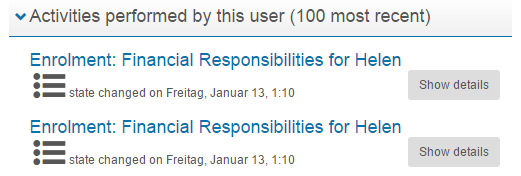
Makes two sections visible detailing activities performed by the user and on the user record.

Show section: User Roles
Lists the user's roles.

Public profile
Each user has a personal details tile at Manage People > People. Configure what's shown here.
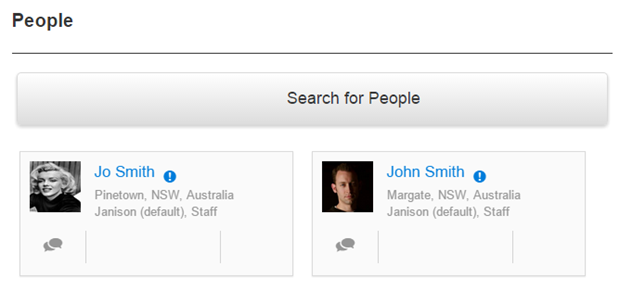
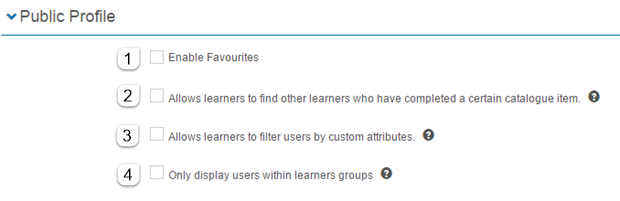
- Enable Favourites — set people as favourites.
-
Enable searching by catalogue item completion — enables a field to find learners who've completed a specific catalogue item.

-
Enable Advanced Search — adds an advanced search section with filters. See Building filters.
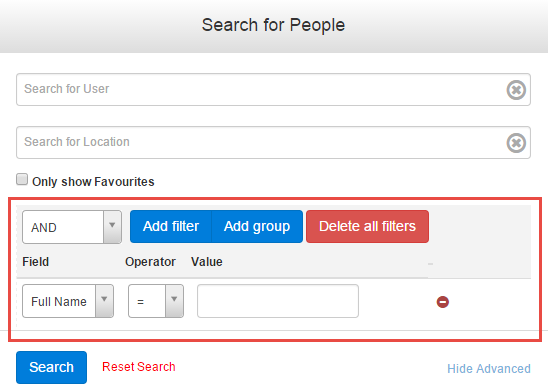
-
Only display Users within the same Groups — learners only see users in the same group(s); disable to show all users in the tenant.
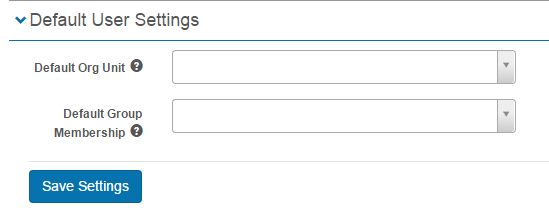
Default user settings
Two dropdown menus:
- Default Org Unit — sets a default so it isn't mandatory to state the org or org unit on a spreadsheet import.
- Default Group Membership — registered users are automatically given the nominated group membership.
Portfolio settings
See the dedicated Portfolio page for ePortfolio configuration.
Settings
This page is itself the Settings documentation for users. All options are configured at Settings > User Settings.
Related settings:
Passwords (Settings > Password Settings) — required for the Auto-generate password on registration option.
Custom Attributes (Settings > Custom Attributes) — required for Batch Edit column functionality.
Group Types (Manage People > Group Types) — drives the auto-enrolment-by-group workflow.