Custom attributes
Custom attributes let system administrators define additional data fields. These fields can be linked to objects (entities) in the CLS and then used to filter, sort, search, and report on them. Custom attributes can also be grouped into sets.
The following entities can have custom attributes:
- Assessment Events
- Catalogue Items
- Content Providers
- Courses
- Disciplines
- Enrolments
- Group Types
- Groups
- Learning Event Sessions
- Learning Events
- Marking Project marks
- Modules
- Organisation Units
- Organisations
- Other Learning Data
- Positions
- Questions
- Resources
- Stimuli
- Tags
- Tenants
- Test Attempts
- Tests
- Token Orders
- Users
A special use is data collection from users when they self-enrol — see Self enrolment question sets below.
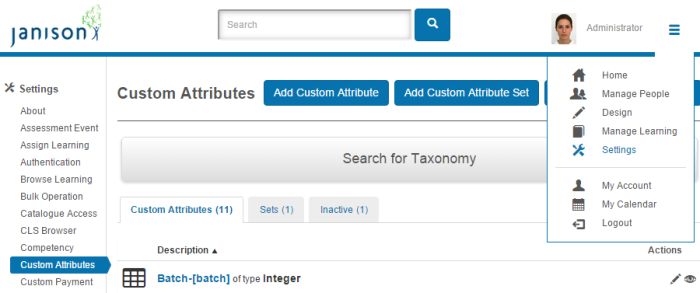
Custom attributes can be reached at Settings > Custom Attributes.
Manage custom attributes
The Custom Attributes screen is divided into Custom Attributes, Custom Attribute Sets, and Inactive Attributes and Sets.
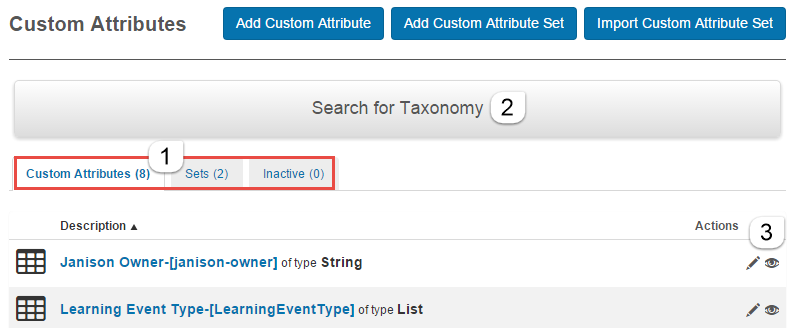
- Select a tab to display a list (for example, Custom Attributes).
-
Select Search for Taxonomy and enter search words. You can further refine the search by selecting Type and choosing a custom attribute type.
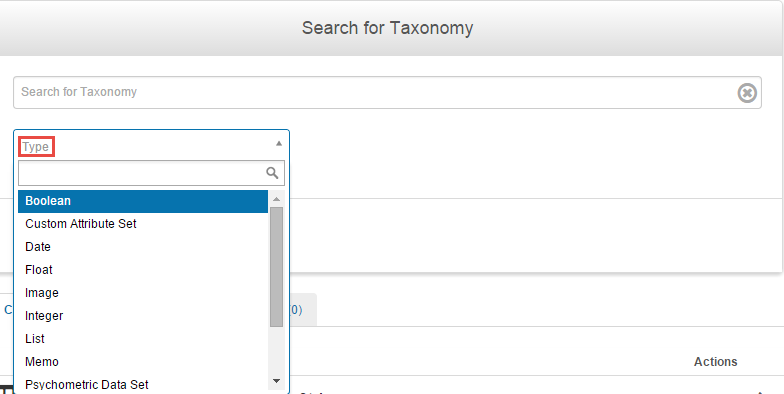
-
Select the icons under Actions to edit (pencil) or inspect (eye) the item.
Export custom attribute set
Custom attribute sets have an additional download icon under Actions that exports them to disk.

Add a custom attribute
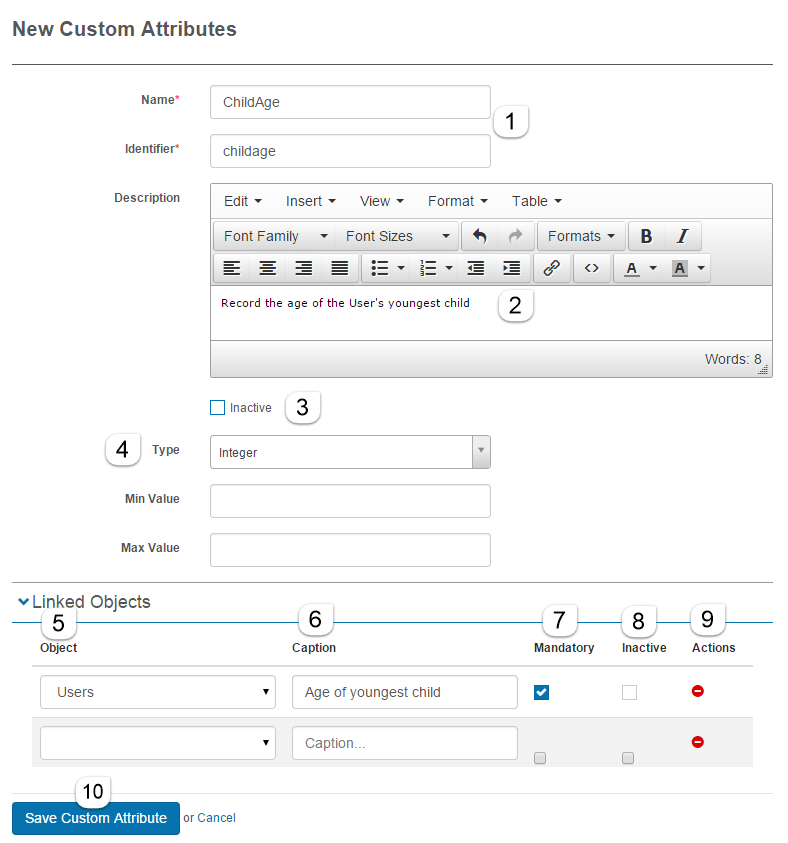
Navigate to Settings > Custom Attributes and select Add Custom Attribute.
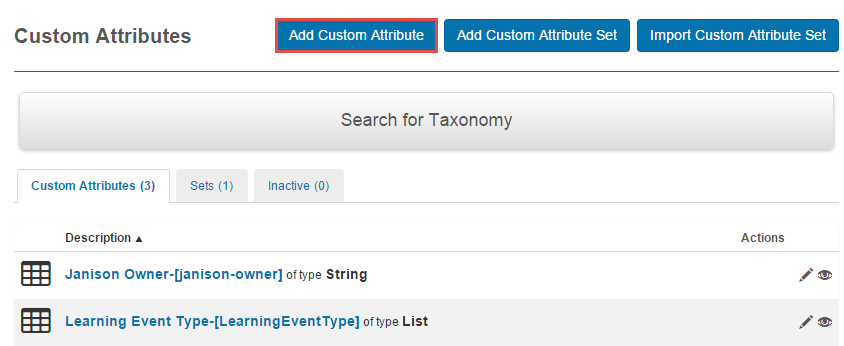
To add a custom attribute:
- Enter a Name and Identifier.
- Enter information about the attribute if desired.
- Select the checkbox to disable this custom attribute if desired.
- Select the Custom Attribute Type. Each type displays different fields — see Types of custom attributes below.
- Select the arrow next to Linked Objects and select the object where the custom attribute will appear. For example, Users makes it appear on user forms and reports. You can choose multiple objects.
- Enter the caption for the field in this entity.
- Select the checkbox if this field is mandatory for this object.
- Select the checkbox if this field is inactive for this object.
- Select the minus icon to remove an object from the list.
-
Select Save Custom Attribute.
Types of custom attributes
Custom View
Custom View lets custom pages be displayed wherever custom attributes can be shown. It can also serve as a data store for information from those custom pages.
Note
A custom page is generally built by a Janison developer. Contact the Janison customer services team to find out more.
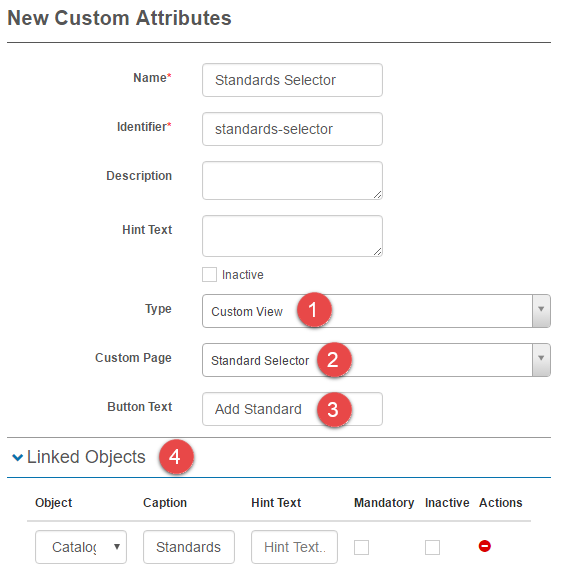
- Select Custom View as the type.
- Select a previously constructed Custom Page.
- Enter the Button Text.
-
Add the Linked Objects (for example, Catalogue Item).
-
Select Save Custom Attribute.

Note
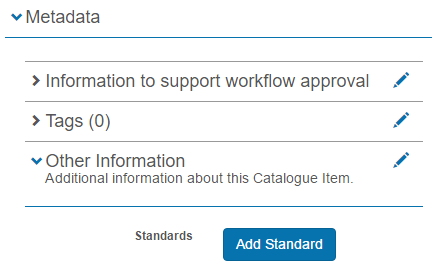
For the custom attribute to be used in a catalogue item, it must be linked to a custom attribute set.
The button appears in a sub-section of Metadata of the catalogue item.
List
Allows a value to be selected from a dropdown list.
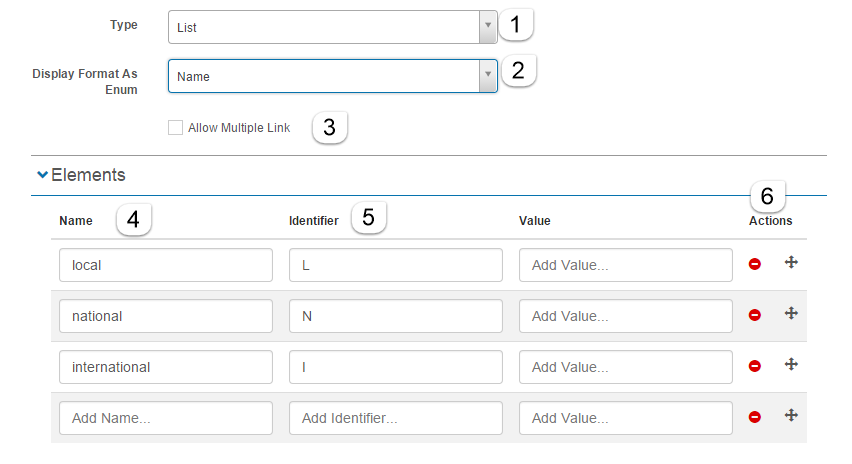
- Select List from the dropdown.
- Select which of the elements below you want to display as options.
- Select Multiple items if multiple items can be selected (displayed as checkboxes).
Under Elements:
- Enter text for the Name.
- Add an Identifier. Optionally add a Value.
-
Use the icons to delete an element or drag it to a new position.
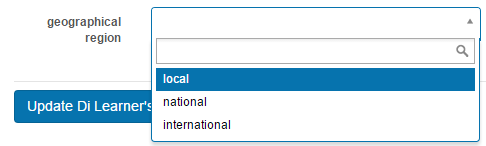
After attaching to the User object with caption Geographical region, updating a user includes a new dropdown:
Boolean
Displays a checkbox.
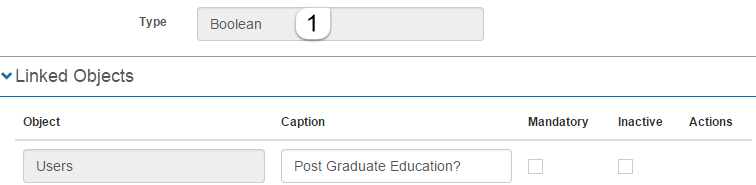
- Select Boolean from the dropdown.
After attaching to the User object with caption Post Graduate Education?:

String
Allows the free entry of text, optionally restricted by a regular expression.
- Select String from the dropdown.
- Enter the maximum number of characters allowed.
-
Enter the regular expression to validate the input.
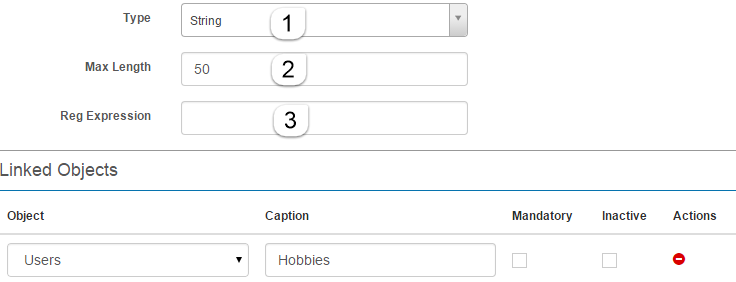
After attaching with caption Hobbies:

Selection
Similar to List but with simpler setup. No separate identifier/value text and no control over display.
- Select Selection from the dropdown.
-
Enter each text selection on a new line in Elements.
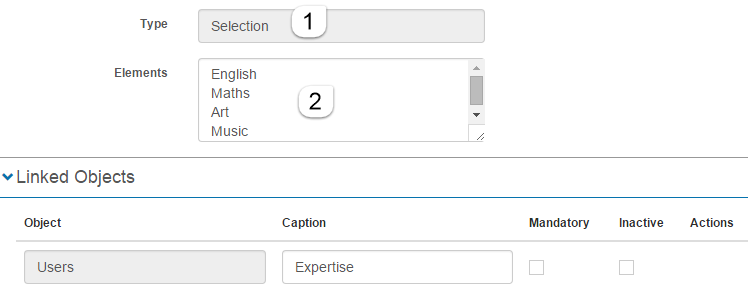
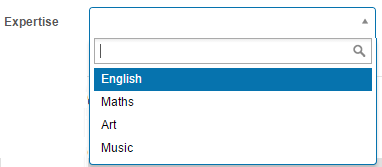
After attaching with caption Expertise:
Selection with other
Same as Selection but lets the user enter a value not defined in Elements.
- Select Selection with other from the dropdown.
-
Enter the elements for the dropdown.
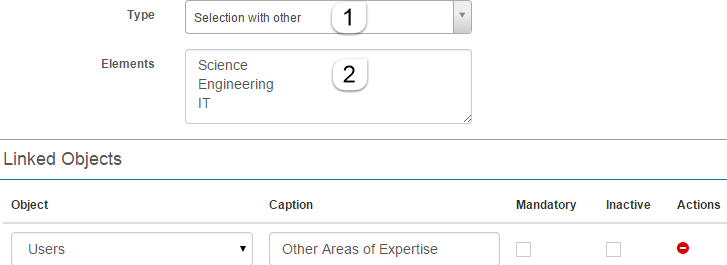
Selecting Other gives the opportunity to enter text.

Memo
Similar to String but provides a larger text entry area. Maximum length can't be set.
-
Select Memo from the dropdown.
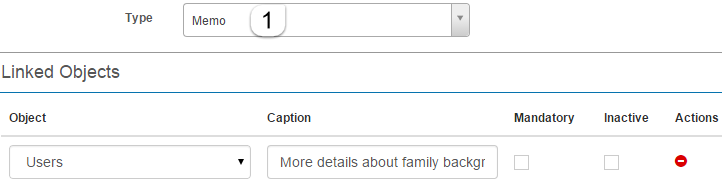
After attaching with caption More details about family background:

Integer
Allows entry of whole numbers within a defined range.
- Select Integer from the dropdown.
- Enter the smallest allowable number (inclusive) in Min value.
-
Enter the largest allowable number (inclusive) in Max value.
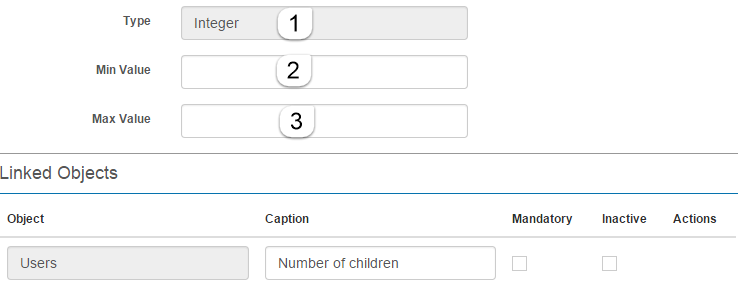
After attaching:

Float
Allows entry of any rational number (numbers with decimal points).
- Select Float from the dropdown.
- Enter the smallest allowable number (inclusive) in Min value.
- Enter the largest allowable number (inclusive) in Max value.
-
Enter the number of decimal places.
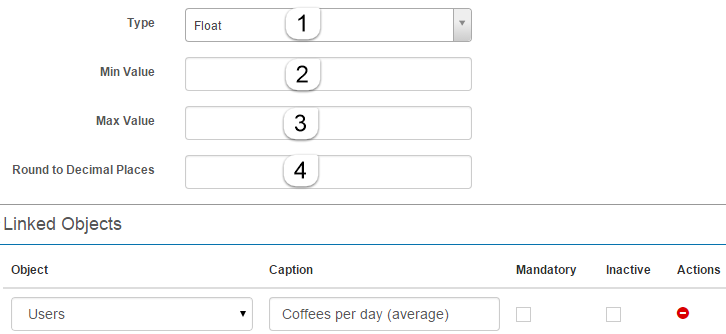
After attaching with caption Coffees per day (average):

Date
Allows a date to be entered from a date picker.
-
Select Date from the dropdown.
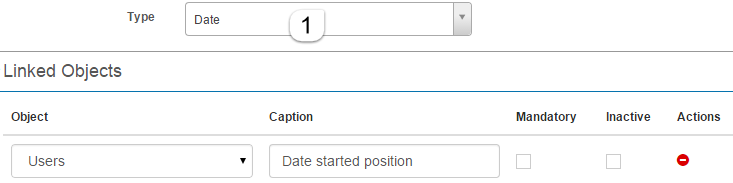
After attaching with caption Date started position:
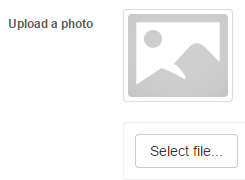
Image
Allows an image to be uploaded. Supported file extensions: jpg, png, gif.
- Select Image from the dropdown.
- Enter the Width and Height in pixels.
- Enter the Alt Text to be displayed.
-
Enter the Max File Size in kilobytes.
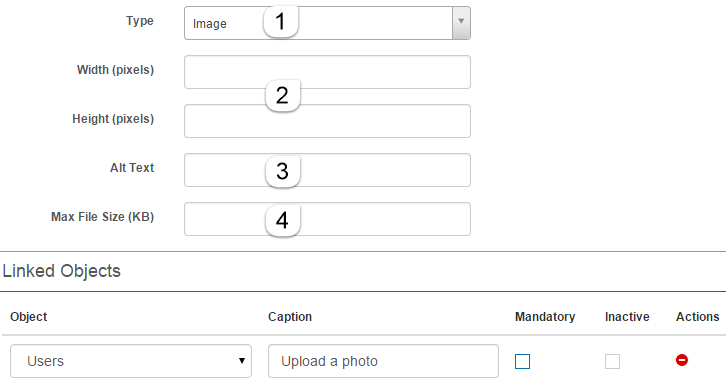
After attaching with caption Upload a photo:
Edit a custom attribute
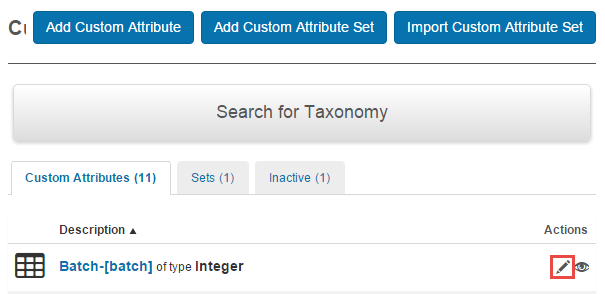
Navigate to Settings > Custom Attributes. Select the pencil icon next to the custom attribute you want to edit. The next screen is similar to the Add form.
Add a custom attribute set
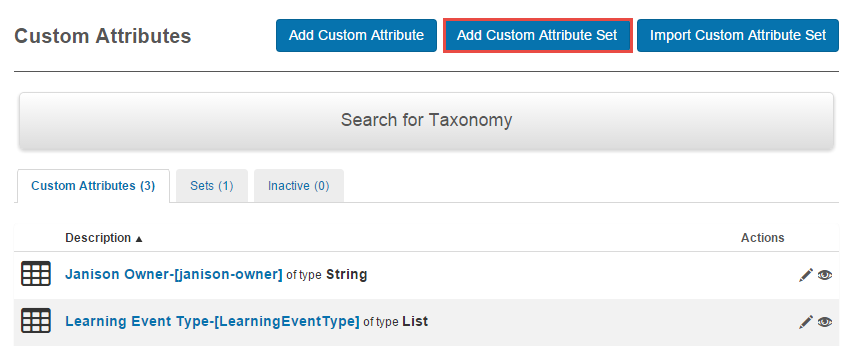
Navigate to Settings > Custom Attributes and select Add Custom Attribute Set.
Export a custom attribute set
Custom attribute sets can be exported to a zip file to move them to a different site. Navigate to Settings > Custom Attributes > Sets tab.
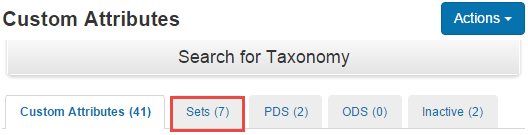
Locate the required set and select the download icon under Actions.

The file is saved to your local machine.
Import a custom attribute set
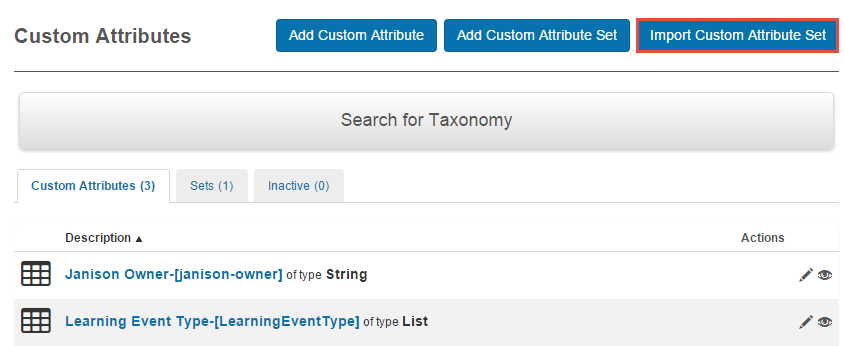
Navigate to Settings > Custom Attributes > Import Custom Attribute Set.
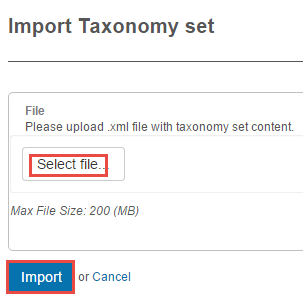
Browse to your import file and select Import.
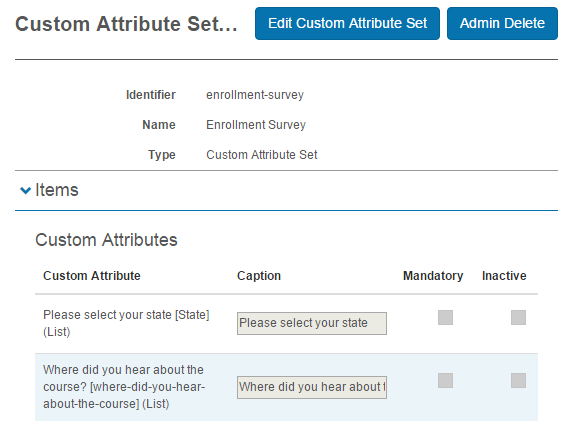
Self enrolment question sets
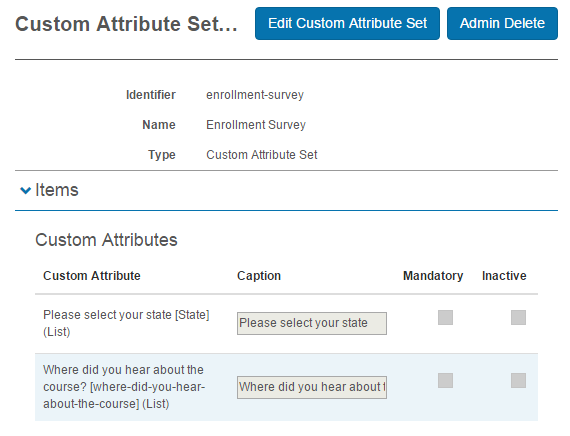
Custom attribute sets containing one or more custom attributes can be used to collect information from users when they self-enrol in a catalogue item. These are referred to as question sets.
Question sets could be used to:
- Gather dietary requirements for a training session.
- Collect geographical location or age range of enrolees.
- Find out how learners are discovering your courses.
To create a question set, create a custom attribute set and add one or more custom attributes. The custom attributes don't need to be linked to any objects.
Add questions to a catalogue item
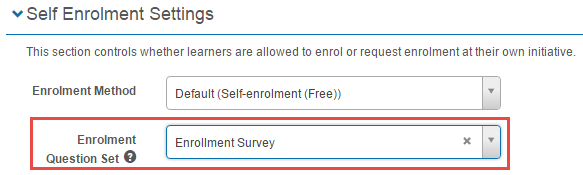
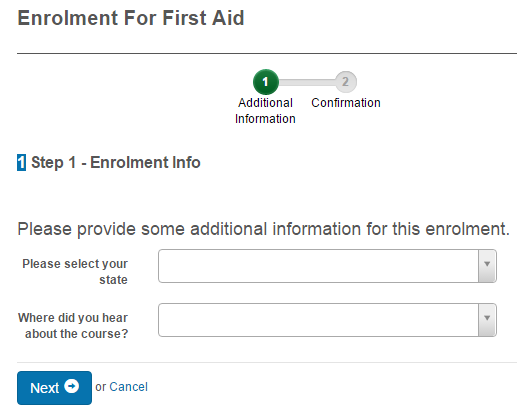
Navigate to the catalogue item, enter edit mode, and open the Self Enrolment Settings section. In the Enrolment Question Set dropdown, select your question set and save.
Learners enrolling in the catalogue item see the questions.
Add questions to a learning event
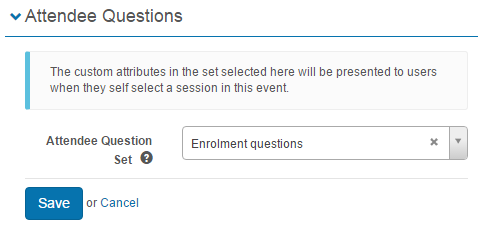
Open the learning event and select the edit icon in the Attendee Questions section. Select the Attendee Question Set and save.
Note
Learners are only presented with question sets if the Self Enrolment Method doesn't involve auto-enrolment. For example, if set to No approval, enrol and launch immediately, learners bypass the question set and go straight to the learning asset.
Reporting on enrolment question sets
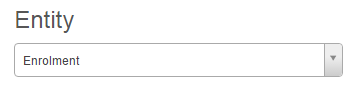
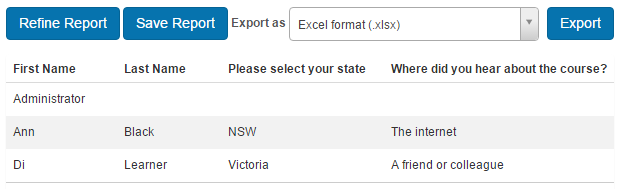
To view the data collected, create a report using Enrolment as the entity.
Example output:
See Customisable Reports for more.
Settings
This page is itself the Settings documentation for custom attributes. All options are configured at Settings > Custom Attributes.