Style and images
You have significant control over the way your site looks. Use your own logo on the top of the screen, your own image for the welcome screen, customise the footer, and change the skin (colours of text, accents, and backgrounds) on the CLS screens. You can also add custom CSS to override other display aspects.
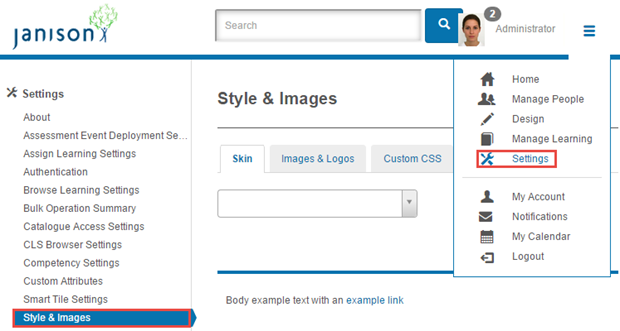
Navigate to Settings > Style and Images.
Images and logos
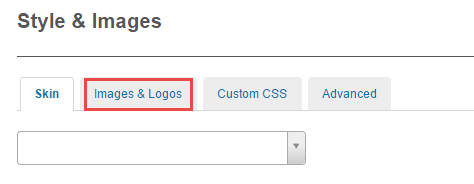
Navigate to Settings > Style and Images and select the Images and Logos tab. Upload logos and the welcome screen, and customise the footer.
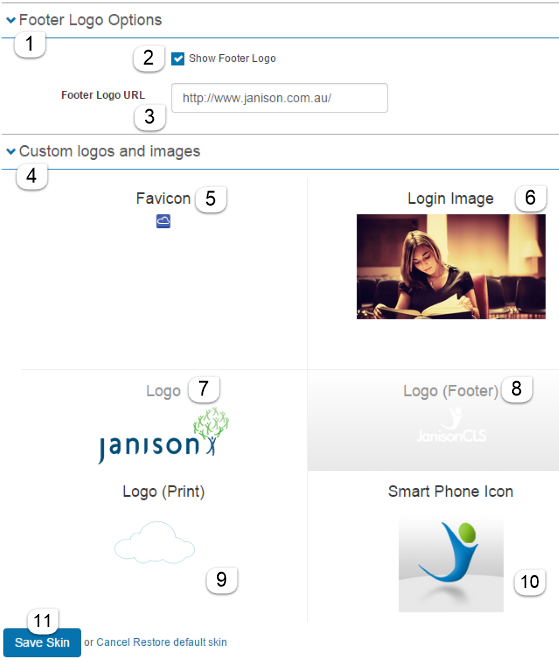
- Select the chevron to open the Footer logo options.
- Select the checkbox to display a logo in the footer.
-
Enter a URL for the logo's link destination.
-
Select the chevron to open Custom logos and images. Move your cursor over each region — Select a file… appears.
-
Select Select a file… for your Favicon — the icon on a browser tab or favourite. Must be X-ICON format.

-
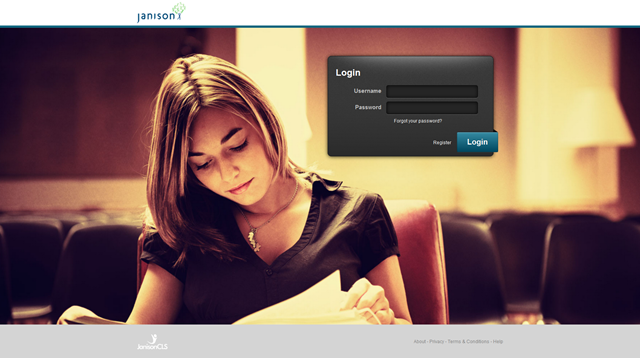
Select Select a file… for your login image. No size limit but recommended minimum 1100×600px / 65 kB to maximum 1440×900px / 150 kB. Bigger means longer load time but crisper rendering.
-
Select Select a file… for your logo.
- Select Select a file… for a different logo at the bottom of the screen (optional).
- Select Select a file… for a higher-resolution file for your logo in printed documents.
- Select Select a file… for your icon on smartphones. Users touch this to launch the CLS.
-
Select Save to save changes.
Skin
A skin specifies the values for text, backgrounds, and accents on the CLS screens.
Navigate to Settings > Style and Images and select the Skin tab.
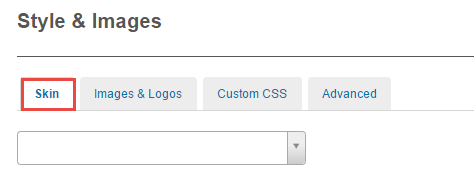
Select a pre-defined skin from the dropdown.
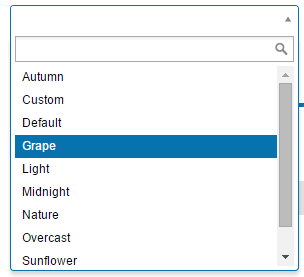
Each time you select a skin name, the screen display updates to give you an idea of its palette.
Create your own skin
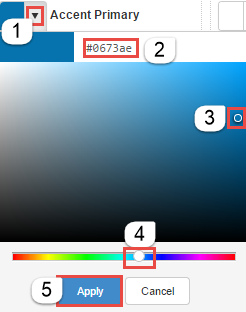
For each colour option:
- Select the arrow next to the option name.
- Paste a new colour value in hexadecimal notation, or
- Drag the circle in the colour picker to select saturation and brightness.
- Drag the slider to change the hue.
-
Select Apply.
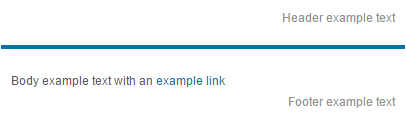
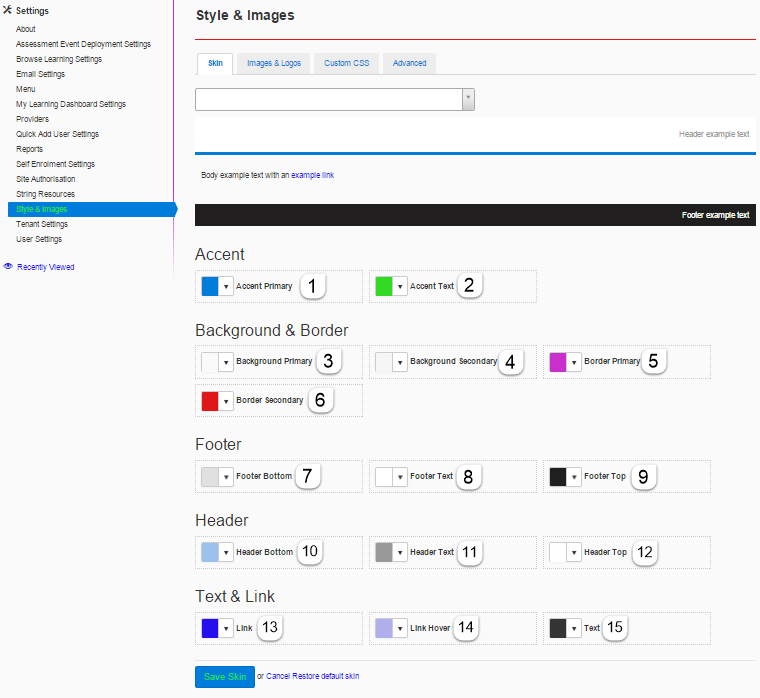
The screen shows the results for Header and Footer text colours, ordinary text, links, and the accent colour.
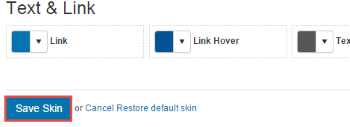
Select Save Skin to save your changes.
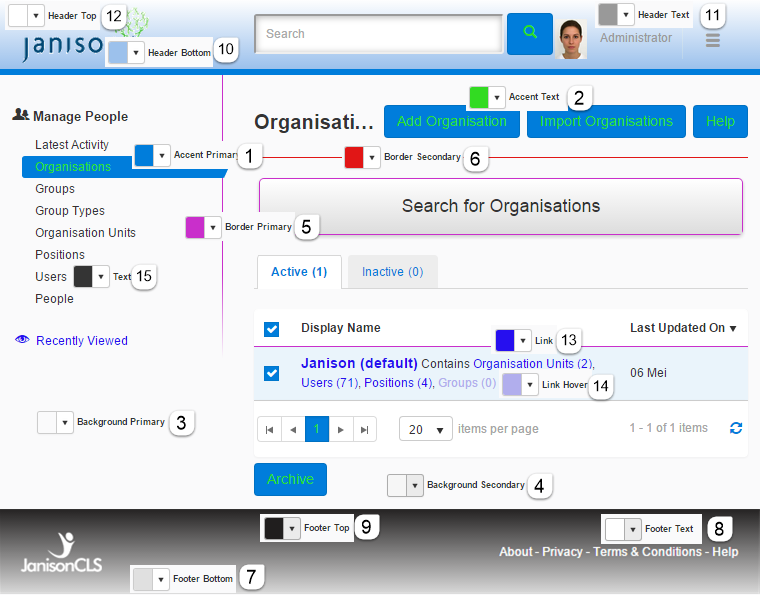
The screenshot below highlights some of the places on the page affected by the colours.
Tip
To identify all the places a colour change takes effect, set it to a stand-out colour and click through a few pages. Once you understand the effect, set the colour you actually want.
If the top and bottom of the header are different, the header has a colour gradient. Same applies to the footer.
Custom CSS
It should be unnecessary to do this once the tenant is set up. You can enter custom CSS to override the style of the CLS in targeted areas.
Warning
You need to know what you're doing here, and be prepared to maintain it through future CLS updates.
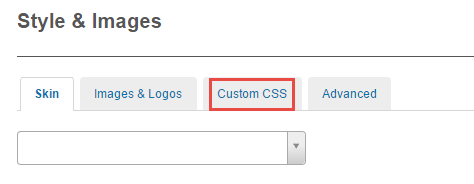
Navigate to Settings > Style and Images > Custom CSS tab.
Example — change the colour of links in the footer to blue:
Many free CSS tutorials are available online — for example, W3Schools.
Advanced
Navigate to Settings > Style and Images > Advanced tab.
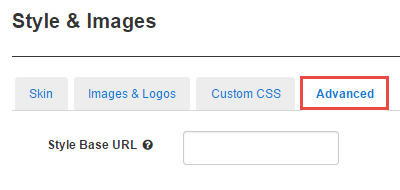
Here you can optionally override janison.web.ui.css with an alternative address.
Warning
This is extremely powerful and should only be done after careful research and consideration.
Settings
This page is itself the Settings documentation for style and images. All options are configured at Settings > Style and Images.
Related settings:
My Learning Transcript (Settings > My Learning Transcript Settings) — the Logo (Print) image set here is used on the PDF transcript.
String Resources (Settings > String Resources) — works alongside style and images for fully branded customisation.