Assign Learning
Assign Learning is an enrolment assistant that steps you through enrolling users into catalogue items and training programs. The process below covers enrolling users in bulk.
Note
The menu items you see may differ slightly from these screenshots due to variations in role configurations.
The steps:
- Create a group — you'll add users to this group.
- Create users and add them to the group — lets you target the relevant users.
- Run the Assign Learning wizard — adds the relevant users to the relevant training.
- Add additional users to the group — individual users added later are automatically added to the training.
Step 1 — create a group
See Groups for more.
Navigate to Manage People > Groups.
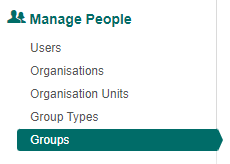
Select Add Group.
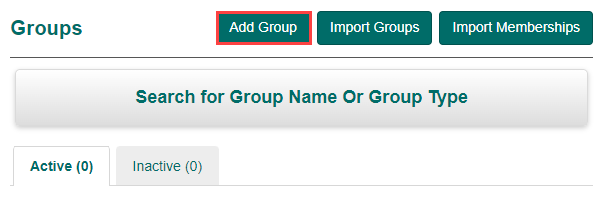
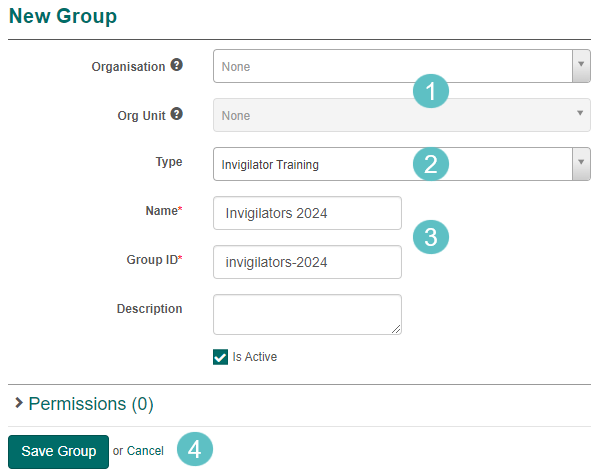
The New Group screen displays.
- Selecting an Organisation and Org Unit is optional. If selected, you can only add users from those orgs and org units.
- Select a group Type. If you need a new group type, see Group types.
- Enter a Name. The system populates the Group ID — you can change it.
-
Save the new group.
Step 2 — create users and add to the group
This step creates new users and adds them to the group, letting you target the relevant users when assigning training in step 3.
Select Edit Group.

Select Import Users.

Tip
Run your first import with a single test user to ensure it runs smoothly. This makes troubleshooting easier.
The Add or Synchronise users from Spreadsheet screen displays. Download the Template and populate it with your users.
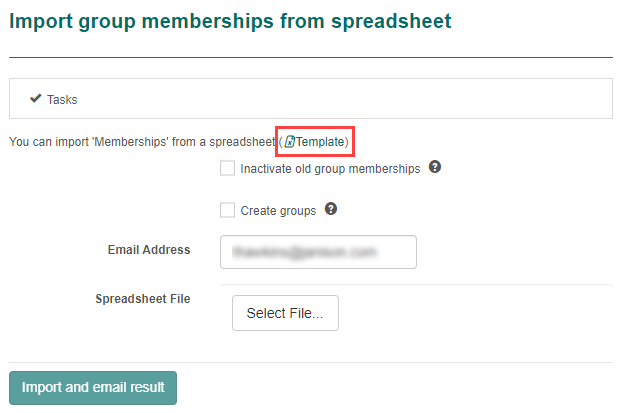
Example template with one user — yours would contain all the users to add.

Note
The headers in your template are determined by the fields selected in Settings > User Settings.
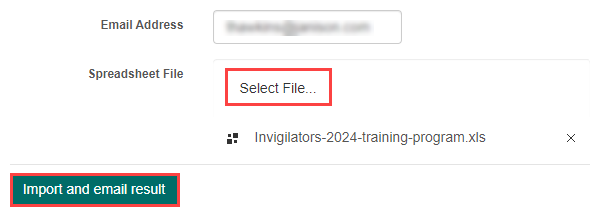
Scroll to the bottom, select your populated template, then select Import and email result.
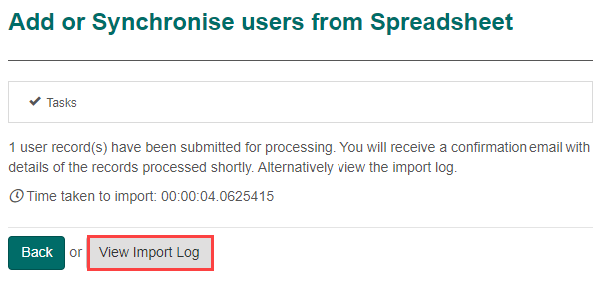
The system emails you an import log, which you can also view via View Import Log.
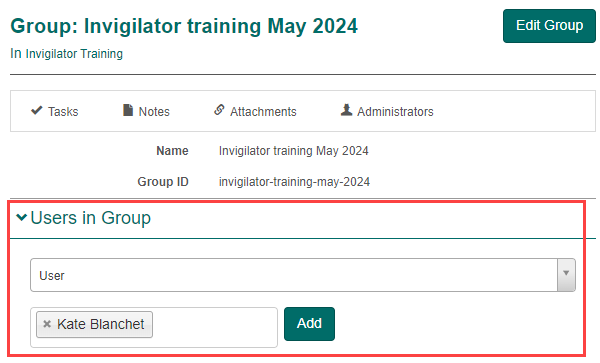
The users in your spreadsheet are now members of the group.
Note
If users already exist, you don't need to create them. Add them using the dropdown under Users in Group.
Step 3 — run the Assign Learning wizard
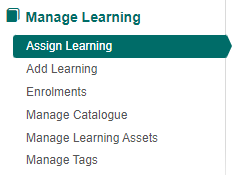
Navigate to Manage Learning > Assign Learning.
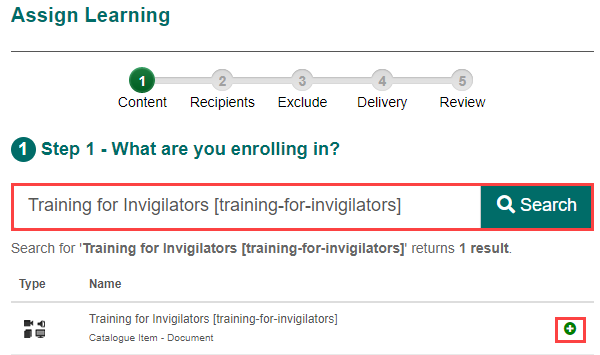
The Assign Learning screen displays. Search for the training program and select the plus icon next to it.
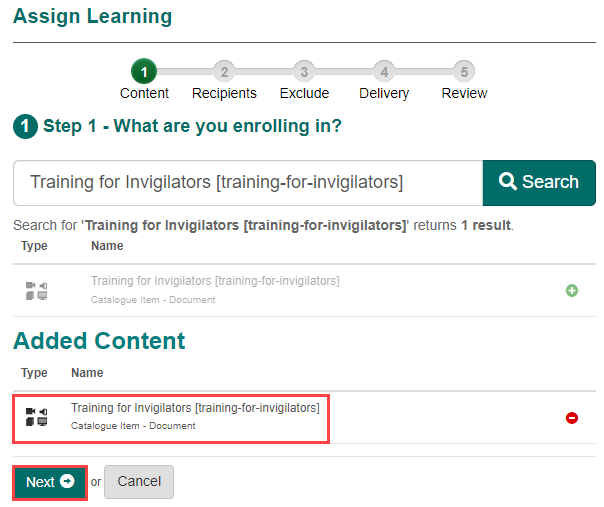
The training appears under Added Content. Select Next.
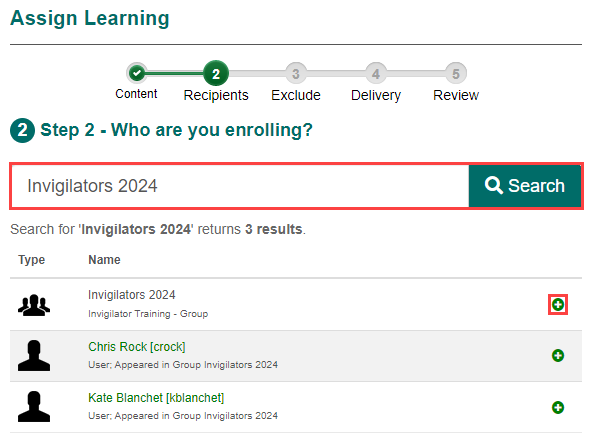
The next screen provides options to enrol users. Search for the group you created in step 1 and select the plus icon. The system lists group members but you don't need to add them — they're added with the group.
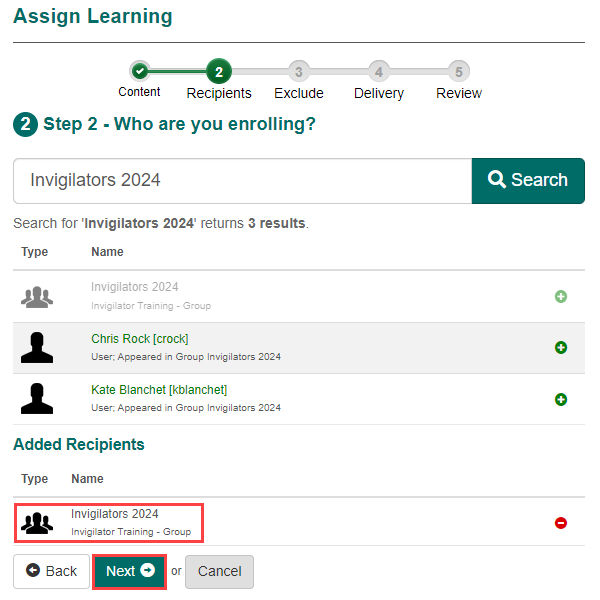
The group displays under Added Recipients. Select Next.
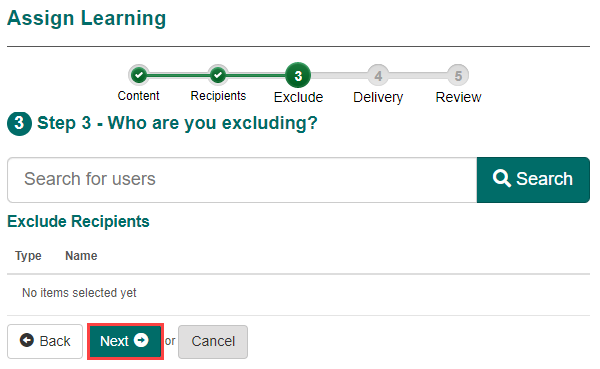
The next step lets you exclude users. In this example we're not excluding anyone.
Select Next.
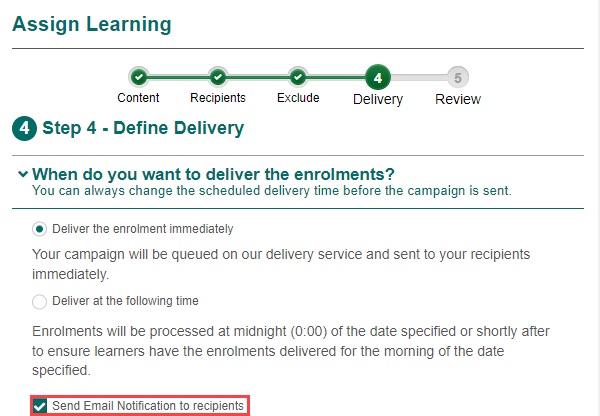
The next step lets you deliver training immediately or schedule it. You can also send an email notification to recipients.
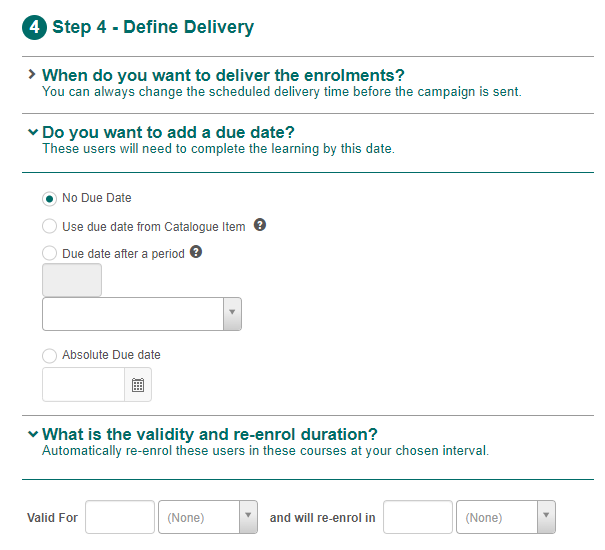
You can set a due date and validity for the learning.
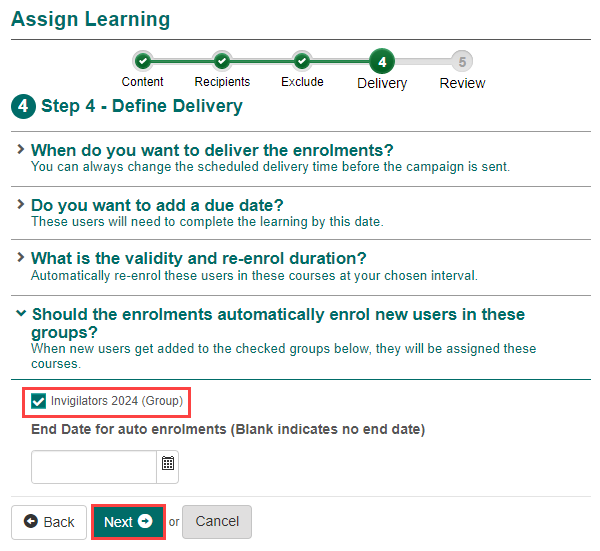
Optionally select your group under Should the enrolments automatically enrol new users in these groups? When checked, new users added to the group are automatically assigned the training. This auto-enrolment runs overnight, not immediately.
If you want learning assigned immediately to new users, leave this unchecked and re-run the wizard after each group import.
Select Next.
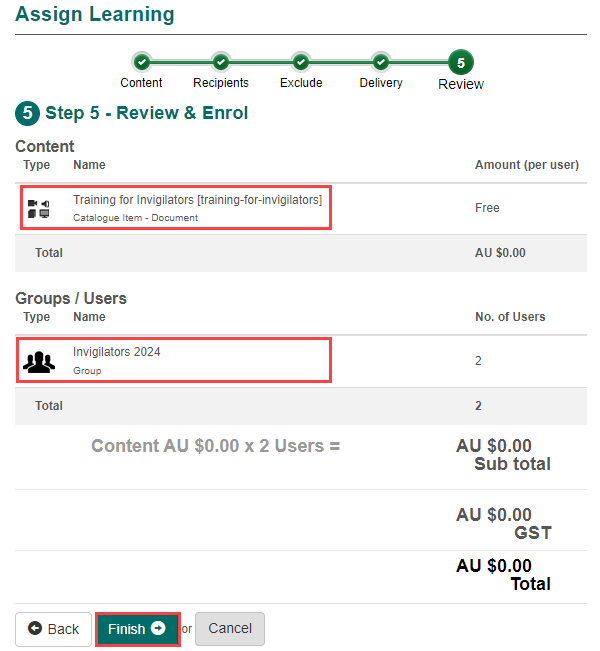
The training and group display for review. Select Finish.
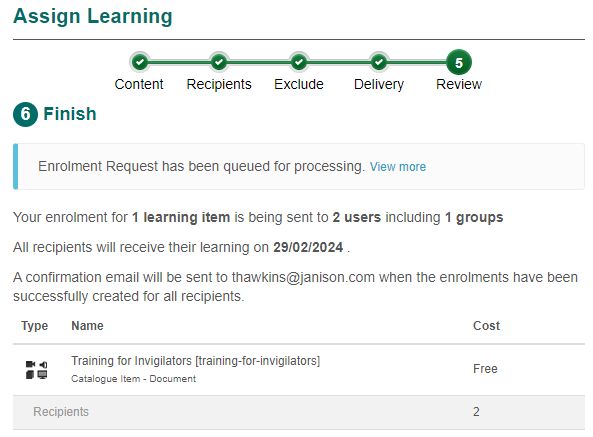
A summary screen displays.
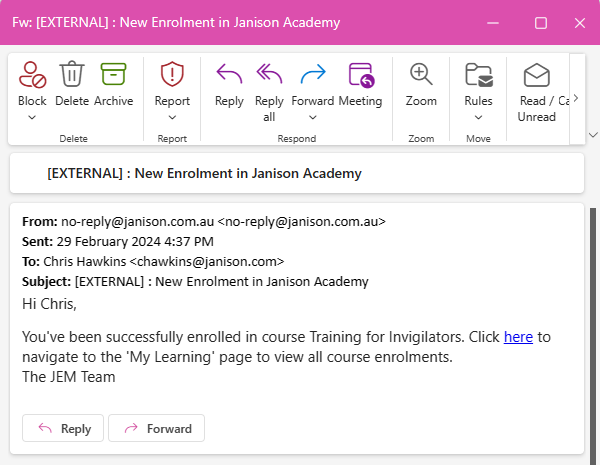
The users in the selected group now display in your catalogue item or training program. The enrollees receive an email notification with a link to their training.
Note
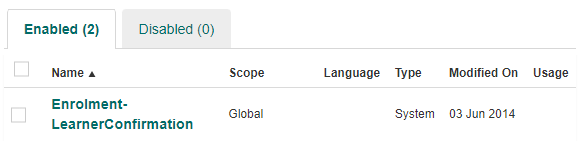
The email can be customised in Settings > Message Templates. The template is Enrolment-LearnerConfirmation.
Administrators also receive email notifications of successful enrolments.
Step 4 — add additional users to the group
In step 3 we checked Should the enrolments automatically enrol new users in these groups?
Follow the instructions in step 2 to import additional users. The system automatically adds them to the training. This may take several hours — for immediate enrolment, re-run the Assign Learning wizard.
Settings
Several platform settings affect Assign Learning.
Administrators can configure the following settings:
User Settings (Settings > User Settings) — control which fields appear on the user import template.
Message Templates (Settings > Message Templates) — customise the Enrolment-LearnerConfirmation email sent to learners when they're assigned learning.