Badges and endorsements
Endorsements work alongside competencies and give learners the opportunity for recognition of their skills by peers, plus completion of linked activities. Once endorsed, the learner receives a badge to show they have received the competency.
Info
This functionality was designed specifically for a MOOC environment and should be implemented accordingly.
To begin, ensure the Competency Endorsements page is added to your custom menu.

1. Setup — competencies
- Ensure that the Competency Management plugin is turned on at the global tenant level (a Janison staff member needs to do this).
- Several new menu items appear under Manage Learning. Navigate to Manage Competencies.
- Select the Actions menu and select Add Competency.
- On the competency create page, fill in the mandatory information (name and ID). You can also enter:
- Description
- Validity Period — the period the competency is valid for the user (e.g. 1 year after completion)
- Active — whether the competency is active
- Nationally Recognised — if the competency is nationally recognised in Australia
- Competency Icon — the icon that represents the competency (usually referred to as a badge)

- Select Save Competency.
- The competency appears on the Endorsement page added to your menu earlier.
2. Setup — enable endorsements
There's a second part to setting up a competency: enabling endorsements. Endorsements let you link your competency to activities. Activities are pages inside a module that let your learners achieve the badge.
- Under the Settings menu, select Competency Settings.
-
Enable Endorsements to link your activities. Extra options on this page let you:
- Add FAQs and an FAQ URL for your Competency Endorsement page. The FAQ content appears as a popup when selected.
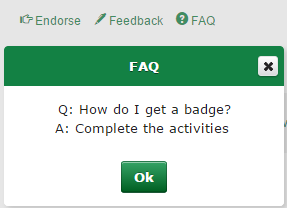
- The FAQ URL is intended for custom-page use.
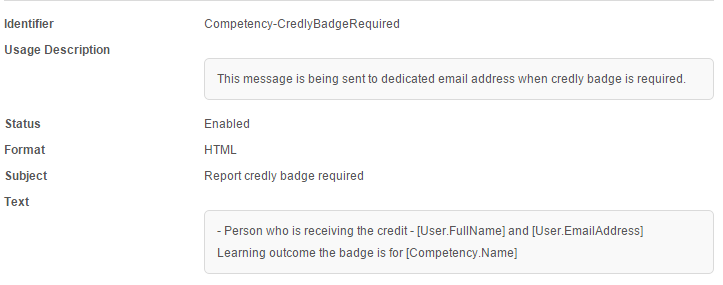
- Issue a badge notification email — the email address you specify receives an email when someone receives credit. The email is governed by a message template that can be altered.
- Return to the competency you previously created (Manage Learning > Manage Competencies) to link activities.
-
An extra option, Endorsement Settings, is now available.

-
Select Enable Endorsement.
3. Setup — endorsement settings
Step 1: Minimum activity
Set a minimum number of activities (pages) a learner must complete before they can apply for endorsement. If left blank, learners can apply for endorsement at any time. Otherwise, you can require completion of a subset — for example, 1 of 5 linked activities to solicit endorsement.

Step 2: Linked activities
Search for the page you want to link and select Add.

Step 3: Evidence
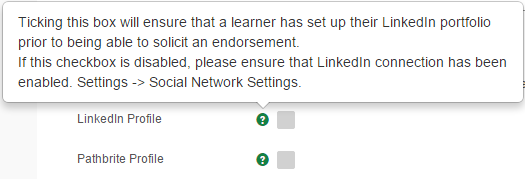
Learners can provide evidence for others to base their endorsement on. To enable this, you must have LinkedIn or Pathbrite configured in your CLS. If not, the checkboxes won't be selectable. This isn't required to implement endorsement functionality.
Step 4: Evaluation instructions
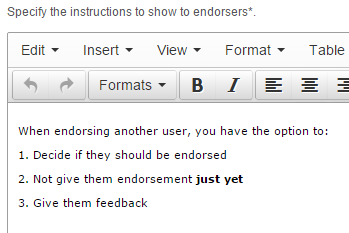
Provide instructions for endorsers (peers) on how to endorse someone, or explain why they should endorse another user. These instructions appear as a rubric when endorsing another user.
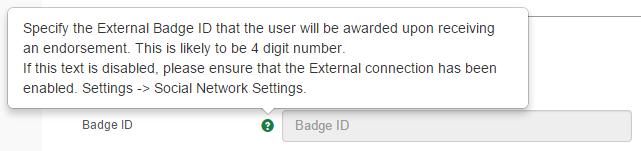
Step 5: External badge settings
Specify an external badge the learner receives if they earn an endorsement. This is mostly used to link conventions outside the CLS.
Learner overview
A rundown of the relevant learner-facing sections:
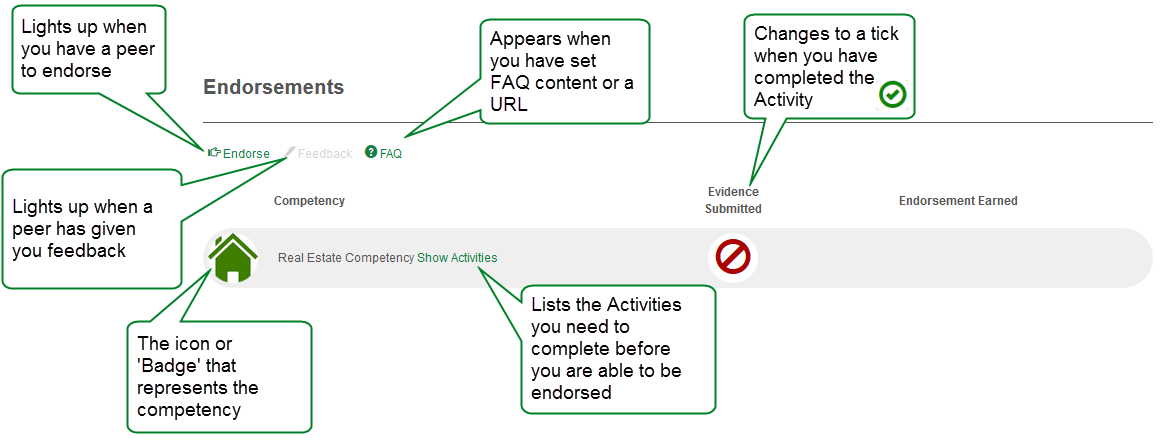
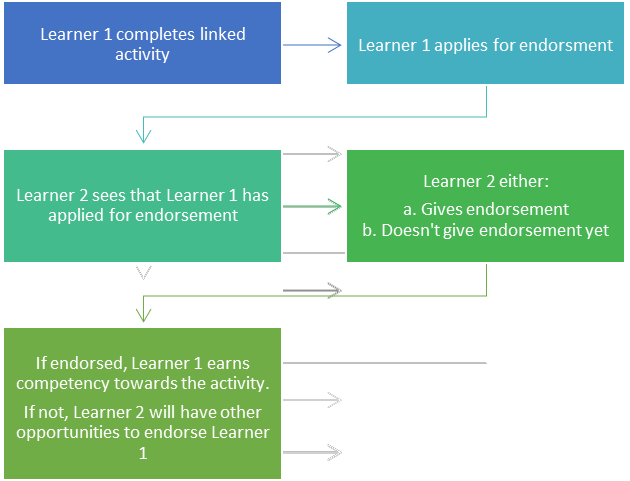
1. Workflow — complete linked activities and apply for endorsement
To apply for endorsement, a learner must first complete the activities linked to the competency. Since the linked activities are pages in a module, ensure the learner is enrolled in the course catalogue first.
After the learner completes the activity, the Evidence submitted block icon changes to a tick, and an Apply button appears on the right.
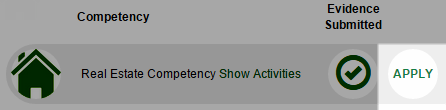
When the learner selects Apply, the system confirms they've applied for endorsement.

2. Workflow — endorse other learners
-
After a learner has applied for endorsement, the Endorse link lights up on other users' Endorsements pages.

-
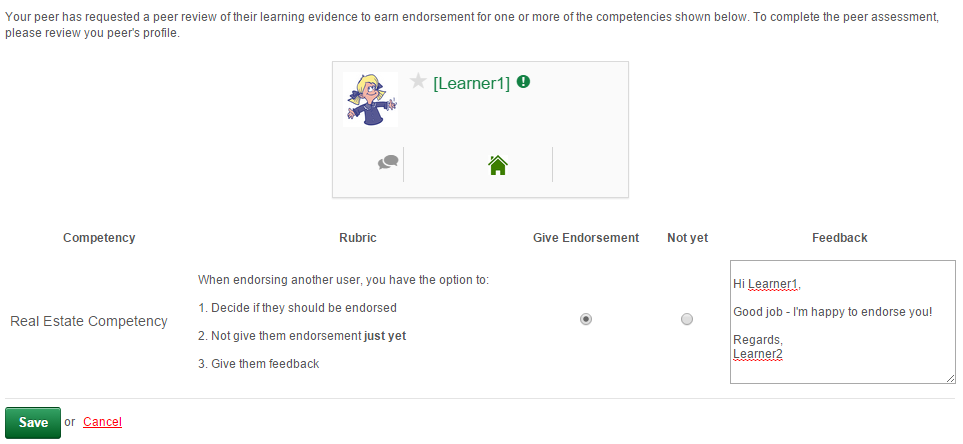
They're prompted to either endorse the user or not give them endorsement yet, and to provide feedback.
-
Give Endorsement — shows up on the peer's endorsements page.
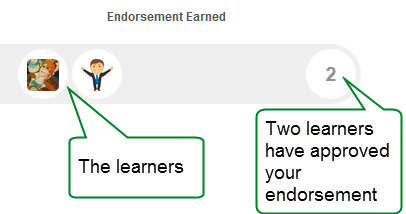
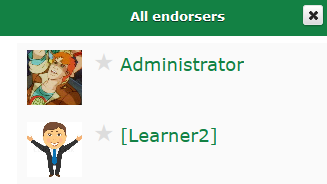
- Not Yet — keeps the other learner on the list to be endorsed but pushes them to the back.
Note
Users can only endorse one peer at a time.
3. Workflow — diagram
People page
The People page is added to your custom menu using XML.
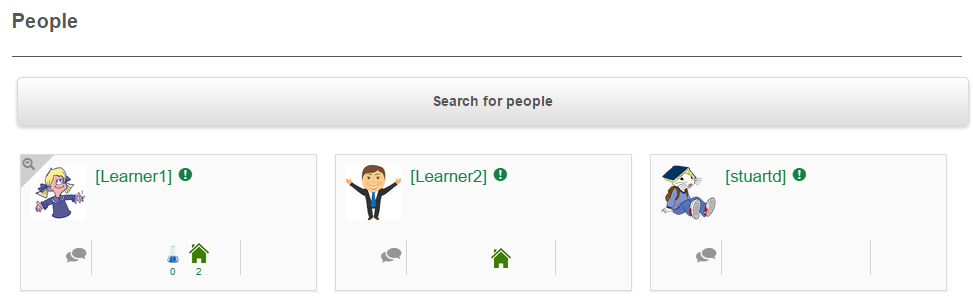
This page shows learners how many badges, and which badges, their peers have acquired and how many people have endorsed them against the badge.
Warning
The People page shows every user in your CLS. The page can't be segregated between organisations, organisation units, or groups. Every user in the system has the ability to endorse another learner and see that learner's endorsements on the People page.
Settings
Several platform settings affect badges and endorsements.
Administrators can configure the following settings:
Competency Settings (Settings > Competency Settings) — enable endorsements and configure FAQs, FAQ URL, and badge notification email.
Competency Management plugin — must be enabled at the global tenant level by Janison.
Custom Menu (Design > Custom Menu) — add the Competency Endorsements page and optionally the People page.
Message Templates (Settings > Message Templates) — edit the badge notification email content.