My Learning Transcript
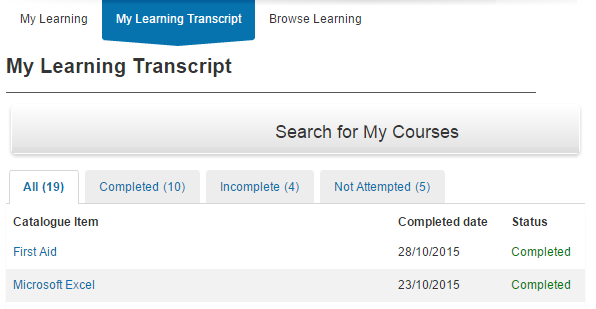
My Learning Transcript shows the history and status of a user's learning in the CLS. The page is reached by selecting My Learning Transcript from the Home page.
The learning transcript can be exported to a PDF by selecting Export to PDF.
The on-screen transcript shows:
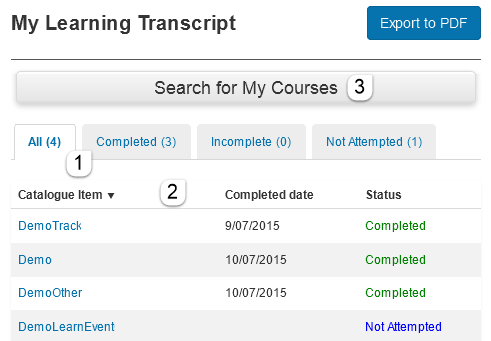
- Catalogue Items divided into four tabbed sections: Completed, Incomplete, Not attempted, and All.
- Columns that can be customised. By default the columns shown are Catalogue Item, Completion Date, and Status. The list sorts by any column when you select its heading.
Each Catalogue Item name is a link to the learning asset.
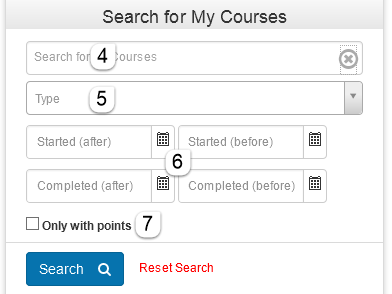
- Filter the list by selecting Search for My Courses, entering search terms, and selecting Search.
- Enter search criteria to filter the list.
- Filter by types of learning asset.
- Filter by setting Start and Completion dates.
-
Filter to show only catalogue items that have points.
You can add extra information to learning transcripts by customising the optional attributes — see Customising My Learning Transcript below.
Note
If a high number of columns are set to display, the columns may not fit on a single page in the exported PDF.
Customising My Learning Transcript
You can customise which columns are visible on a learning transcript.
Navigate to Settings > My Learning Transcript Settings.
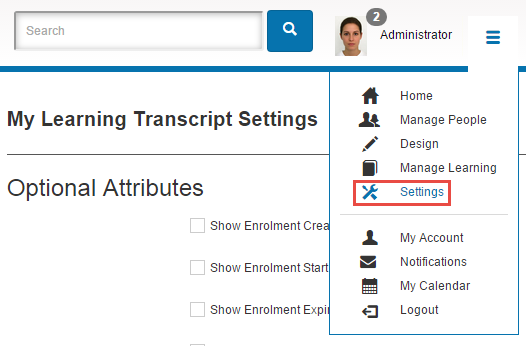
Optional attributes for transcripts
By default only three columns are visible — Catalogue Item, Completed date, and Status. Additional columns can be added by checking the options in Optional Attributes.
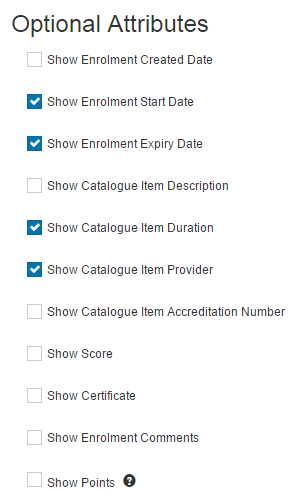
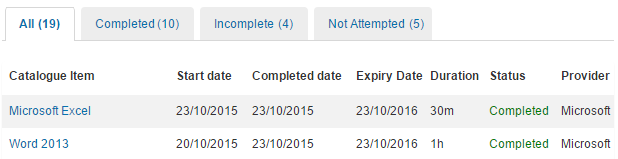
If the selections above are made, the transcript appears as below.
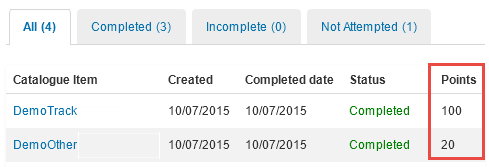
Show Points — when checked, displays the total number of points achieved from the catalogue item enrolment in a single column. See continuing professional development (CPD) for more information.
When you check Show Points other options become available.
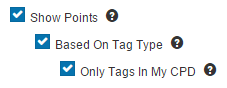
Based on Tag Type — when also checked, displays a separate column for the points achieved for each tag (category of points).

Only Tags in my CPD — when checked, the transcript only includes separate points columns for tags that are in the user's CPD plan(s). This is a good option to limit superfluous columns in the learner's transcript.
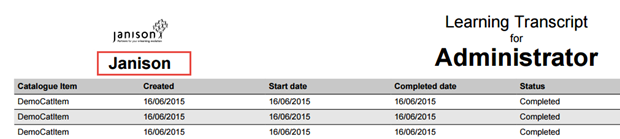
Institute Name
When edited, this field displays an institute name in the exported PDF transcript. To change it, select the Change Institute Name link, which takes you to Settings > String Resources. See the document on editing string resources for the steps.

Once changed in string resources, the text appears in the exported PDF.
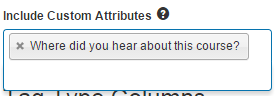
Include custom attributes
If custom attributes have been created for catalogue items, they can be made to appear as columns on the transcript. See the document on creating custom attributes for more information.
Select the required items from the dropdown.
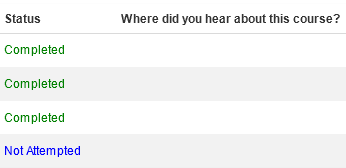
New column(s) appear on the learner's transcript.
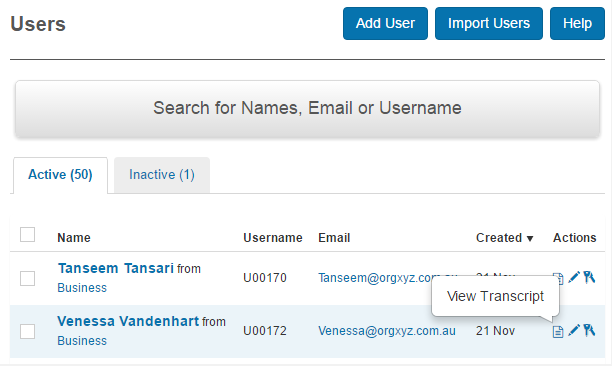
Administrator access to transcripts
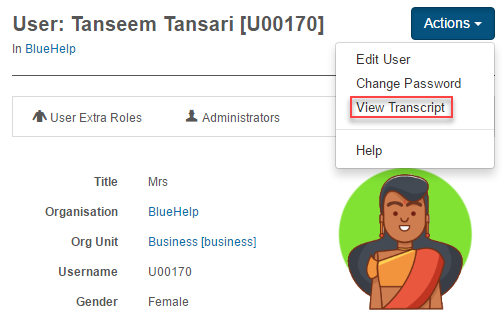
Learner transcripts can be accessed by administrators from the user list screen.
They can also be accessed from the user screen.
Tag Type Columns
You can specify that one or more tag types are linked to a learning transcript column. Tags attached to the catalogue items and also members of these tag types are displayed in that column.
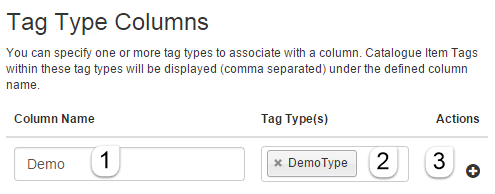
Navigate to Settings > My Learning Transcript Settings > Tag Type Columns.
- Enter a heading for the column under Column Name.
- Select one or more Tag Types.
- Select the + icon to add the column.
- You can create multiple Tag Type Columns. Delete one with the minus icon shown after creation.
You can delete a tag type by selecting its cross icon.
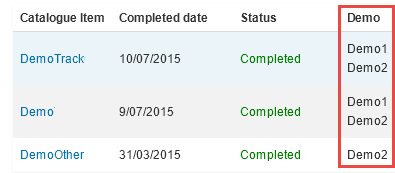
In this example, the tag type DemoType contains two tags, Demo1 and Demo2. They're attached to catalogue items the learner has enrolled in.
PDF transcripts
There are several extra options for learning transcripts exported to PDF.
Company logo
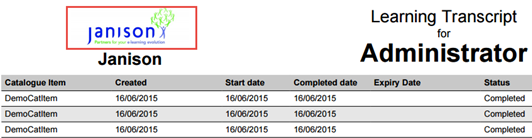
A logo can be added to the learning transcript PDF. It appears in the top left.
- Ensure the logo is saved on your machine as a
.pngfile. -
Navigate to Settings > Styles and Images > Images and Logos > Logo (Print) and select Select a file.
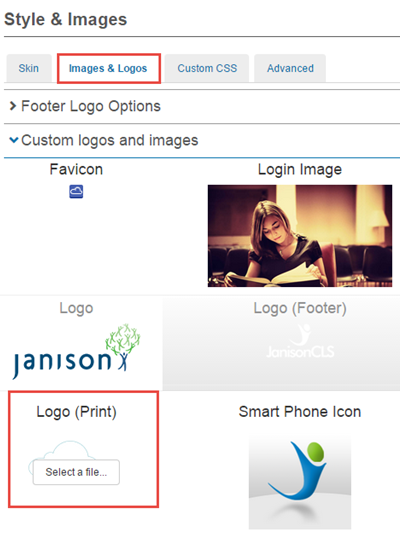
The image is automatically resized when it appears in the PDF transcript.
- Select Save Skin.
The logo appears on the top left of the PDF transcript.
The learner's name and student number
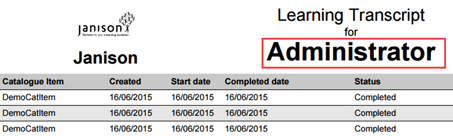
The user's full name and student number (if used) automatically appear on the top right of the transcript.
The date range of the transcript
If the transcript is limited by date range, that range appears on the top right of the PDF transcript.
Sort order
All entries in the learner's PDF transcript default to being sorted by completion date in descending order.
Other Learning
If a user completes learning outside the system but doesn't immediately log its completion in the system, the enrolment can be backdated in the transcript so it's included in the total learning for a given timeframe. In effect, the completion date for the actual enrolment is replaced in the transcript by the completion date entered for the Other Learning.
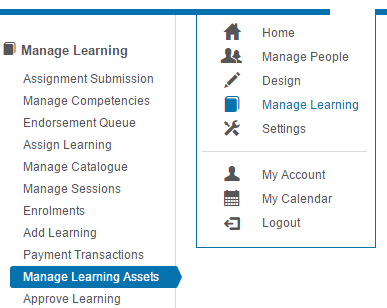
Navigate to Manage Learning > Manage Learning Assets and open the Other Learning asset.
- Select Edit Other Learning.
- Select the chevron to open General Settings.
-
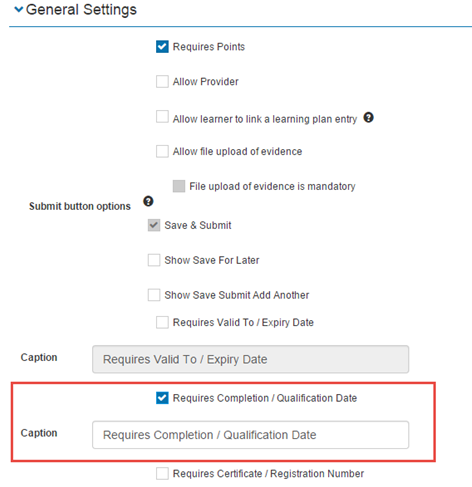
Check Requires Completion / Qualification Date.
-
Select Save Other Learning.
When a user enters the required details for the Other Learning, they're now required to enter a completion date.

It's this date that's displayed in the transcript rather than the actual date the enrolment in its linked catalogue item was completed (though the latter is still held in the system).
You can also customise what's shown under the Description heading in the transcript. If Show Catalogue Item Description is set in My Learning Transcript Settings, the Description column shows the text the user entered in the Other Learning's Learner Submission Notes rather than the text in the description field for the catalogue item.

Alternate transcript settings
This setting lets you use a custom transcript instead of the standard learning transcript for users in selected organisations, organisation units, or groups.
Note
Constructing a custom page to be used as a transcript requires advanced skills — contact the Janison customer support team for more information.
Browse to Settings > Catalogue Item Settings.
- Select Alternative Transcript Settings.
- Select one or more entities.
- Select the Custom Page Associated.
-
Select Save.
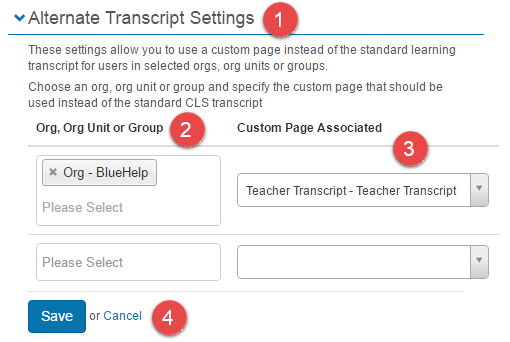
When a user in one of the nominated organisations, organisation units, or groups selects Learning Transcript, they're diverted to the custom page instead.
Settings
Several platform settings affect My Learning Transcript.
Administrators can configure the following settings:
My Learning Transcript Settings (Settings > My Learning Transcript Settings) — control which columns and attributes appear on transcripts, plus tag type columns.
Catalogue Item Settings (Settings > Catalogue Item Settings) — set the Alternative Transcript Settings to use a custom page for selected users.
Styles and Images (Settings > Styles and Images) — set the print logo that appears on the PDF transcript.
String Resources (Settings > String Resources) — edit the institute name shown on the PDF transcript.