Enable Azure AD login
This guide explains how to configure Janison Academy authentication to allow logon using an OAuth provider — Microsoft Entra ID (Azure AD).
Once configured, the Sign in with Office 365 button appears on the Academy login page.
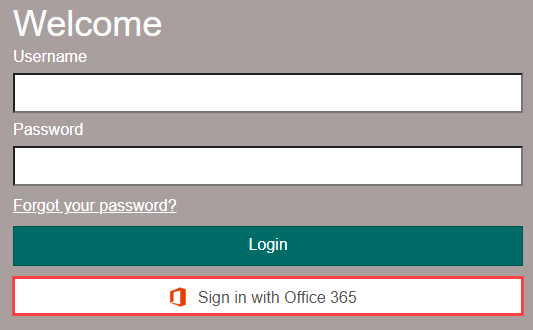
First configure the OAuth provider in Microsoft Entra ID, then set up Academy to connect with it.
Configure OAuth provider — Microsoft Entra ID
Before configuring OAuth in your Academy tenant, create an application in Microsoft Entra ID that represents your Academy site.
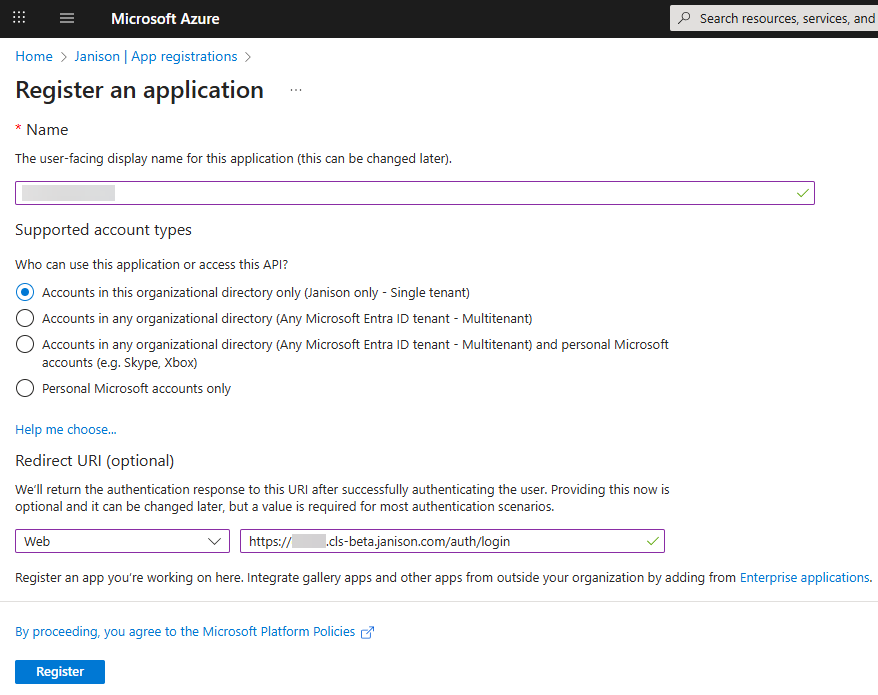
Step 1 — Register an application
- Log in to the Azure Portal with an administrative account.
- Search for Microsoft Entra ID and select it.
- Go to App Registrations.
- Select New registration.
- Enter a Name (for example, Janison Academy Integration).
- Under Redirect URI, choose Web.
- Enter your Academy URL followed by
/auth/login— for example,https://mytenant.cls.janisoncloud.com/auth/login. Always usehttps://. -
Select Register.
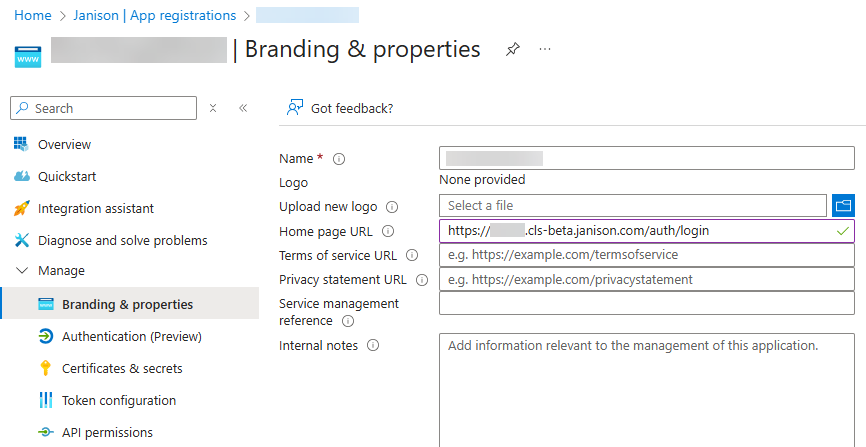
Step 2 — Branding and properties
- Go to Branding & Properties.
- Set the Home page URL to your Academy site URL (include
/auth/login). -
Select Save.
Step 3 — Authentication (Preview)
- Go to Authentication (Preview).
- Select Edit in the Redirect URI column.
-
Update the URL: replace
/auth/loginwith/auth/oauth2callback. Example:https://mytenant.cls.janisoncloud.com/auth/oauth2callback.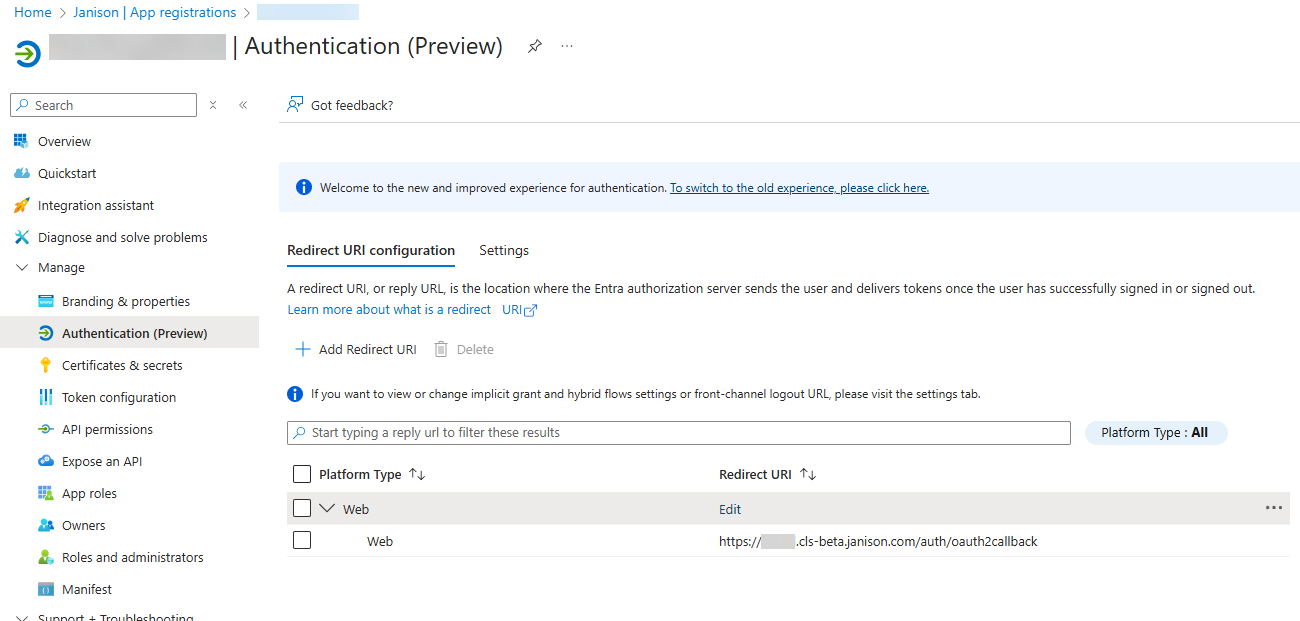
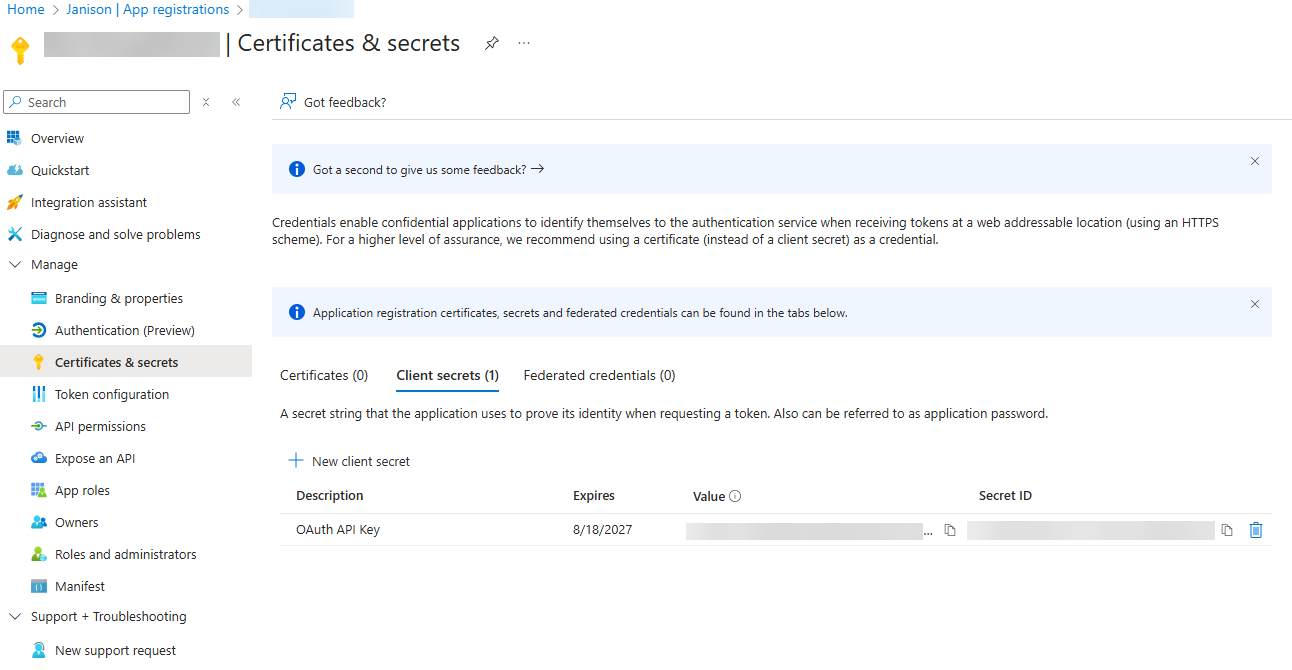
Step 4 — Certificates and secrets
- Go to Certificates & Secrets.
-
Select New client secret.
- Enter a description (for example, OAuth API Key).
- Set expiry to 24 months.
- Select Add.
-
Copy the Value of the client secret (API key). Keep it safe — you'll need it when configuring Academy.
Step 5 — API permissions
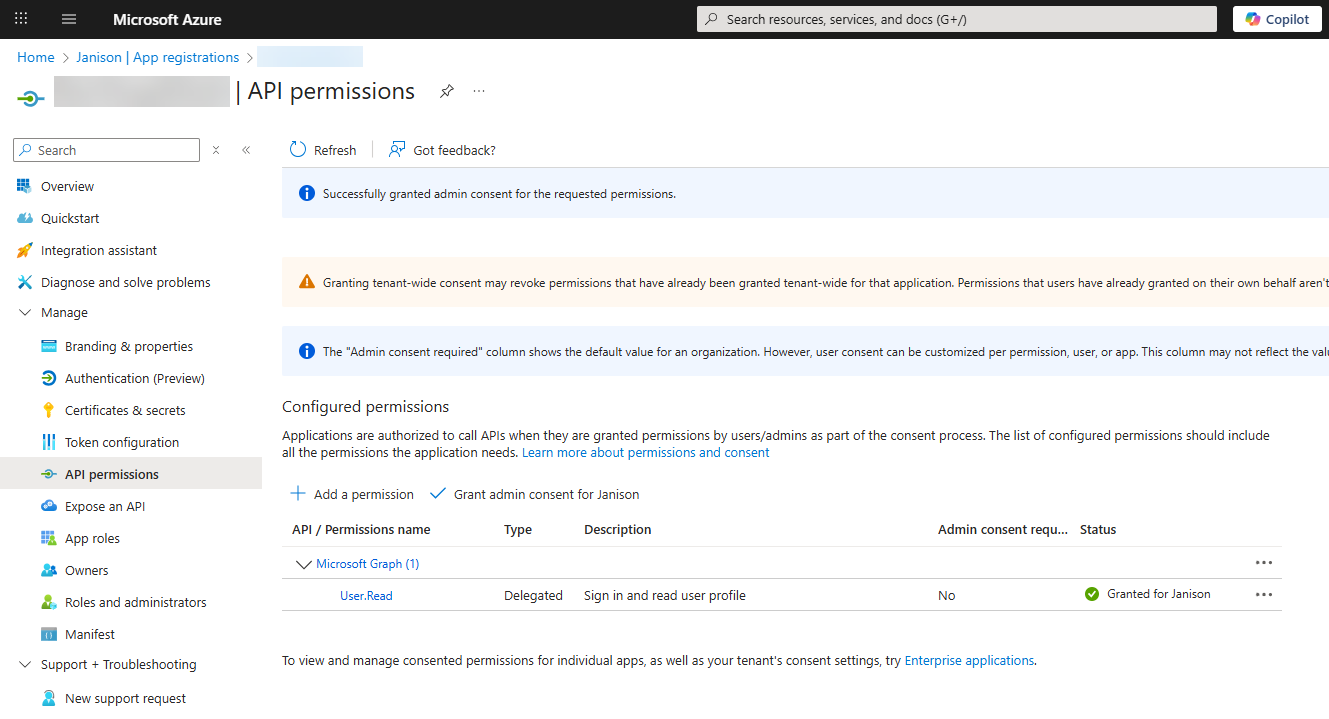
- Go to API Permissions.
- Confirm Microsoft Graph > User.Read is listed. If not, add it.
-
Select Grant admin consent for [tenant], then confirm.
Step 6 — Expose an API
- Go to Expose an API.
- Select Add next to Application ID URI.
-
Enter your Academy URL. Example:
https://mytenant.cls.janisoncloud.com.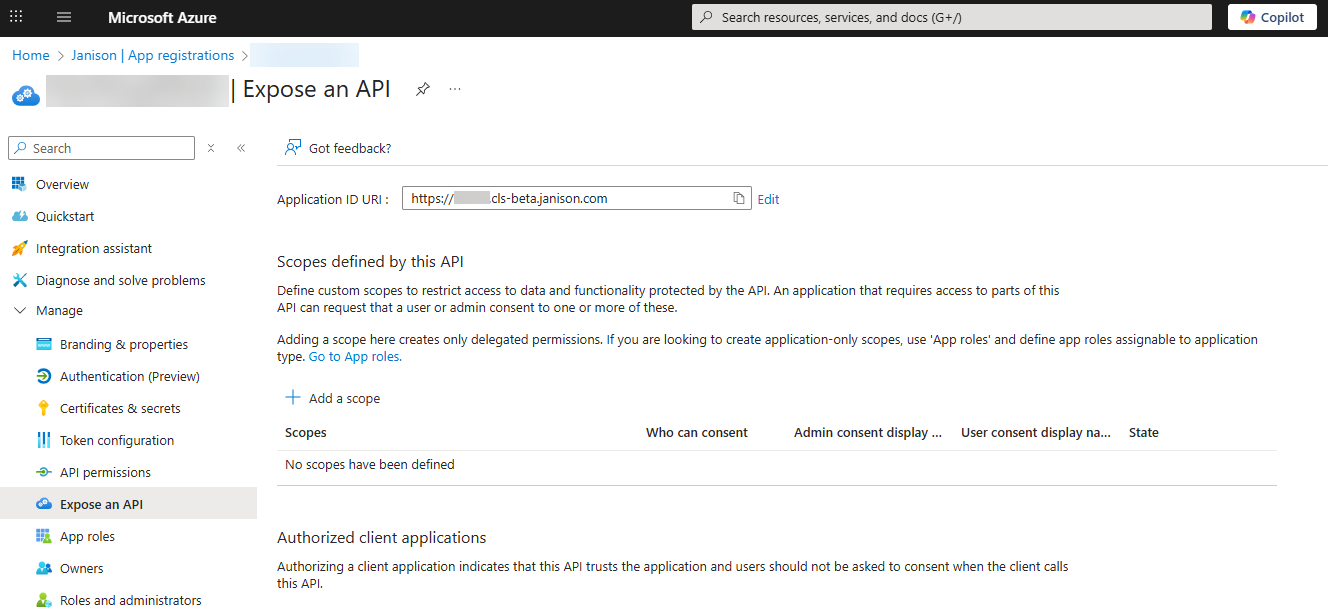
Step 7 — Record details
Record the following:
- API Key — from the client secret you created.
- Application (client) ID — from the Overview page.
- App ID URI — for example,
https://mytenant.cls.janisoncloud.com. - Reply URL — for example,
https://mytenant.cls.janisoncloud.com/auth/oauth2callback.
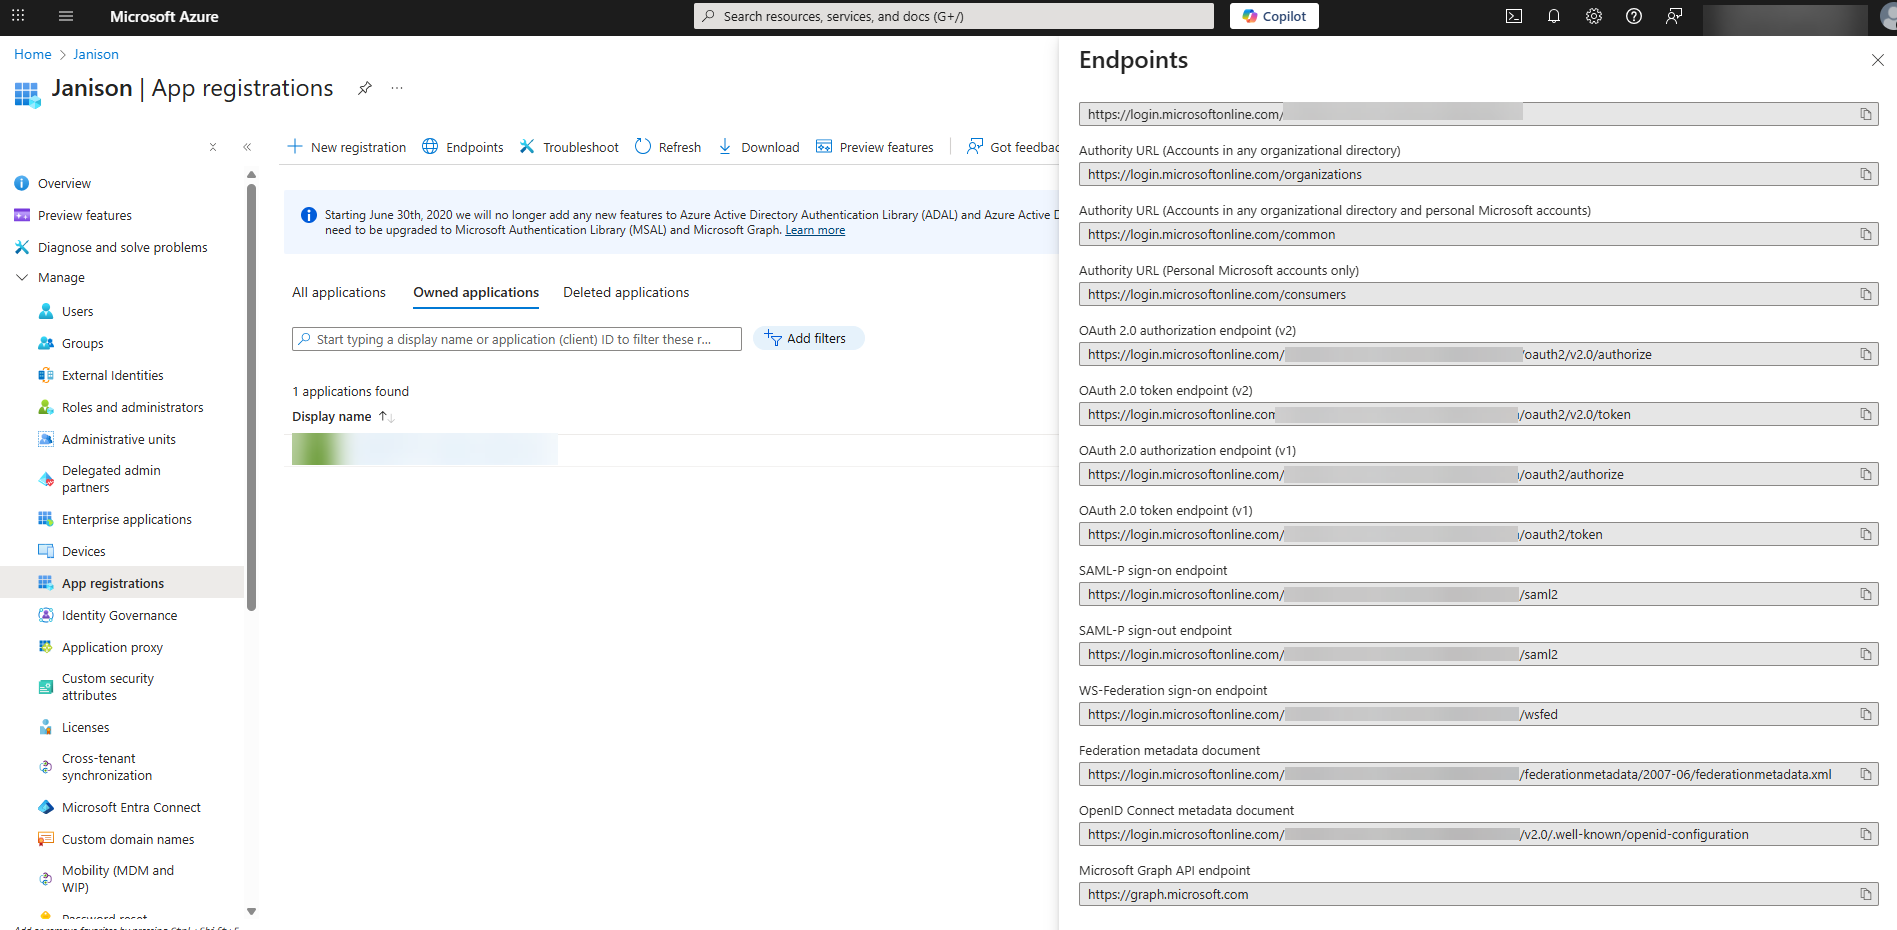
In App Registrations, select Endpoints and record:
- Microsoft Graph API endpoint.
- OAuth 2.0 token endpoint (v1).
- OAuth 2.0 authorization endpoint (v1).
Enable Azure AD login in Academy
Important
These settings are only available to users with admin permissions.
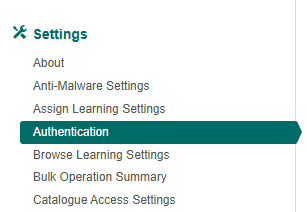
Navigate to Settings > Authentication.
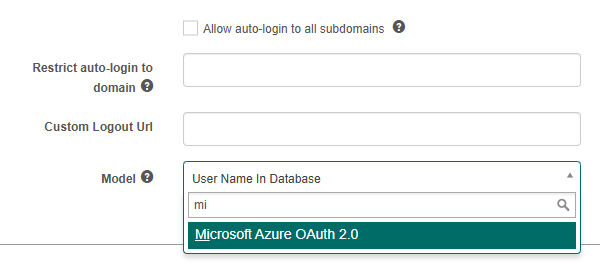
Select Microsoft Azure OAuth 2.0 from the Model dropdown.
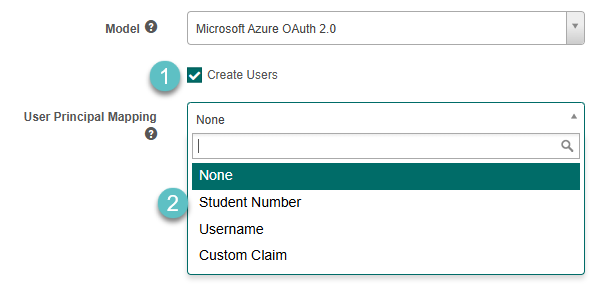
The screen updates with additional fields:
- Optionally select Create Users — Academy will create users in its database in the Default Organisation.
-
Select a User Principal Mapping option.
Academy always attempts to match user accounts using the ImmutableId first. If no match is found, it falls back to using the UserPrincipalName provided by the OAuth identity provider.
The UserPrincipalName can be mapped to Student Number or Username.
If no mapping is configured, UserPrincipalName is ignored and Academy attempts to match on the Email field instead.
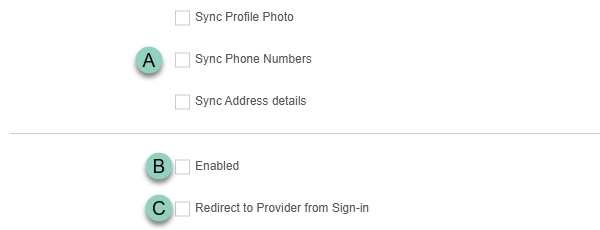
The following settings are optional and customise how Azure AD behaves during authentication and creation.
Optional data sync settings — you can choose to import additional user information from Azure AD during user creation:
- Profile Photo — syncs the user's photo.
- Phone Numbers — imports phone contact details.
- Address Details — imports physical address information.
Enabled — select to enable Azure AD authentication.
Redirect to Provider from Sign-in — automatically redirects the user to the provider rather than requiring them to select the login button.
Complete only the fields that apply to your environment. Several correspond to values you configured in the Azure portal — leave irrelevant fields blank.
- Client ID — as configured in the Azure portal.
- Secret key — as configured in the Azure portal.
- App ID URI — as configured in the Azure portal.
- Reply URL — from the Azure AD portal.
- OAuth 2.0 authorisation endpoint — as configured in the Azure portal View Endpoints. Looks like
https://login.microsoftonline.com/. - OAuth 2.0 token endpoint — as configured in the Azure portal View Endpoints. Looks like
https://login.microsoftonline.com/. - OAuth 2.0 resource to request — enter
https://graph.windows.net. - OAuth 2.0 Login Scope — strings can be entered to enable access to particular resources, such as user data.
- OAuth 2.0 Prompt — used to provide prompts to the user.
-
Domain hint — to bypass Home Realm Discovery, set a value (for example,
mycompany.com.au). Users are taken directly to the login screen for the specified domain. If left blank, users may be taken to the Home Realm Discovery screen to select which domain account they wish to use.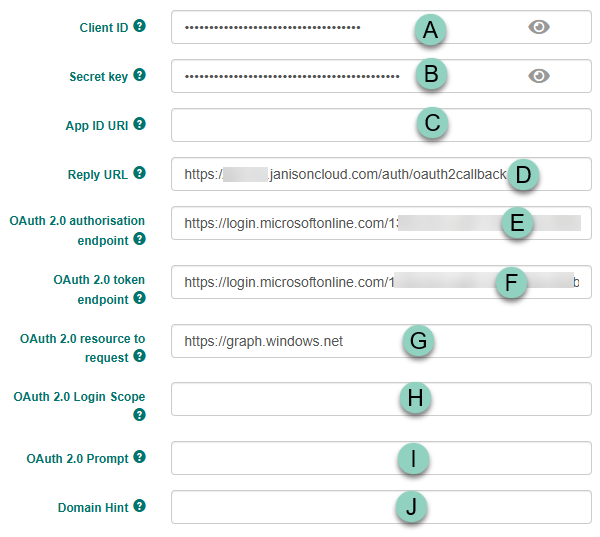
Microsoft Azure OAuth is now enabled. The login screen includes the Sign in with Office 365 option.
Settings
This page documents the Microsoft Azure OAuth 2.0 model under Settings > Authentication. See Authentication for the broader authentication settings and other models (Username in Database, SAML).