Tests
In the authoring area of Janison Insights, educators and administrators create, edit, and manage assessment items such as multiple-choice, written response, or interactive questions within a structured, secure environment.
The platform provides tools for organizing assessments into tests, applying metadata, embedding media, and previewing item behavior before delivery.
Author Tests
A test consists of three main components: the test itself, the test sections, and the items.
Note
Depending on the configuration of your site, items may have been renamed to questions using string resources.
Tip
We recommend drafting your test on paper or in a program like Microsoft Word before starting the development process in the system.
Create a Test
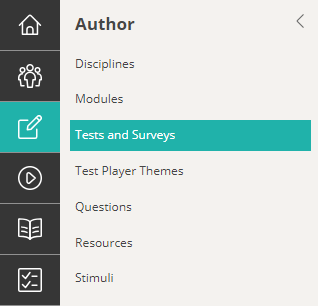
- Navigate to Author > Tests and Surveys
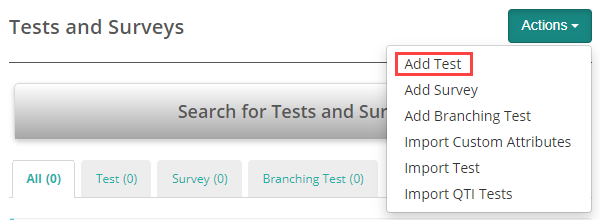
- Select Add Test from the Actions drop-down
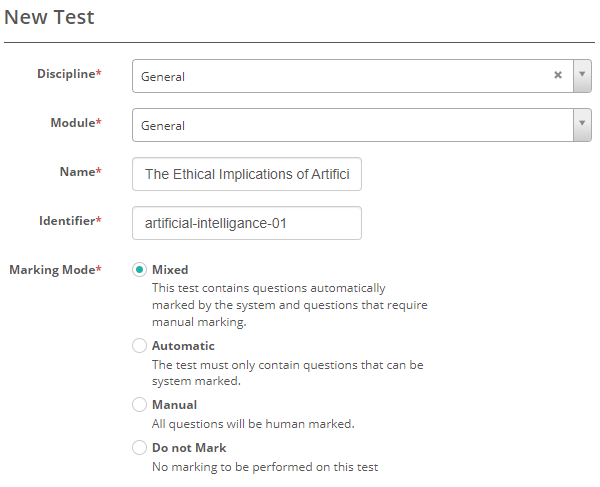
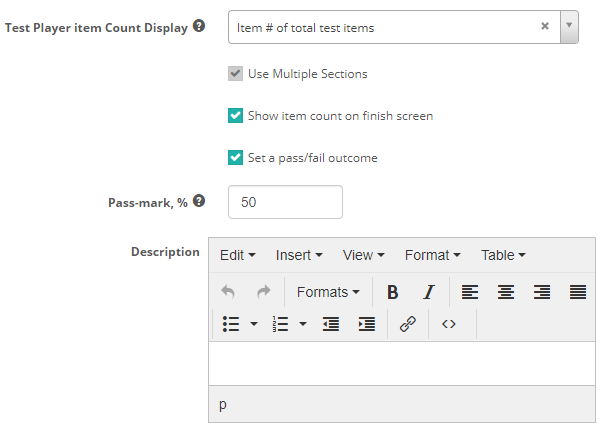
- Complete the form as required with explanations and tooltips available
-
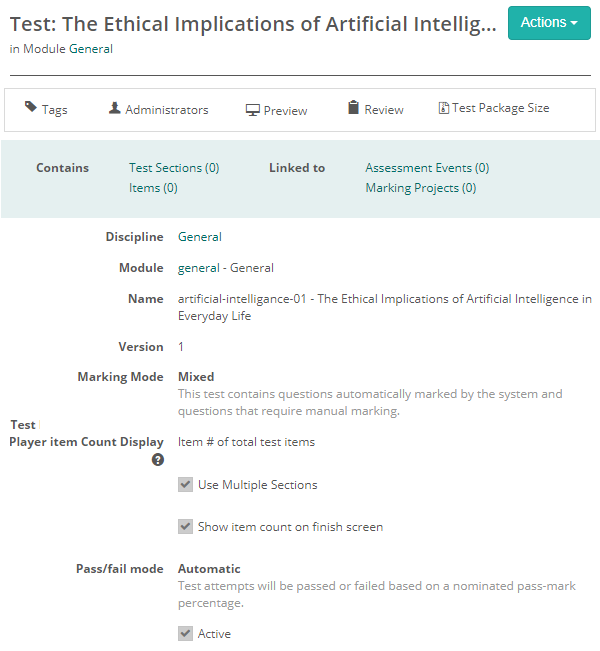
Upon saving, the test displays with its details and several expandable sections for additional settings and options
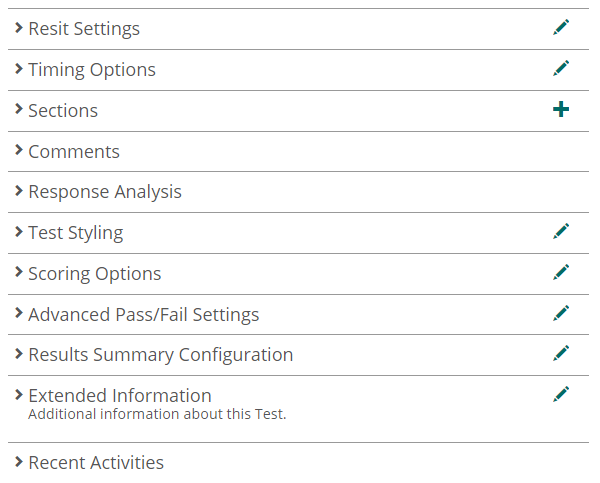
Expandable Sections
Resit Settings
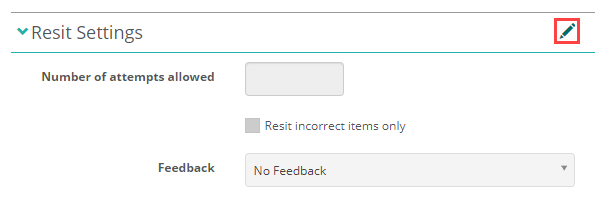
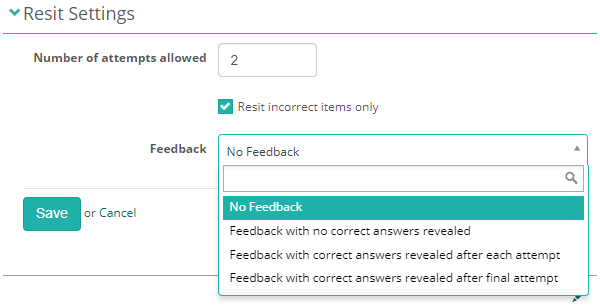
In this section you can specify the number of attempts allowed for the test. If you choose the Resit Incorrect Items Only option, the system will present only the items with incorrect responses to the test-taker.
Select the pencil icon next to the Resit Settings expandable to configure this section.
Feedback and Live Marking
Feedback and live marking provides you with options to display feedback in the test player during or after a test.
Covered in detail in the Feedback and live marking document.
Timing Options
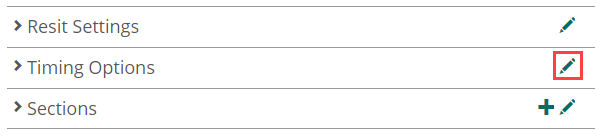
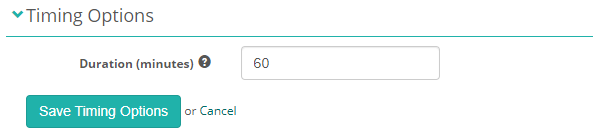
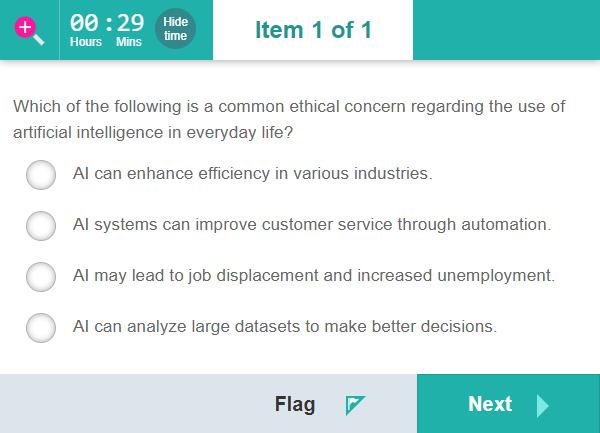
In this section, you can set the test duration. Test-takers will have that specified amount of time to complete the test, with a visible countdown timer displaying the remaining time.
Select the pencil icon next to the Timing Options section to configure this option.
Enter the number of minutes available (must be greater than 0 and less than or equal to 1440, which equals 24 hours), then select Save Timing Options.
Test Timer
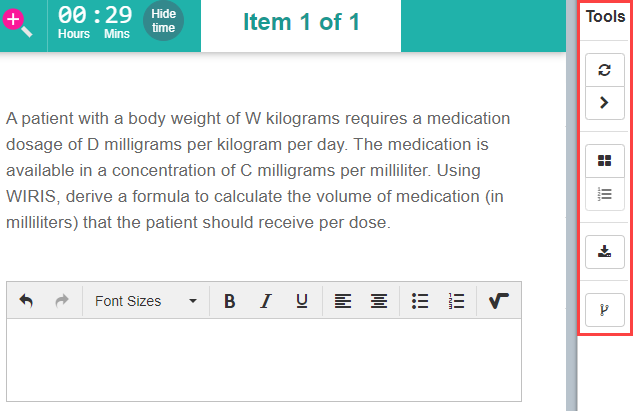
The timer displays at the top left of the test player.
Timer Settings
You can customise the timer's behavior through available settings.
Navigate to Settings > Test Designer Settings > expand Test Player 2 Settings section.

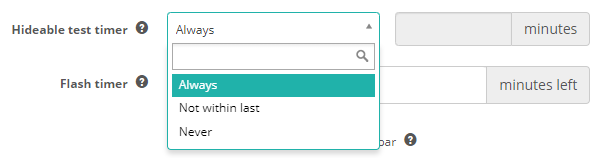
Hideable Test Timer
This option determines whether the test-taker can hide the test timer. You can set the timer to be always hideable, never hideable, or not hideable within the last X minutes.
Flash Timer
This option controls whether the test timer will flash when there are X minutes remaining. You can set multiple time intervals. The timer will only flash if it's visible, so it should be used in conjunction with the previous setting.
For example, the timer will flash 10 minutes remaining, and then again when there are 5 minutes remaining.

Sections
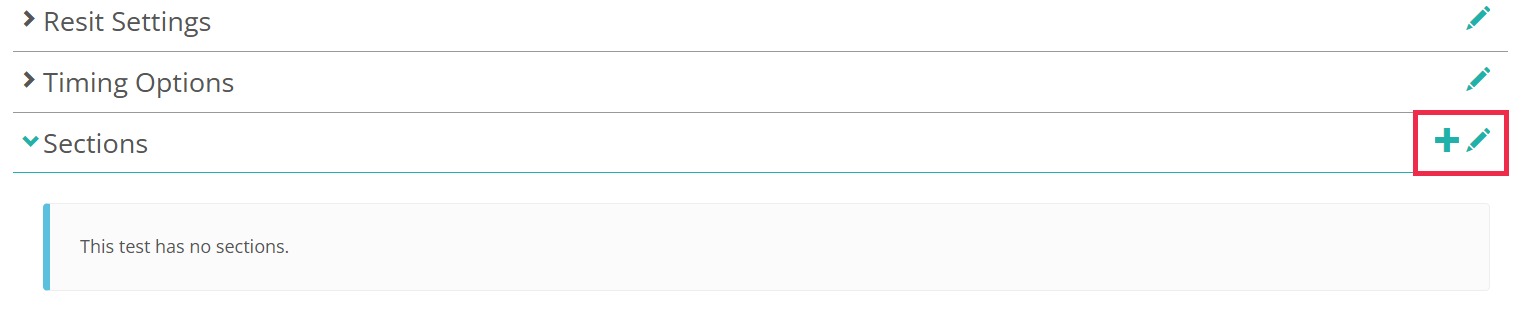
In this section, you can create new test sections or add existing ones to a test.
Covered in detail in the test section topic.
Comments on a Test
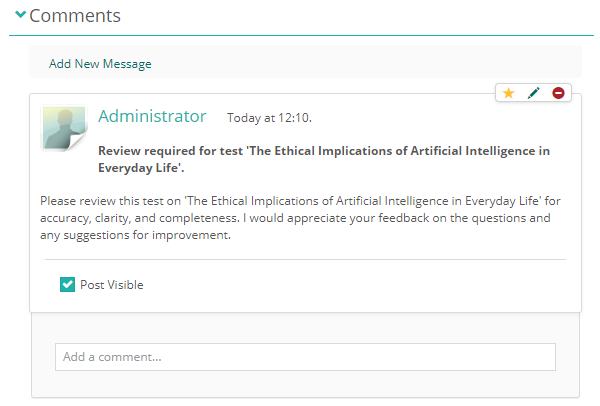
This section allows authors working on the test to engage in discussions. The discussions are limited to the test itself and do not include related email notifications.
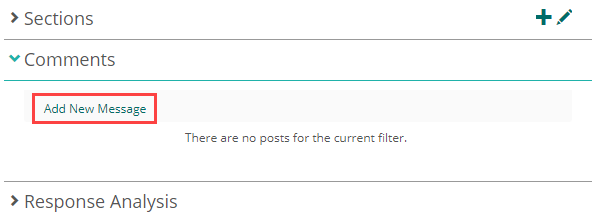
Expand the Comments section and select Add New Message to add a comment.
Options to edit or delete messages are available using the pencil and delete icons. Once posted, authors can add comments or add their own message.


Response Analysis
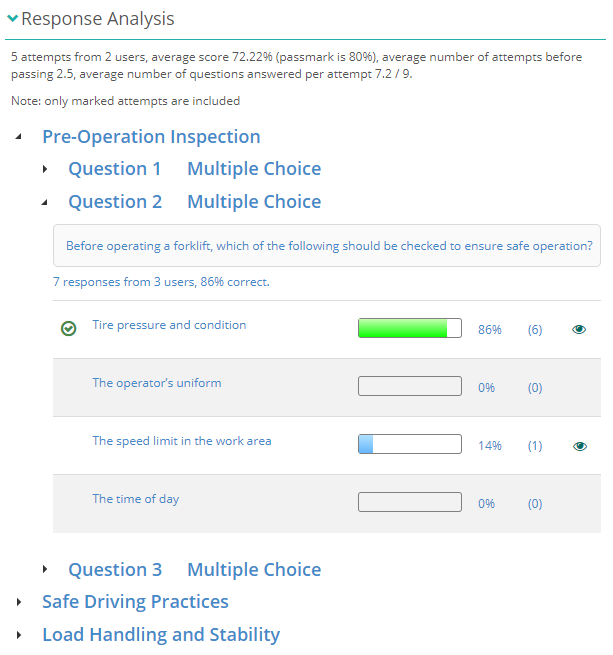
In this section, you can see an analysis of test-taker responses for the test. A response analysis provides valuable insights into test-taker performance, helping to identify trends and areas where students may struggle.
Analysis Metrics
The test analysis includes:
- Number of attempts from number of users
- Average score and pass mark
- Average number of attempts before passing
- Average number of items answered per attempt
This is followed by an analysis of each item in the test:
- The total number of responses from the number of users
- The percentage of test-takers who selected the correct response
- The correct response
- The percentage of responses for each distractor
- The count of responses for each distractor
Note
This is followed by an analysis of each item in the test. Below is an example of a test in progress. The data will update as the system marks new attempts.
This test has three sections with three items in each section.
Test Styling
In this section, you can customise the appearance of the test player for test-takers.
Test Player Theme
Test player themes offer the capability to incorporate a logo, customise colours, and for administrators with CSS proficiency, to integrate overriding CSS into Replay. Test authors add themes at the test level, so that the player can be customised per test.
Navigate to Author > Test Player Themes to create a theme.
Covered in detail in the test player themes document.
Math Equation Editor
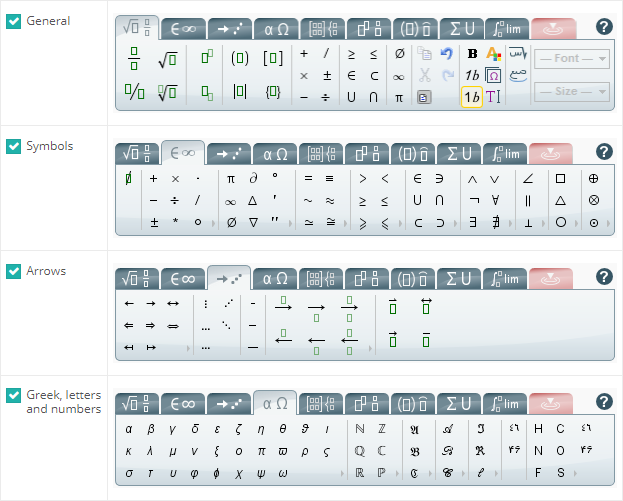
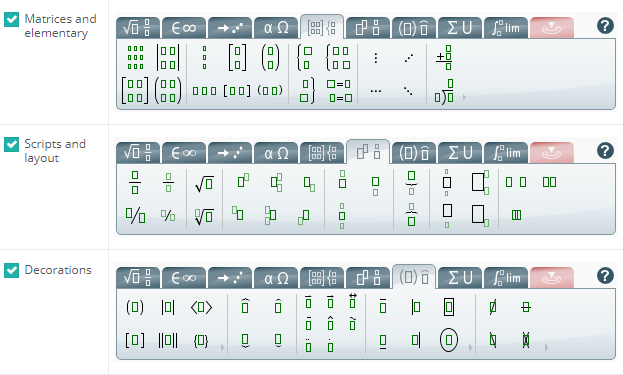
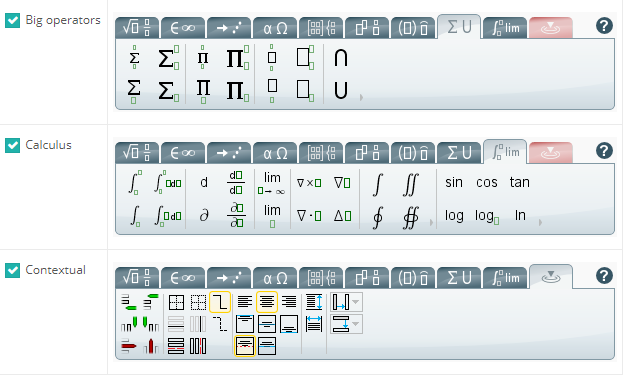
This feature allows you to activate various math equation tabs and make them accessible to test-takers in the item text editor. Select the appropriate checkboxes to enable them.
Enable Math Editor for an Item
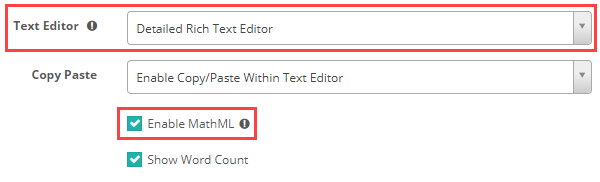
The item author must enable the math editor at the item level. The item Text Editor should be set to Detailed Rich Text Editor, with the Enable MathML option checked.
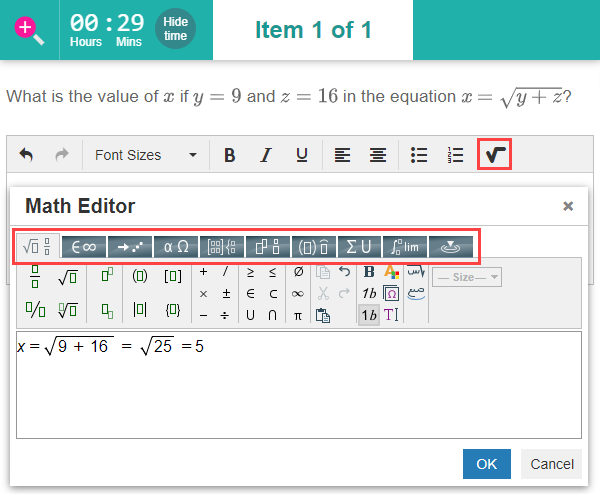
If enabled, when the test-taker opens the item, they can click the math editor symbol to open the math equation editor. The active math editors' tabs will be available for easy navigation, as shown in the screen captures below.

Scoring Options - Test Score Band Tables
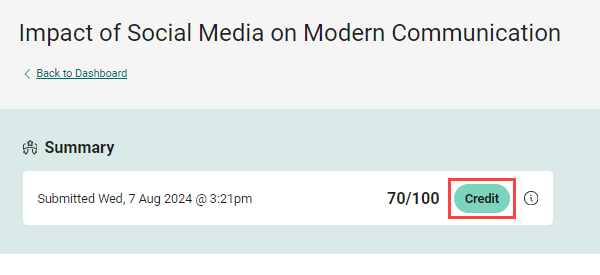
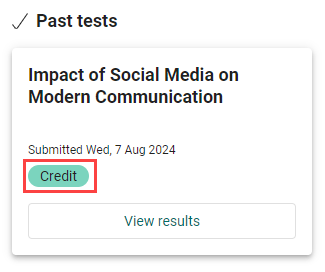
Test score band tables enable an author to assign names to ranges of scores on a test. When the system calculates results, the test-taker is assigned a band such as fail, pass, credit, or distinction, rather than a numerical score. These bands display on the tiles and summary screens of the candidate dashboard as in the screen captures below.
Settings Configuration
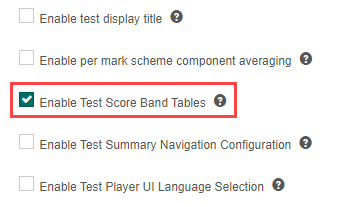
Enable Test Score Band Tables
Navigate to Settings > Test Designer Settings > expand Test Authoring Settings section > select Enable Test Score Band Tables.
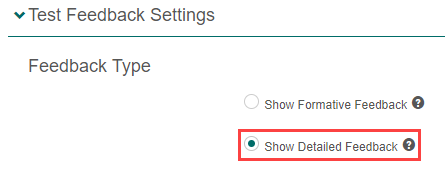
Enable Detailed Feedback
Navigate to Settings > Test Delivery Settings > expand Test Feedback Settings section > select Show Detailed Feedback.
Add Bands to a Test
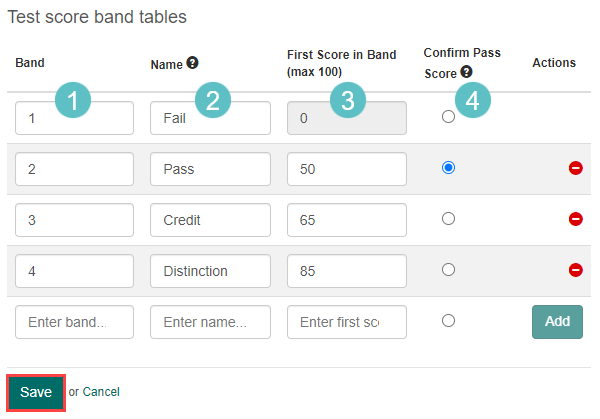
Open a test and select the pencil on the Scoring Options section.

- Select a Band (identifier, not visible to test-takers unless Name field is blank)
- Enter a Name (example: Fail, Pass, Credit, Distinction)
- Enter the First Score in Band (max 100) (example: test out of 100, below 50 = Fail, 50–64 = Pass, 65–84 = Credit, 85+ = Distinction)
- Select option for Confirm Pass score to indicate the passing threshold (example: if pass score set to 50, test-takers achieving this score or higher see green grading descriptor; below 50 displays in red)
Note
Once the assessment event moves beyond the 'Draft' status, such as to 'Delivery,' test score bands becomes non-editable for certain roles. However, administrators can grant edit permissions, allowing modifications even if the test has active linked assessment events. For assistance, please contact your Janison account manager to make these changes if needed.
Next Steps
Now that you have created your test, the next step is to create test sections and items.
Advanced Pass/Fail Settings
Results displaying to test-takers on a feedback screen at the end of a test depend on information added to this section.
Results Summary Configuration
As with the Advanced Pass/Fail Settings sections, Results Summary Configuration is also essential to make the results display to test-takers at the end of a test.
Preview Tests
As a test author, previewing a test allows you to experience it from the test-taker's perspective, ensuring that everything functions as intended. It helps you verify that the items are displayed correctly, the navigation is intuitive, and any multimedia or interactive elements work seamlessly. This process also allows you to identify and correct any errors or ambiguities before the test is made available to test-takers, leading to a smoother and more effective testing experience.
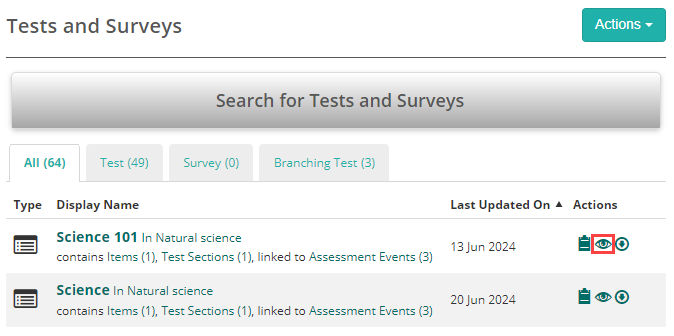
Preview from the Test List
Navigate to Author > Tests and Surveys > select the Preview icon in the Actions column.

Preview from the Test Details Screen
Open a test and select the Preview link.
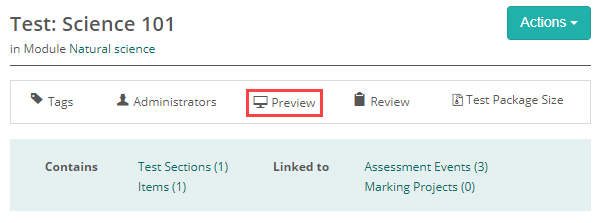
You can now run through the test and access the test player preview tools.