Chief marker role
Chief Markers have access to create and configure marking projects and to mark responses. You can set marking teams and assign specific questions to Markers depending on their area of expertise. Chief Markers are usually responsible for undertaking S1 tasks and monitoring the progress and quality of Markers.
Tip
To learn more about creating marking projects see the Setting up marking projects section. To learn more about configuring marking projects, see the Marking project settings and activities section. To refresh your knowledge on standardisation 1, see the Marker training and quality control section.
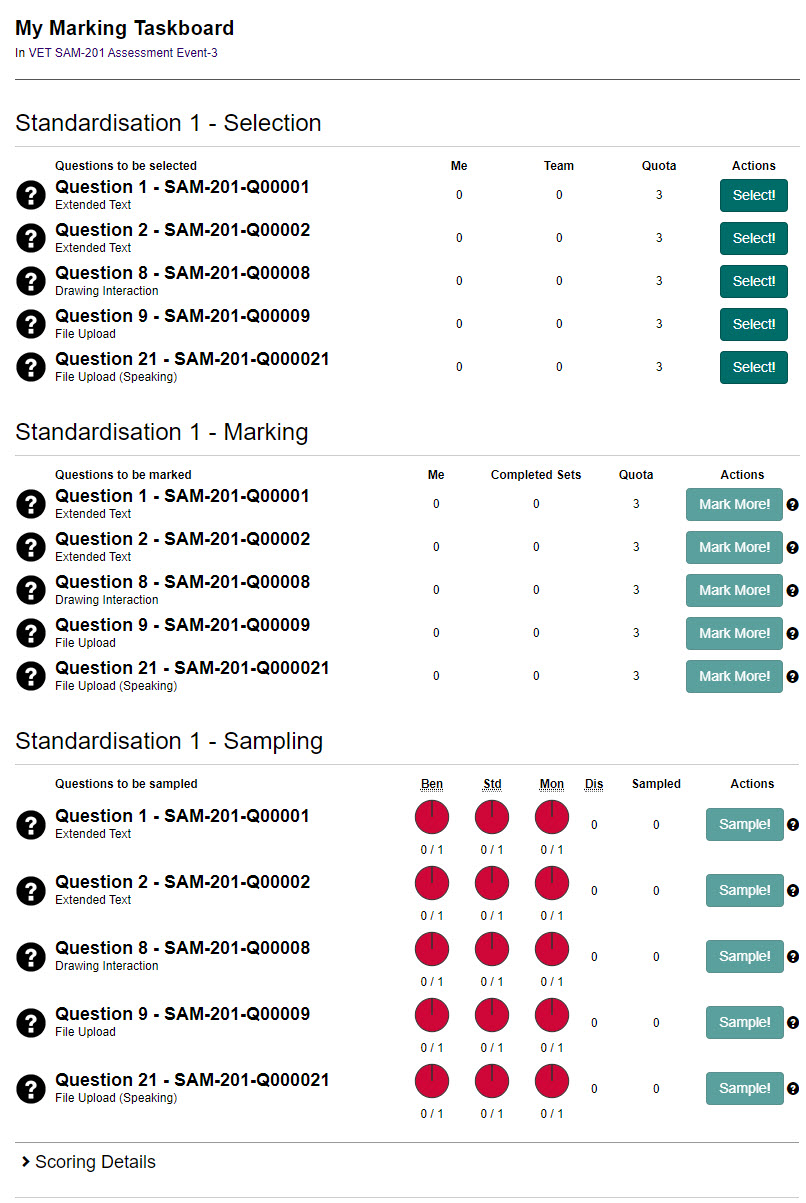
My Marking Taskboard
Important
This taskboard may differ depending on the configuration of the marking project. Markers will start working from the top of the taskboard. As you move through the standardisation process, the taskboard will continue to update to display this progress.
Standardisation 1 – selection
The selection phase of standardisation 1 (S1) requires senior members of the marking team, usually Chief Markers, to select candidate scripts for inclusion as part of the standardisation scripts. To do this, Chief Markers will group the scripts into bands.
-
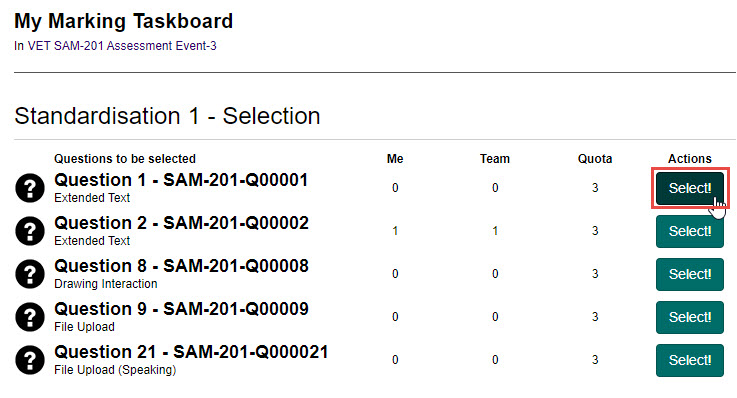
From the Standardisation 1 – Selection section, select the Select button next to the question you'd like to mark.
-
Complete the following:
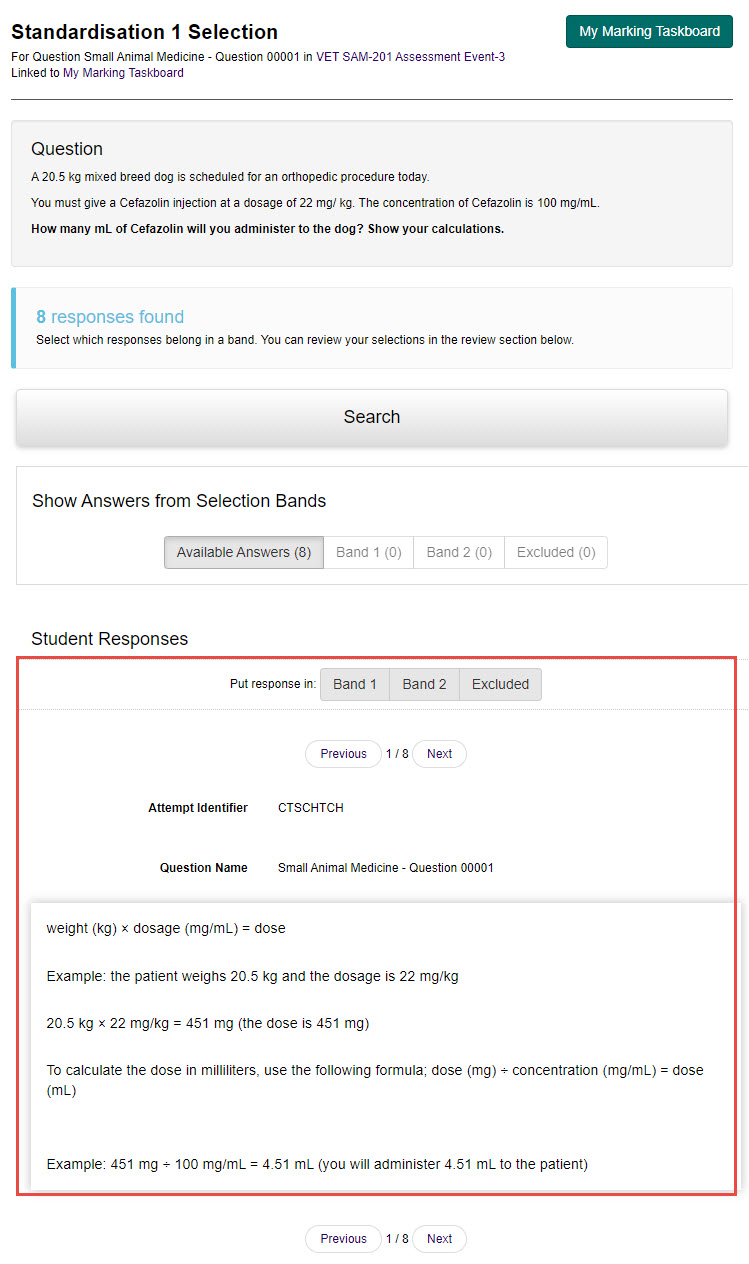
- Review the candidate's response.
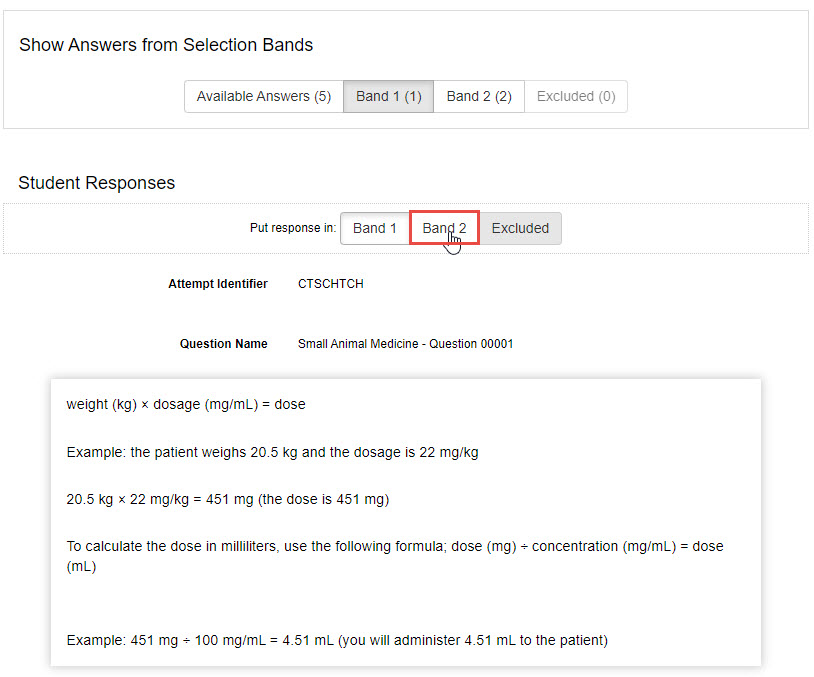
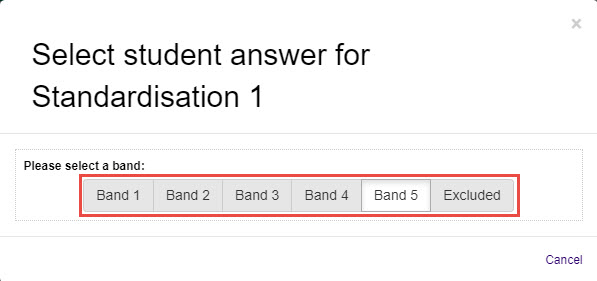
- Add the response to a band by selecting one of the Band buttons in the Student Responses section. You can also exclude a response from selection by selecting the Excluded button.
- Select the Next button to move to the next candidate response.
-
Repeat this process until you have met your quota. When you have done this, the system will notify you.
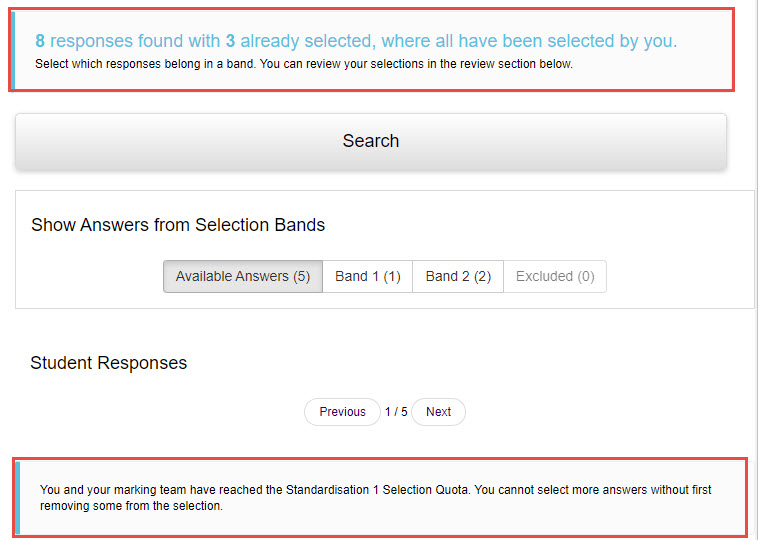
You can review your selections by selecting the relevant Band button in the Show Answers from Selection Bands section.

You can then move the response by selecting a new Band button in the Student Responses section.
-
Select the My Marking Taskboard button to return to the taskboard where you can complete this standardisation process for other questions.

-
When selections are completed, return to the taskboard to commence Standardisation 1 – Marking.
Standardisation 1 – marking
The marking phase of S1 requires senior members of the marking team, usually Chief Markers, to score a number of candidate scripts for inclusion in the bank of standardisation scripts.
-
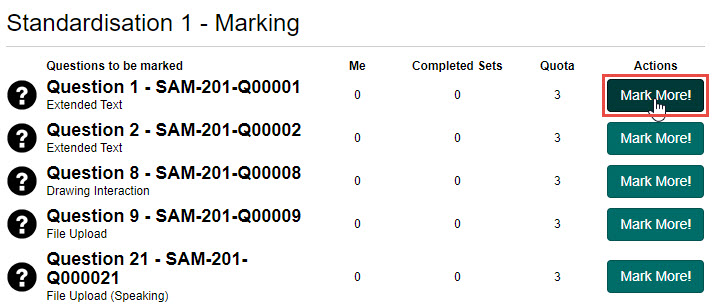
From the Standardisation 1 – Marking section, select the Mark More! button next to the question you'd like to mark.
-
Complete the following:
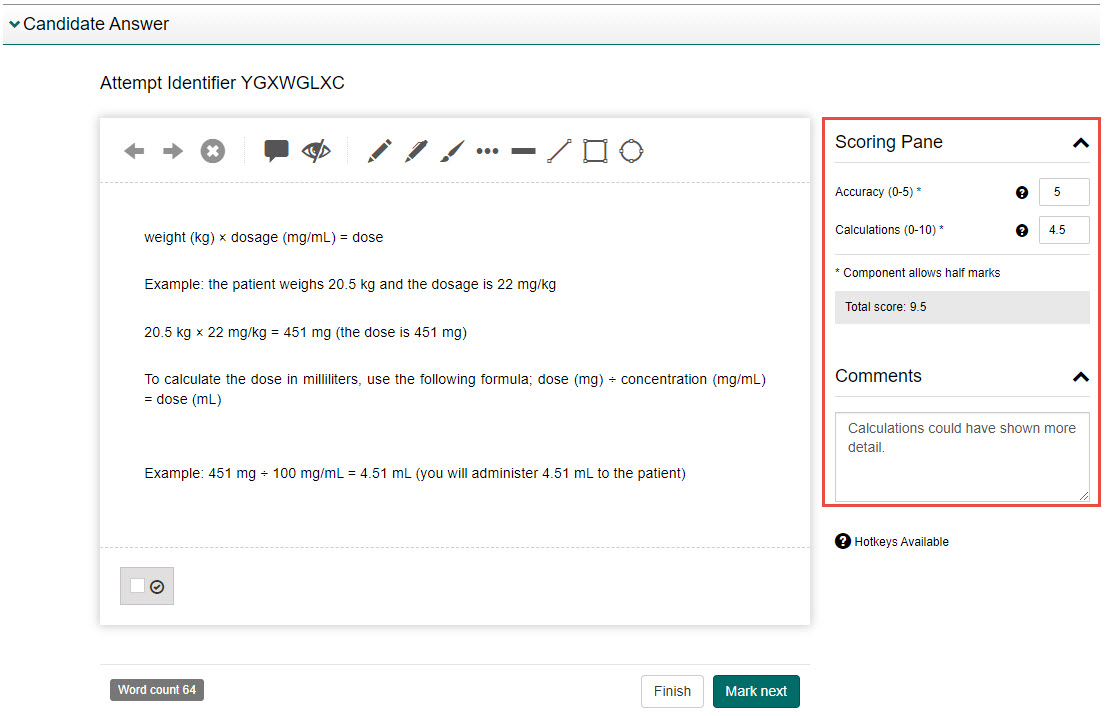
- Enter the necessary scoring in the Scoring Pane.
- Enter any comments (optional) in the Comments field.
- Select the Mark next button to move to the next candidate response for marking.
-
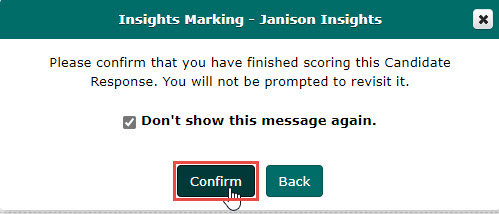
Select the Confirm button to confirm you have finished scoring the response. Selecting the Don't show this message again checkbox will ensure you don't see the message for the rest of the questions you are marking.
-
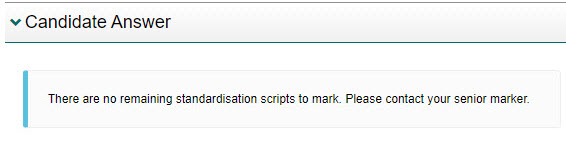
Repeat this process until you have met your quota. When you have done this, the system will notify you.
-
Select the My Marking Taskboard button to return to the taskboard where you can complete this standardisation process for other questions.
-
When marking is completed, return to the taskboard to commence Standardisation 1 – Sampling.
Standardisation 1 – sampling
The sampling phase of S1 requires senior members of the marking team, usually Chief Markers, to categorise the scripts they marked in the previous phase. Categories include:
| Category | Description |
|---|---|
| Benchmark | These are available for Markers to use as model references. |
| Standardisation | The system uses these as part of standardisation 2 and 3 phases and for sample if this quality control is enabled. |
| Monitoring | The system uses these monitoring scripts for blind quality monitoring (BQM) in the marking phase to assist with ongoing quality control. See the Blind quality monitoring section for more information. |
-
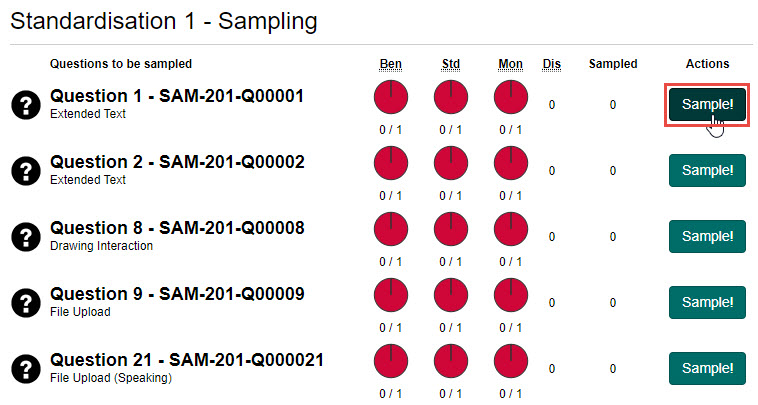
From the Standardisation 1 – Sampling section, select the Sample! button next to the question you'd like to mark.
-
Select Agree to agree with the score, or Disagree to enter a revised score.
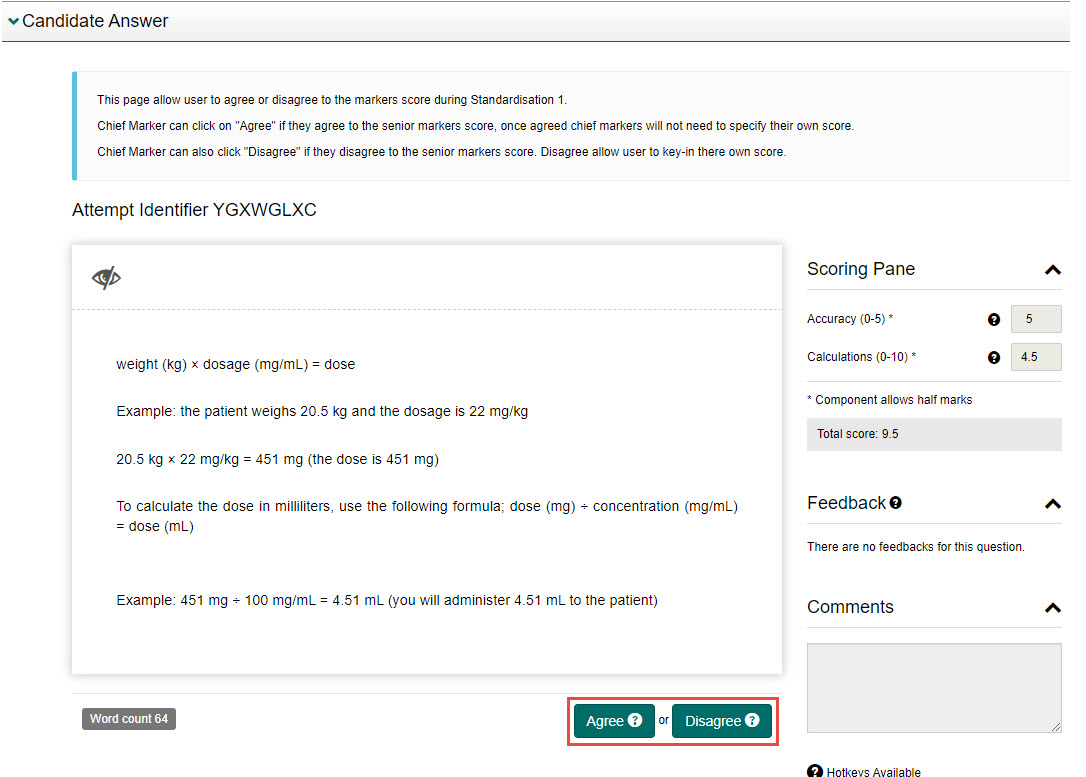
If you select Disagree, you will need to edit the scores in the Scoring Pane.
-
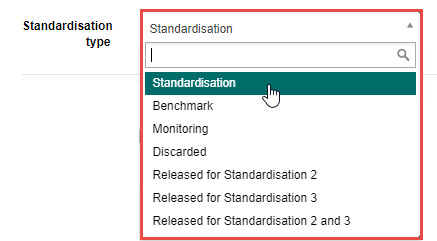
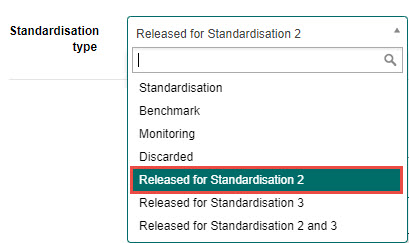
Select a standardisation type from the Standardisation type drop-down field.
Tip
Released for Standardisation ⅔ will set the response as the appropriate standardisation level script and will not require the response to be released.
-
Select the Finish button to finish the sampling phase, or select Sample next to move to the next script for sampling.
-
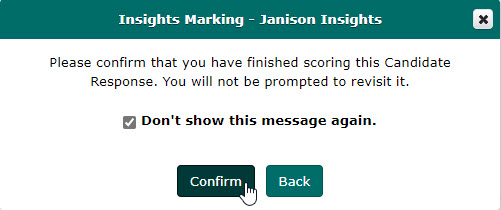
Select the Confirm button to confirm you have finished scoring the response. Selecting the Don't show this message again checkbox will ensure you don't see the message for the rest of the questions you are sampling.
-
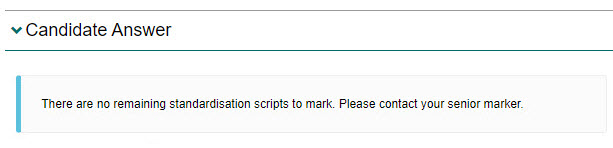
Repeat this process until you have met your quota. When you have done this, the system will notify you.
-
Select the My Marking Taskboard button to return to the taskboard where you can complete this standardisation process for other questions.
Release scripts for standardisation 2
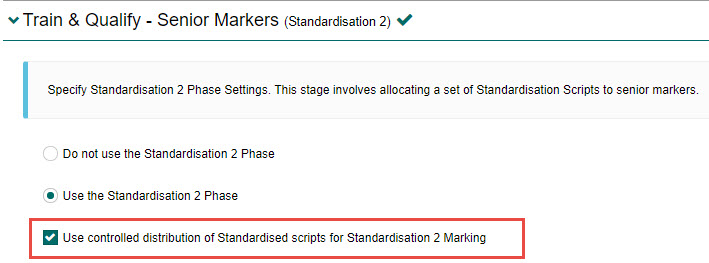
If the option Use controlled distribution of Standardised scripts for Standardisation 2 Marking is enabled in the Train & Qualify – Senior Markers (Standardisation 2) section of the Marking Project, you will need to release the scripts for S2. If this is not done, all the scripts categorised with a standardisation type of 'Standardisation' during S1 sampling will be available for S2 marking.
Tip
You will not have to release a script if you categorised it with a standardisation type of Released for Standardisation 2 in the S1 sampling phase.
-
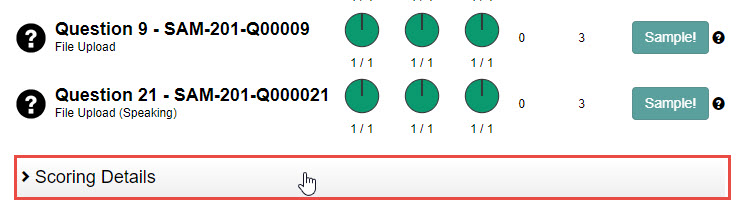
Scroll to the bottom of the My Marking Taskboard screen and select the Scoring Details expandable section.
-
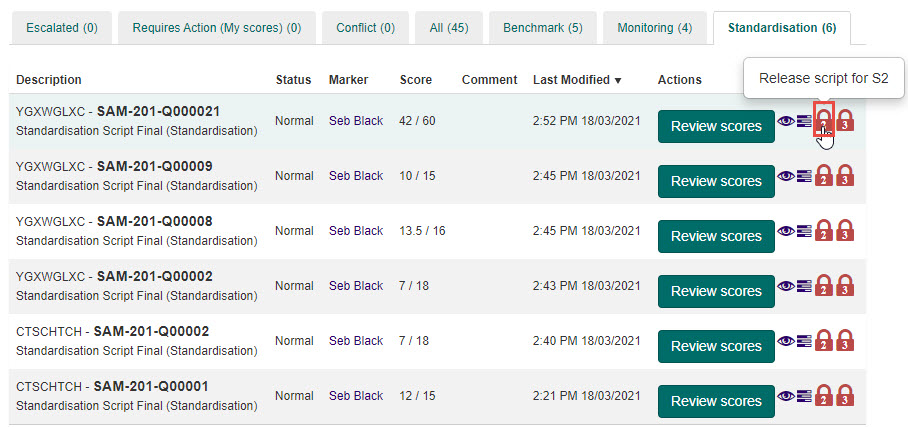
Select the Standardisation tab.

-
Select the Release script for S2 icon.
-
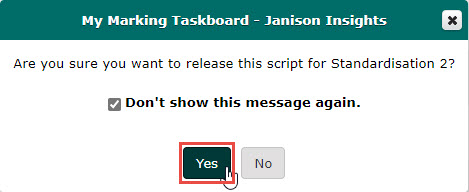
Select the Yes button to confirm you want to release the script for S2. Selecting the Don't show this message again checkbox will ensure you don't see the message for any other scripts you release.
Tip
The icon will become green and unlocked. You can exclude the script from S2 by selecting the Exclude script from S2 icon.

-
Repeat these steps for all scripts you want to release for S2.
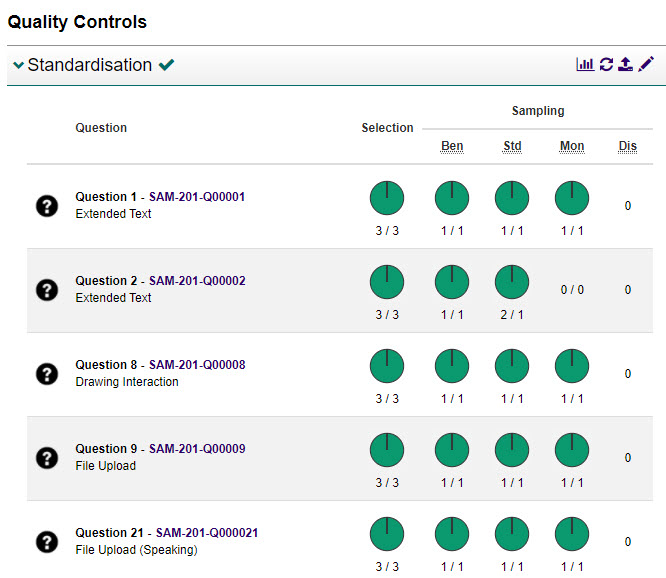
When S1 is complete, you can view the data in that section of the Marking Project screen.
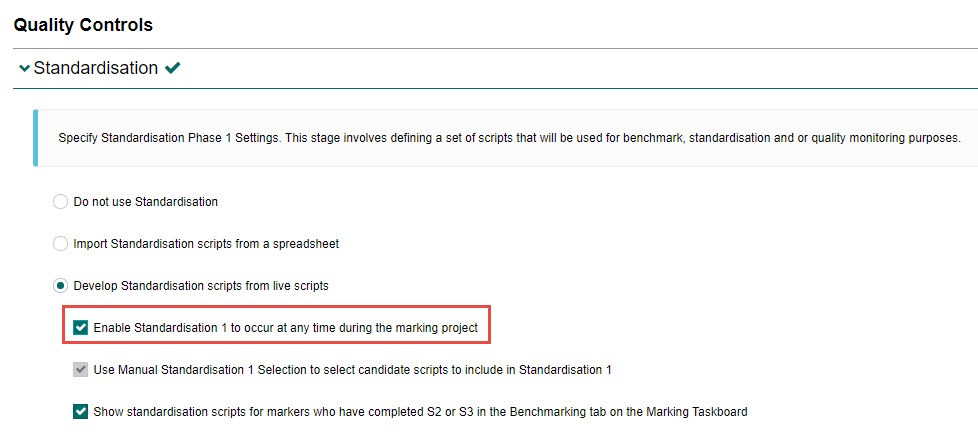
Standardise responses at any time
When setting up the marking project, there is an option to Enable Standardisation 1 to occur at any time during the marking project. This means that live scripts can be added to the S1 pool at any phase of the marking project.
-
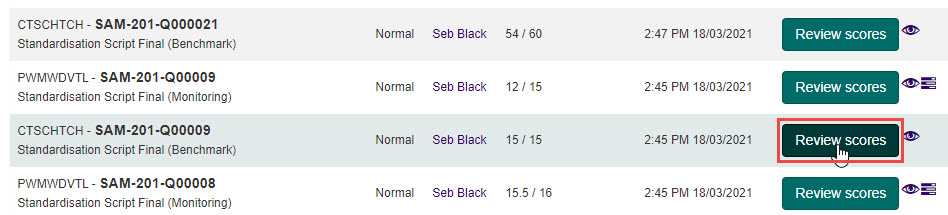
Scroll to the bottom of the My Marking Taskboard screen and select the Scoring Details expandable section.
-
Select the All tab.

-
Select the Review scores button next to the relevant script.
-
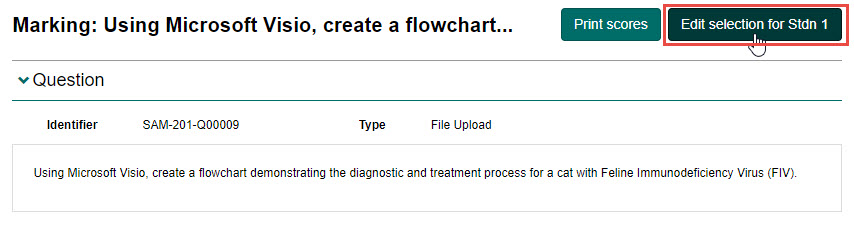
Select the Edit selection for Stdn 1 button.
-
Select the appropriate Band button to include the script, or select Exclude to exclude it, then select the Ok button.
Monitor training progress of Senior Markers (S2)
Chief Markers can monitor Senior Marker progress from a couple of places.
From the marker profile
When a Senior Marker commences S2, a section appears in their profile which details the result of their training.
-
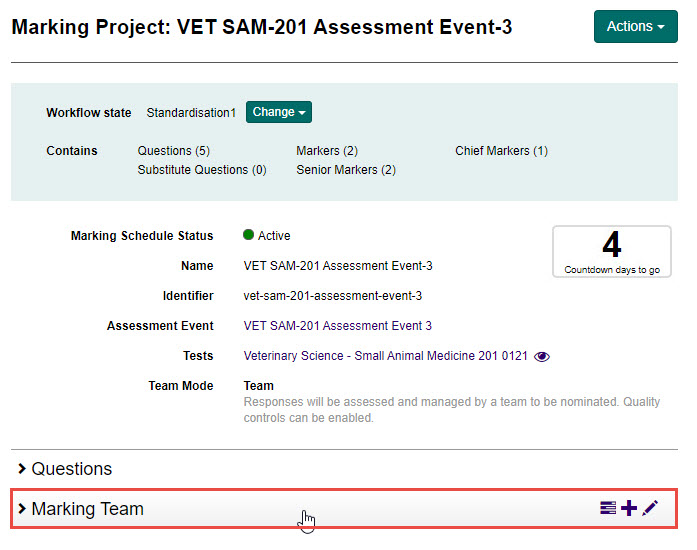
Select the Marking Team expandable section from the Marking Project screen.
-
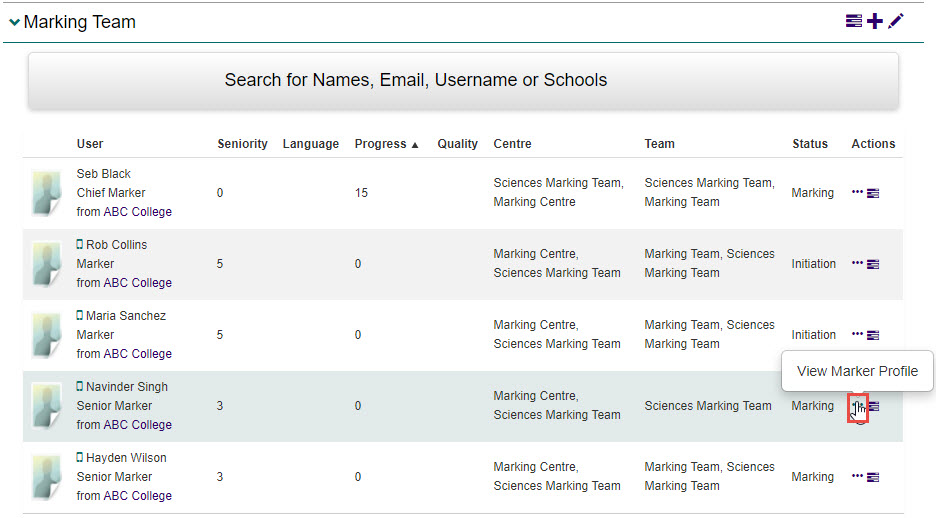
Select the View Marker Profile icon in the Actions column for the appropriate Senior Marker.
-
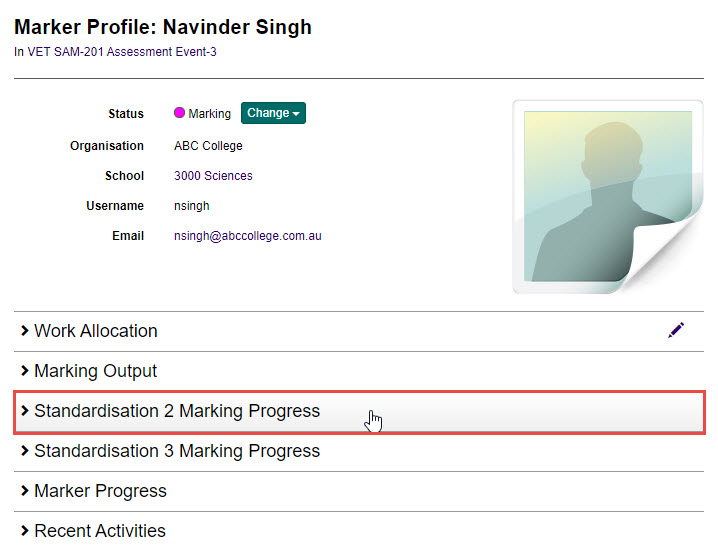
Select the Standardisation 2 Marking Progress expandable section.
The Legend expandable section provides a legend for the different icons used to indicate progress.
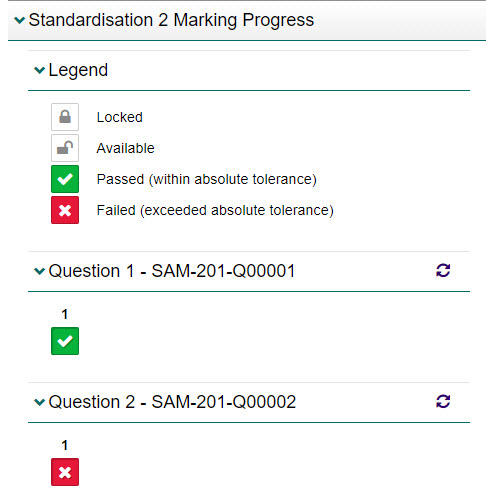
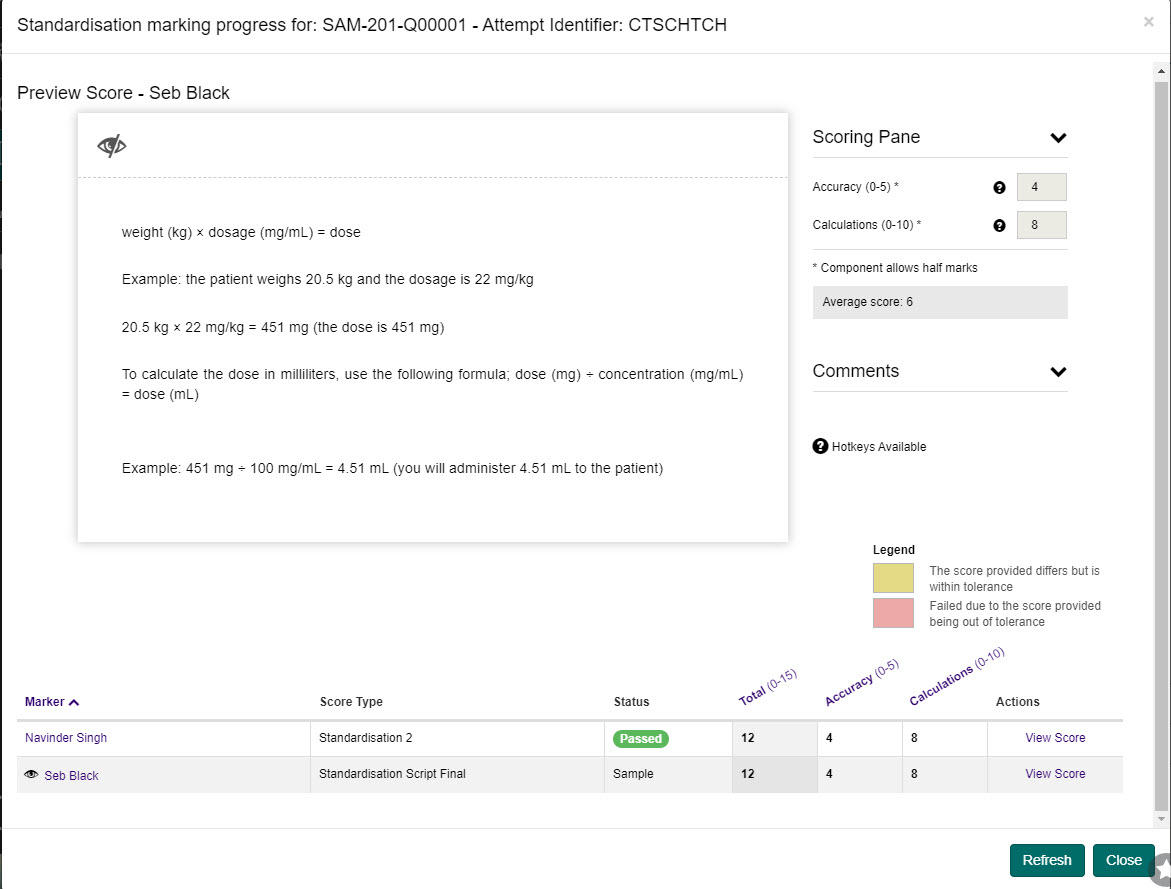
Selecting a Passed or Failed icon in a question opens the progress screen which provides more details.
From scoring details
This path provides Chief Markers the ability to view all scoring for a question, not just the specific Senior Marker as in the marker profile.
-
Scroll to the bottom of the My Marking Taskboard screen and select the Scoring Details expandable section.
-
Select the Standardisation tab.
-
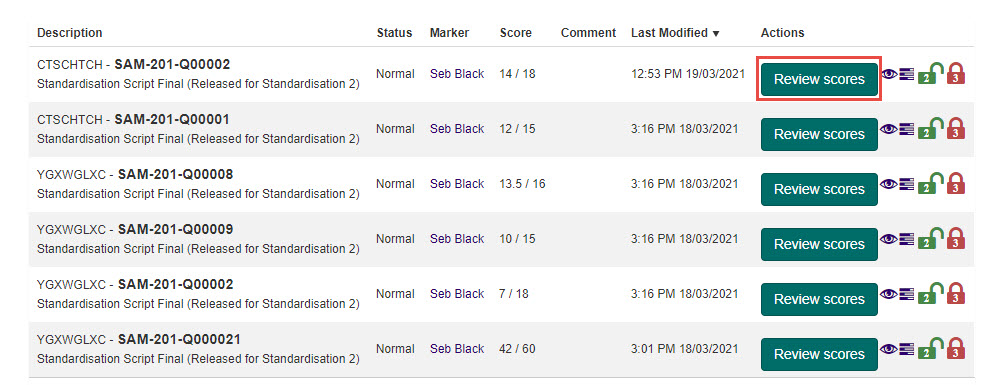
Select the Review scores button next to the relevant script.
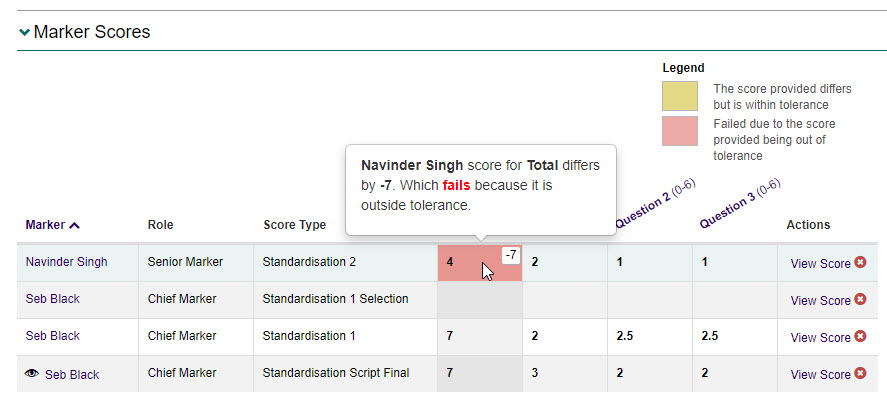
The Marker Scores section contains the marking progress for all Markers involved with the question. You can identify the S2 scores in the Score Type column.
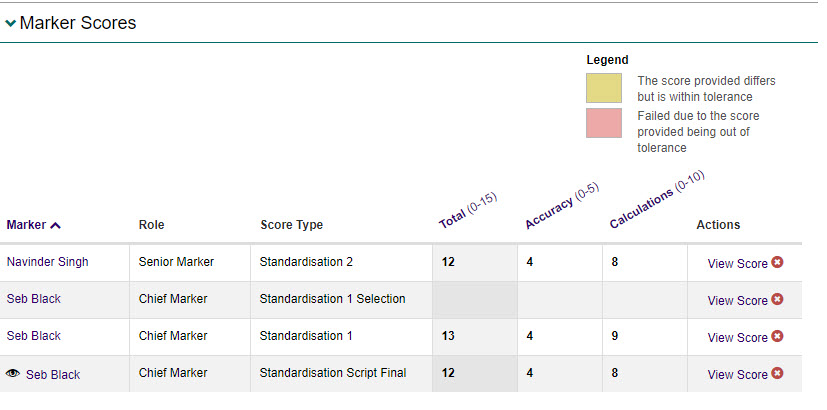
An information popup about the score will appear when hovering over a cell.