Candidate Dashboard
Test-takers can conveniently access their tests and test results through the candidate dashboard.
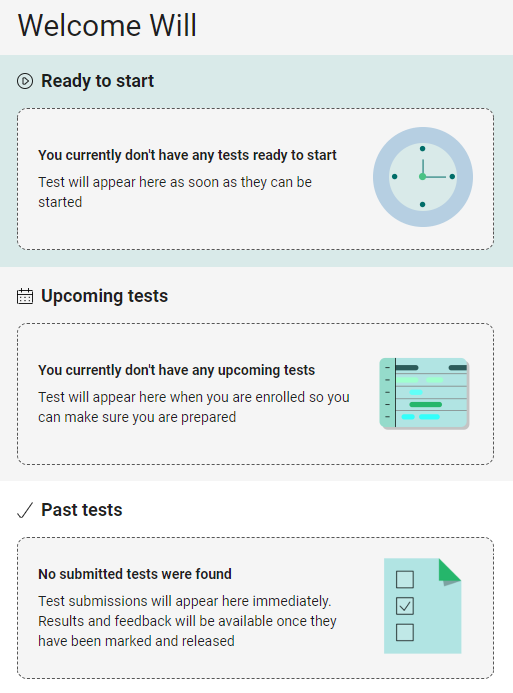
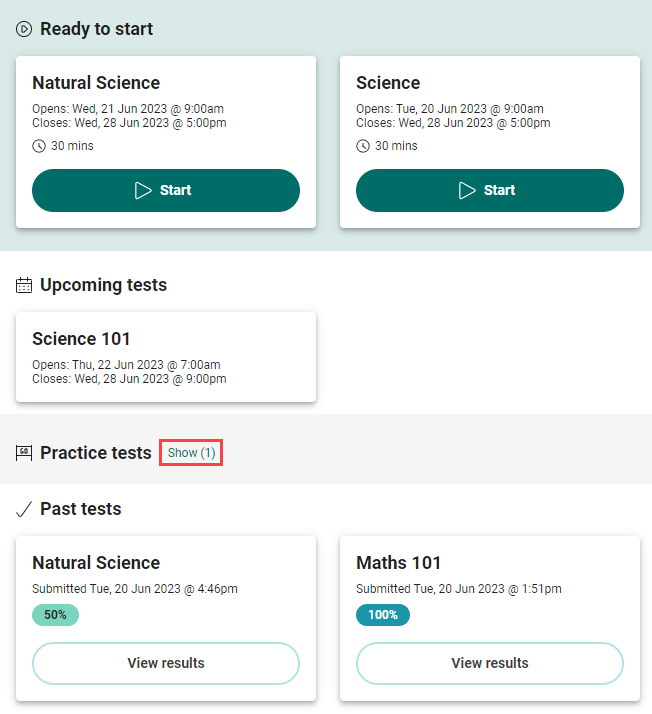
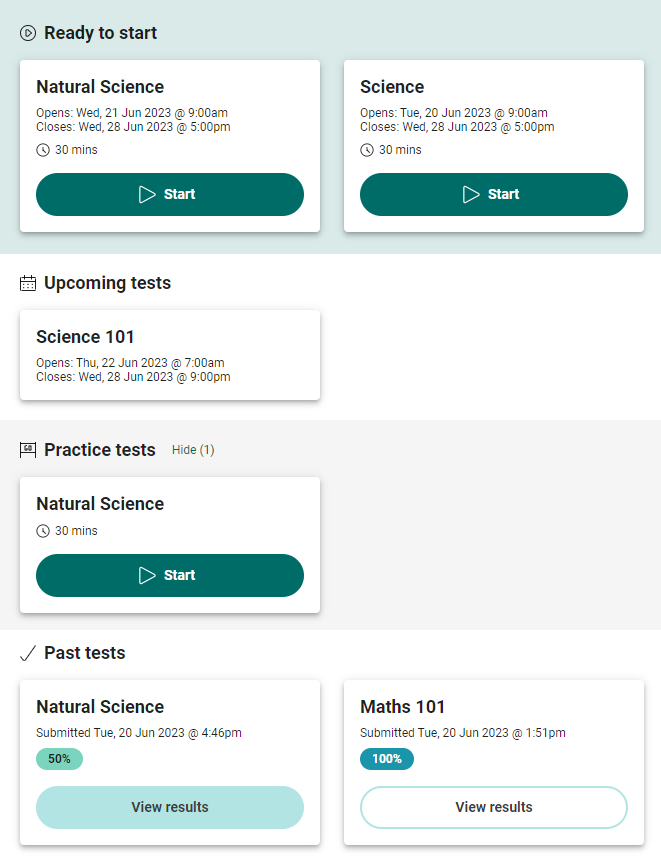
When logging in, test-takers see three sections: Ready to start, Upcoming tests, and Past tests, plus an optional Practice test section. Administrators can hide Upcoming, Past, and Practice sections.
Note
Administrators can set tests accessed from the candidate dashboard to launch in the browser or the Replay app. If opened in the browser, test-takers will have access to features such as other browser tabs and apps on their device. If opened in the Replay app the device will be locked down so that test-takers can only access the test.
The following examples show the candidate dashboard in different states:
Ready to Start
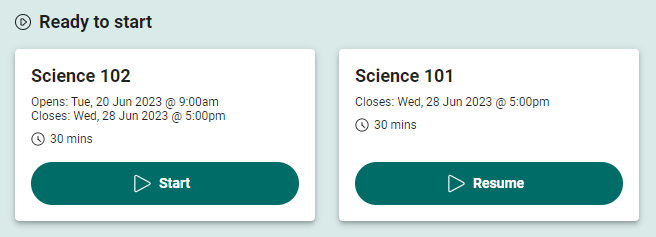
This section lists tests that are available for the test-taker to start, and tests they have started but not submitted.
Test tiles display:
- Test name at top
- Timing information reflecting administrator-set Timing Options
- Duration if set (example: 30 mins)
- Start button (if not started) or Resume button (if started)
- Tile moves to Past Tests section when completed

Upcoming Tests
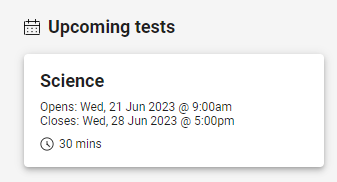
This section displays tests that are upcoming. Test-takers cannot start these tests until the open date. On the open date, the tile moves to the Ready to start section.
Past Tests
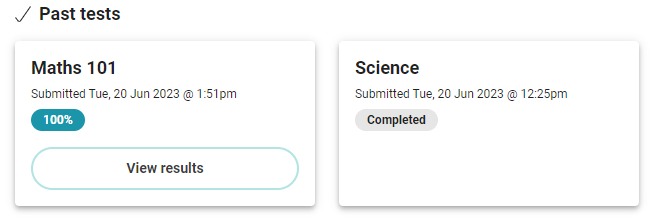
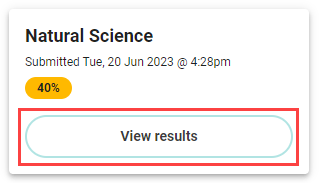
This section lists tests that the test-taker has submitted. The tiles list the test name and the submitted date details.
Unmarked tests display as "Completed".
Marked tests display with color-coded results:

0–24% — red

25–49% — amber

50–74% — green

51–100% — blue
Test Score Band Tables
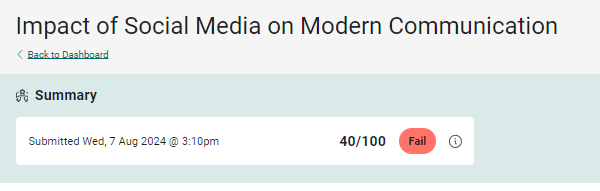
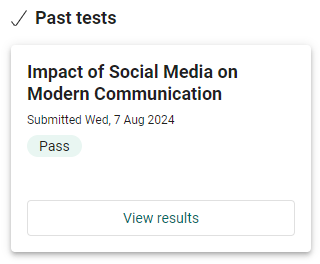
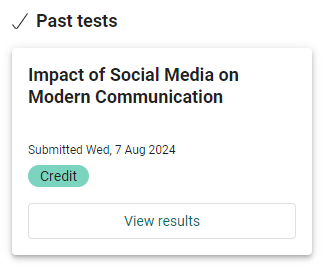
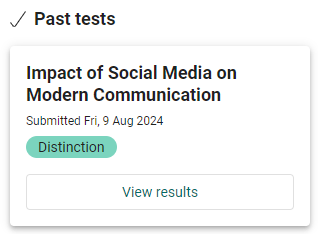
Test score band tables enable an author to assign specific names to ranges of scores on a test. When the system calculates results, the test-taker is assigned a band such as fail, pass, credit, or distinction, rather than a numerical score.
The following examples show different score band results on the past tests tile and results screen:
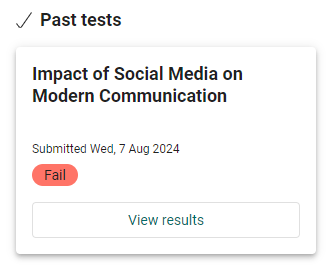
Results and Feedback
Test-takers can view their results and feedback by selecting the View results button on the test tile. Administrators can configure the feedback that test-takers receive to be either 'Formative' or 'Detailed'.
Formative Feedback
Formative feedback can be used for tests which aim to promote and measure test-taker knowledge and skills. Formative feedback allows test-takers to review their tests in detail with the provided feedback for each question. This can be used as an ongoing tool to guide test-takers to better understand the limits of their own knowledge and how to improve.
View Results Layout:
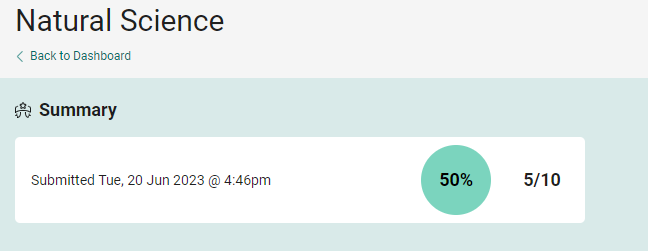
- Summary section — displays the test submission time along with the percentage and score.
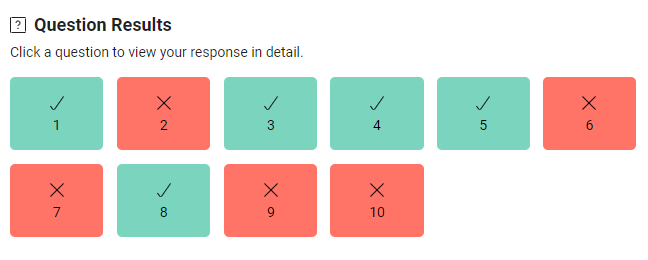
- Question Results section — offers a visual summary of the items, indicating the ones that were answered correctly or incorrectly by the test-taker. By clicking on the items, test-takers can access their own responses.
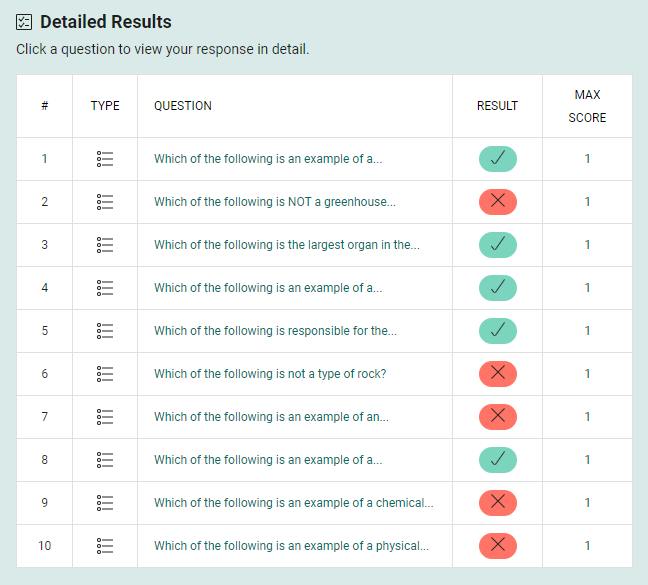
- Detailed Results section — offers additional information about the items including the item type and max score. Test-takers can also click the item links to view their responses.
The following examples show the full results page layout:
View Response in Test Player
When a test-taker selects one of the items, it takes them to the test player where they can view their response. The information they can see depends on how the item author configured the feedback in the item.
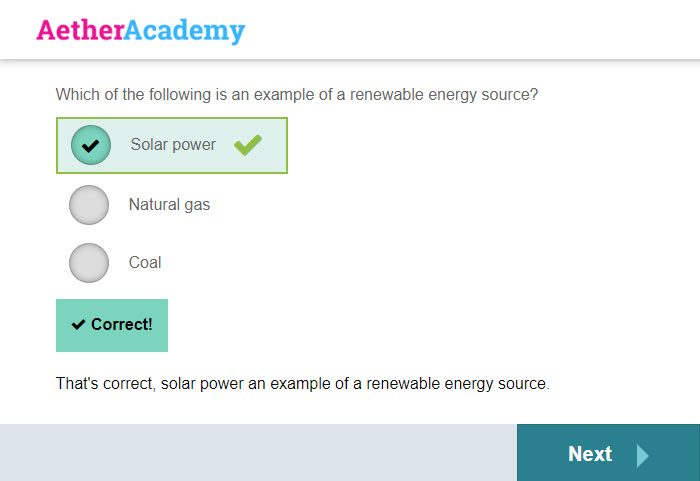
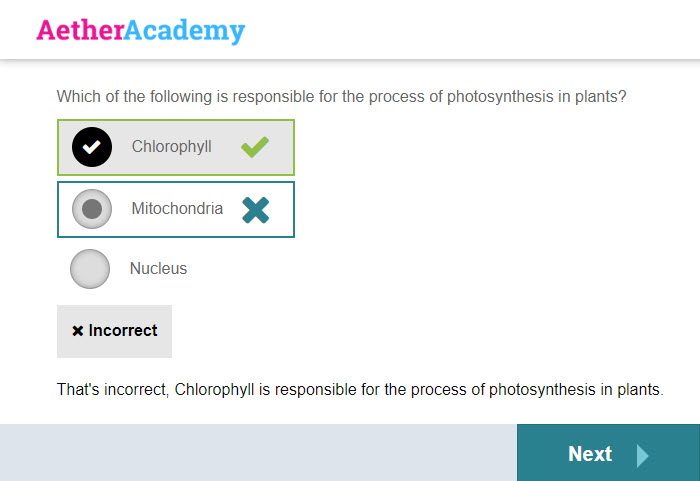
Detailed Feedback
Detailed feedback provides an overall evaluation of how well test-takers have done in meeting the learning goals of the assessment. Detailed feedback focuses solely on providing direct feedback against the test-taker response, allowing the ability to hide the specific question details and instead use custom attributes to group or individually display test items i.e. via learning outcome or subject area.
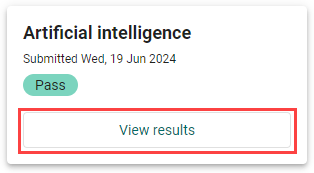
The details that display depend on the item type and the configuration of the item.
Human Marked Items
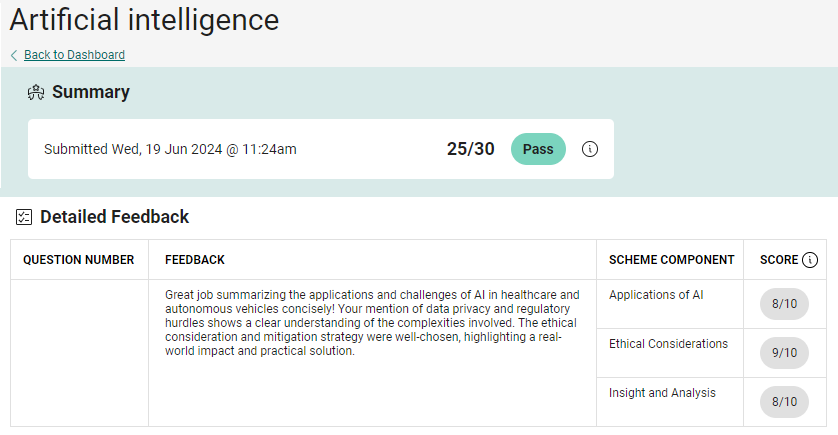
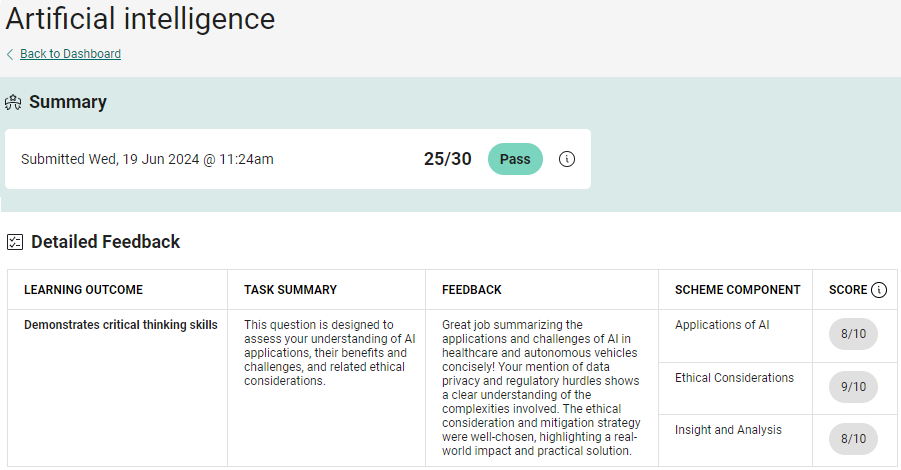
The example below is an extended text item type with three marking scheme components. There is only one item in this test, so the QUESTION NUMBER column is blank. The system populates the FEEDBACK column with the feedback that the marker leaves for the test-taker on the marking screen. The SCHEME COMPONENT and SCORE columns detail the score per component of the item.
Marking Screen Example:
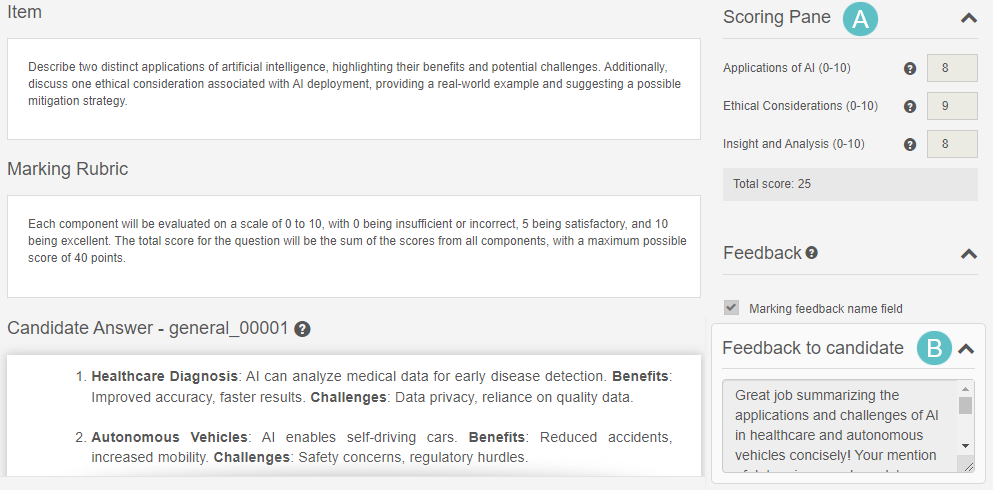
- A — This is the Scoring Pane containing the marking scheme components and the scores.
- B — This is the marker feedback left for the test-taker.
Note
For human marked items, feedback comes from the marker's comment in the marking project.
System Marked Items
The example below is the detailed feedback for a test with 4 multiple choice items with Correct / Incorrect Response Feedback set. The LEARNING OUTCOME column is a custom attribute we added to the item.
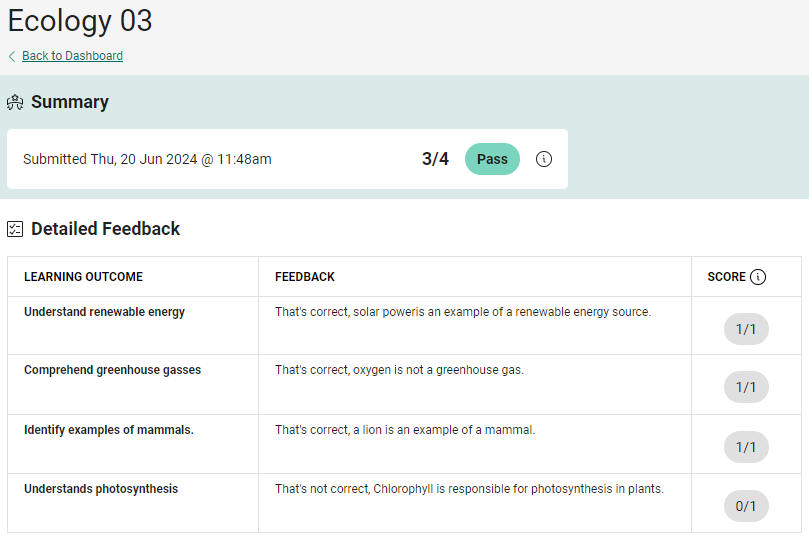
Note
For system marked items, feedback comes from the 'Feedback and live marking' section on the item.
Add Columns to Detailed Feedback
It's possible to add up to two custom columns to the detailed feedback screen. There are three steps involved to make these columns display.
Step One: Create one or two custom attributes as required. In this example we created two custom attributes of a string (free text) type. One named 'Learning outcome' and the other 'Task summary'.
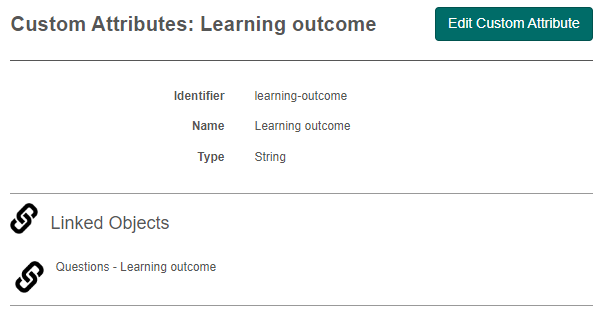
Step Two: In Settings > Test Delivery Settings, expand the Test Feedback Settings section, select your custom attributes. You can select just one or both of the options.
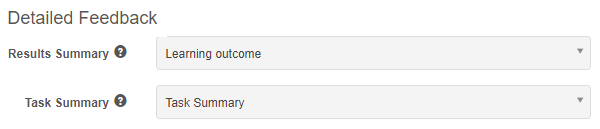
Step Three: In the Extended Information expandable section on the item, enter the text relevant to the item.
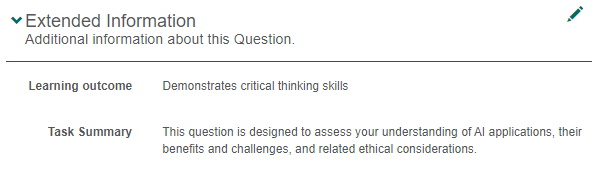
These columns now display on the detailed feedback page as in the screen capture below.
Settings
If you're a system administrator you can alter the features of the dashboard. If you don't have admin access, contact your account manager at Janison for assistance.
Candidate Dashboard Settings
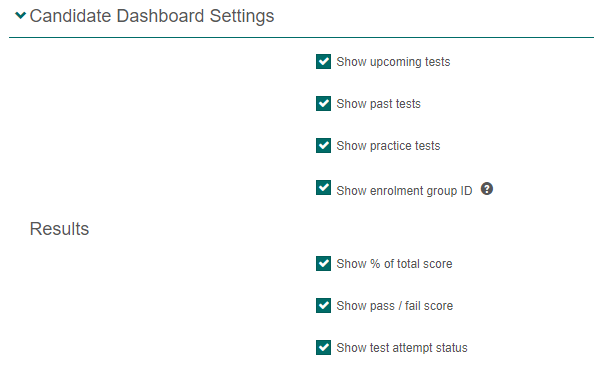
You can display or hide sections, and set what you want test-takers to see on the results tiles.
Location: Settings > Test Delivery Settings > Candidate Dashboard Settings section
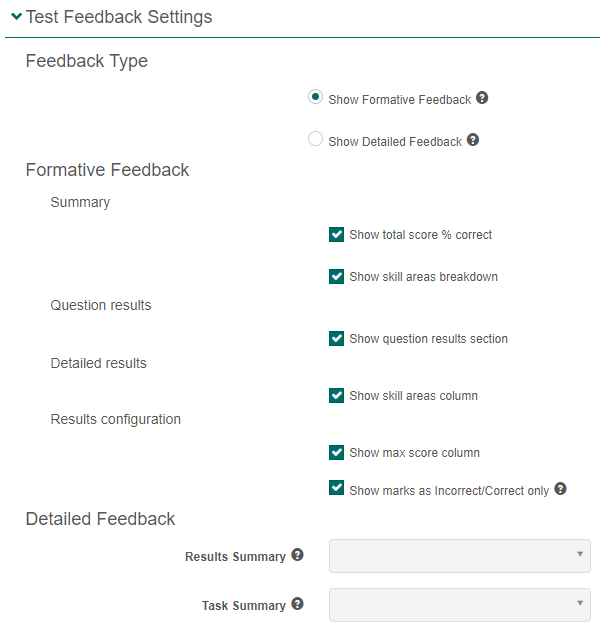
Test Feedback Settings
Location: Settings > Test Delivery Settings > Test Feedback Settings section
To switch between Feedback Type, either select the formative or the details option. Only the options relevant to the selection you made will be available, the others will become inactive.