Targeted back marking
Targeted back marking is a process whereby Senior Markers perform an analysis on patterns of human marking and scoring compared with patterns of automatic essay scoring (AES) to ensure accuracy of the system.
This is a continuous process and can happen at any time during the marking project.
Enable targeted back marking
-
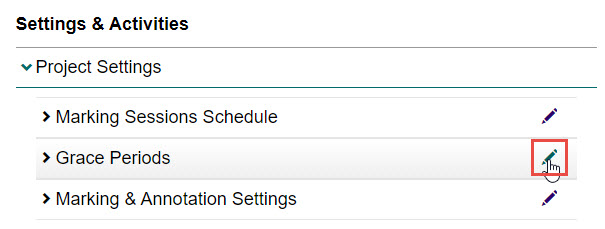
Select the Project Settings expandable section under Settings & Activities, then select the Edit icon next to the Grace Periods expandable section.
-
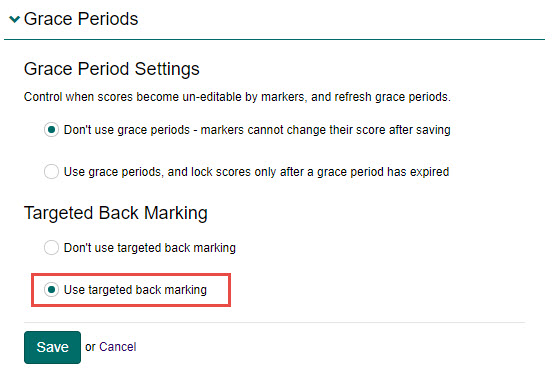
Select the Use targeted back marking option.
-
Select the Save button to save your changes.
Access targeted back marking
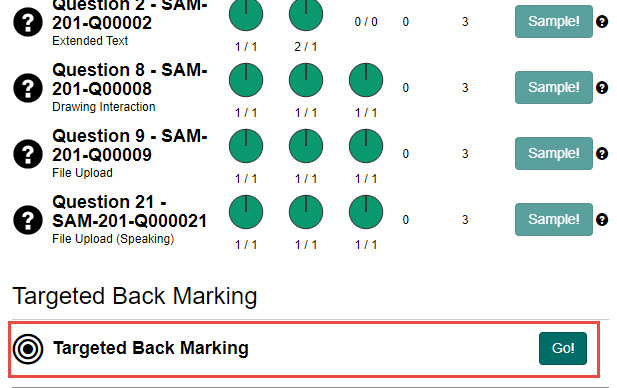
Once enabled, targeted back marking can be accessed from the bottom of the My Marking Taskboard.
-
Select the Go! button.
-
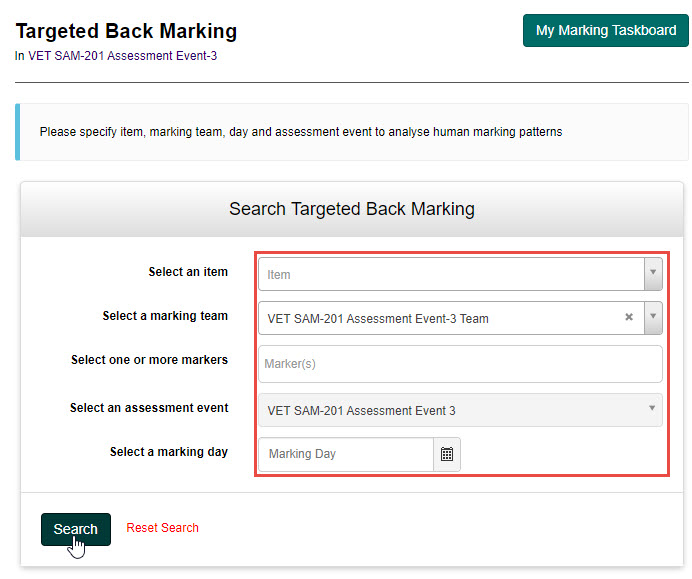
Make the required search selections and select the Search button.
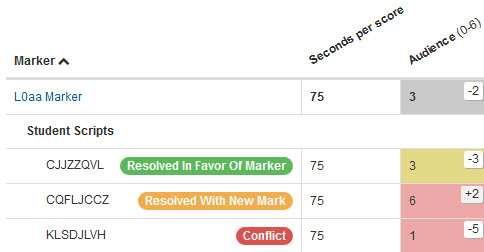
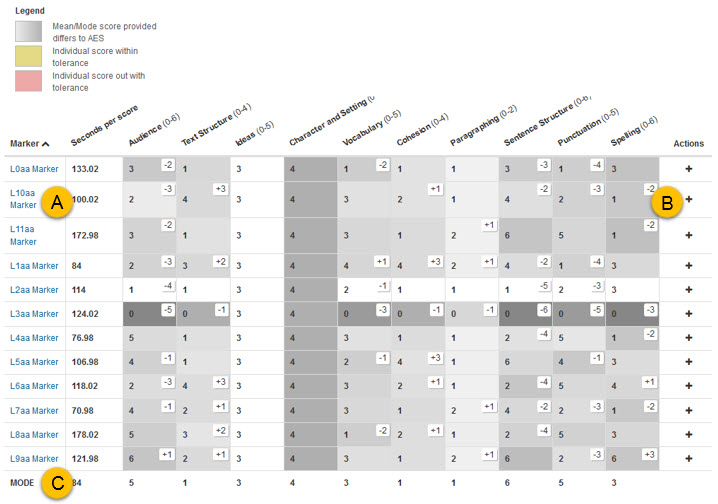
The search returns a grid with an overall summary of the different Markers and their scoring. From here there are a few actions you can take:
| # | Item | Description |
|---|---|---|
| A | Marker | Selecting a Marker's name provides access to their profile. |
| B | Actions | Selecting the + icon displays data for all scripts for the selected Marker. |
| C | Mean/Mode | Select this to toggle between mean scores and mode scores. |
Using targeted back marking
There are several actions you can take using targeted back marking including:
- Resolving conflict in favour of a Marker
- Adding your own mark
-
Invalidate a mark
-
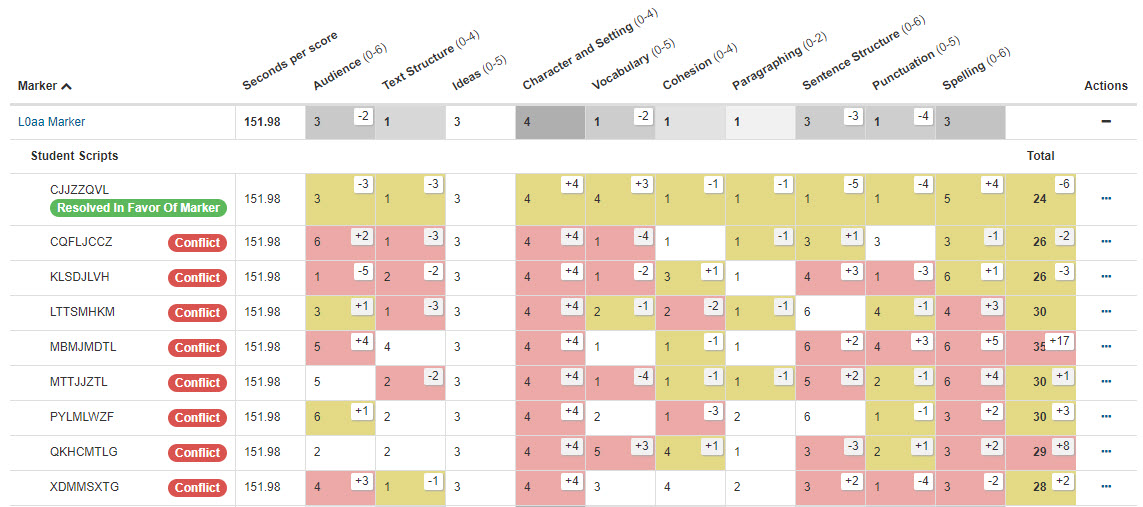
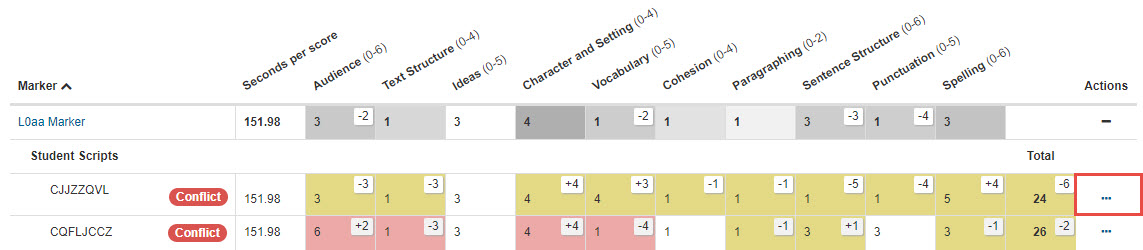
Select the + icon in the Actions column to see all scripts for the selected Marker.

The list of scripts marked by this Marker displays.
-
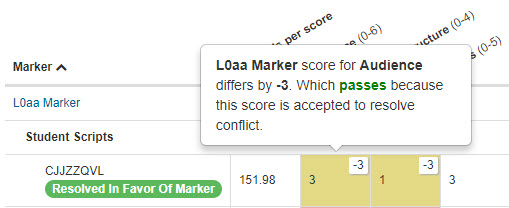
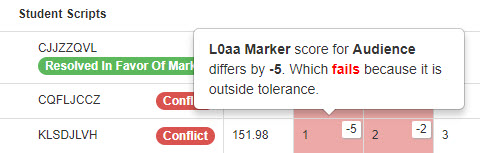
Hover over any of the cells to view details of the conflicts.
-
Select the View details icon in the Actions column next to a question with a conflict.
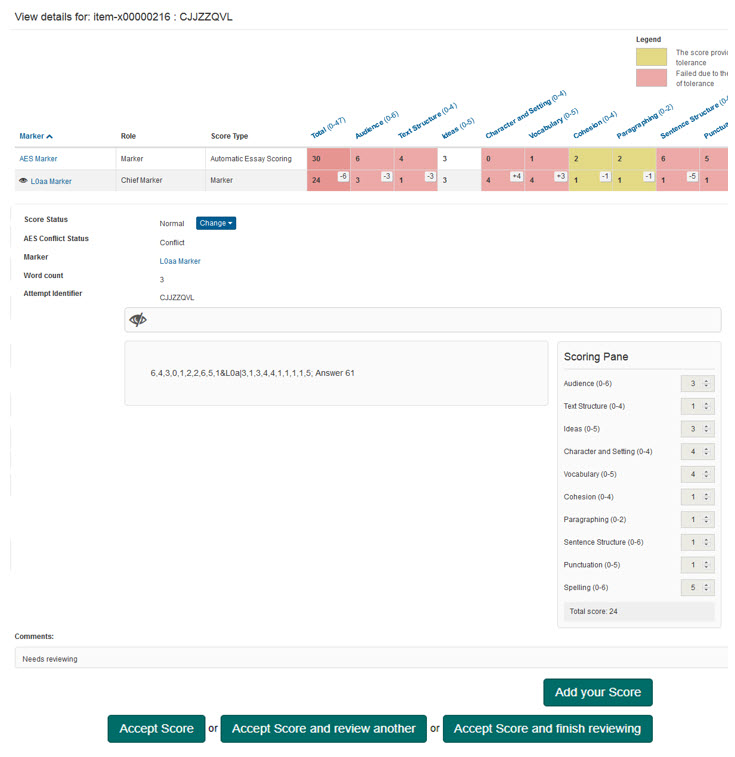
The Question Details screen displays in a popup.
-
Make your selection from the following options:
Option Description Add your Score Allows you to create your own score if you don't want to accept any of the ones already completed. Once selected, the annotation tools, scoring and comments become active. Accept Score Accepts the particular score you are reviewing. Accept Score and review another Accepts the particular score you are reviewing and moves to the next one for review. Accept Score and finish reviewing Accepts the particular score you are reviewing and finishes the review process. 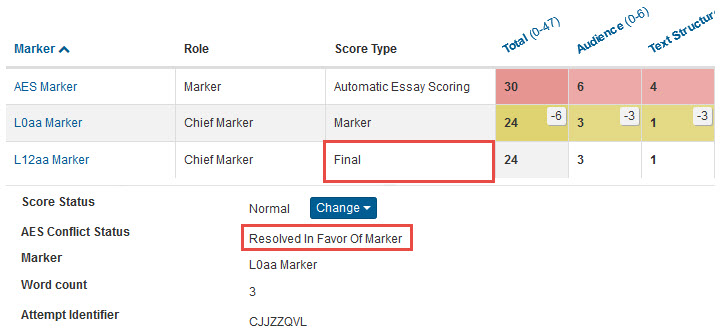
Tip
The status on the targeted back marking grid will change depending on the option selected.