Senior Marker role
The Senior Markers role is designed for Markers who supervise a marking team. Some of the system tasks a Senior Marker may undertake include:
- Training
- Managing the marking team
- Monitoring Markers for quality
Training and quality controls are optionally set in the marking project by the Chief Marker.
Important
The controls you see will depend on the settings configured by the Chief Marker and could include any of the following:
- Standardisation 2 (Senior Marker) training
- Standardisation 3 (Marker) training
- Sampling
- Blind quality monitoring (BQM)
- Double marking (DM)
Undertake Marker training (S2)
This phase of marking is designed to train Senior Markers not involved in Standardisation 1 (S1), and takes place prior to Markers commencing Standardisation 3 (S3) training. This training will only be available if it has been turned on in the marking project.
The responses assigned to you for marking have already been scored by one or more Chief Markers who have expertise in the particular field of testing. They have set a tolerance and if your scores fall within that tolerance, you will pass the training.
If your scores fall outside of the tolerance, the system will flag this to the Chief Marker. They may contact you to discuss the discrepancy or pause your marking account. This ensures consistency across Markers so that candidates are not advantaged or disadvantaged regardless of which examiner marks their work.
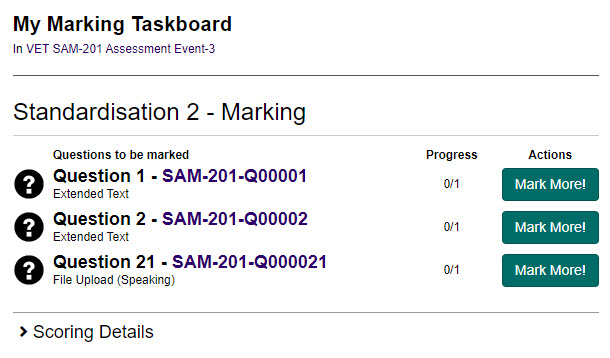
S2 is completed from the My Marking Taskboard.
-
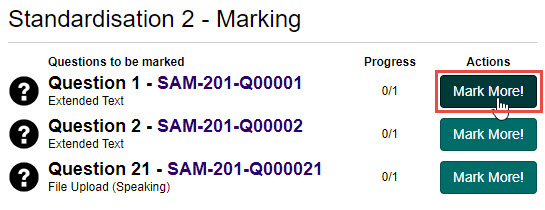
From the Standardisation 2 – Marking section, select the Mark More! button next to the question you'd like to mark.
-
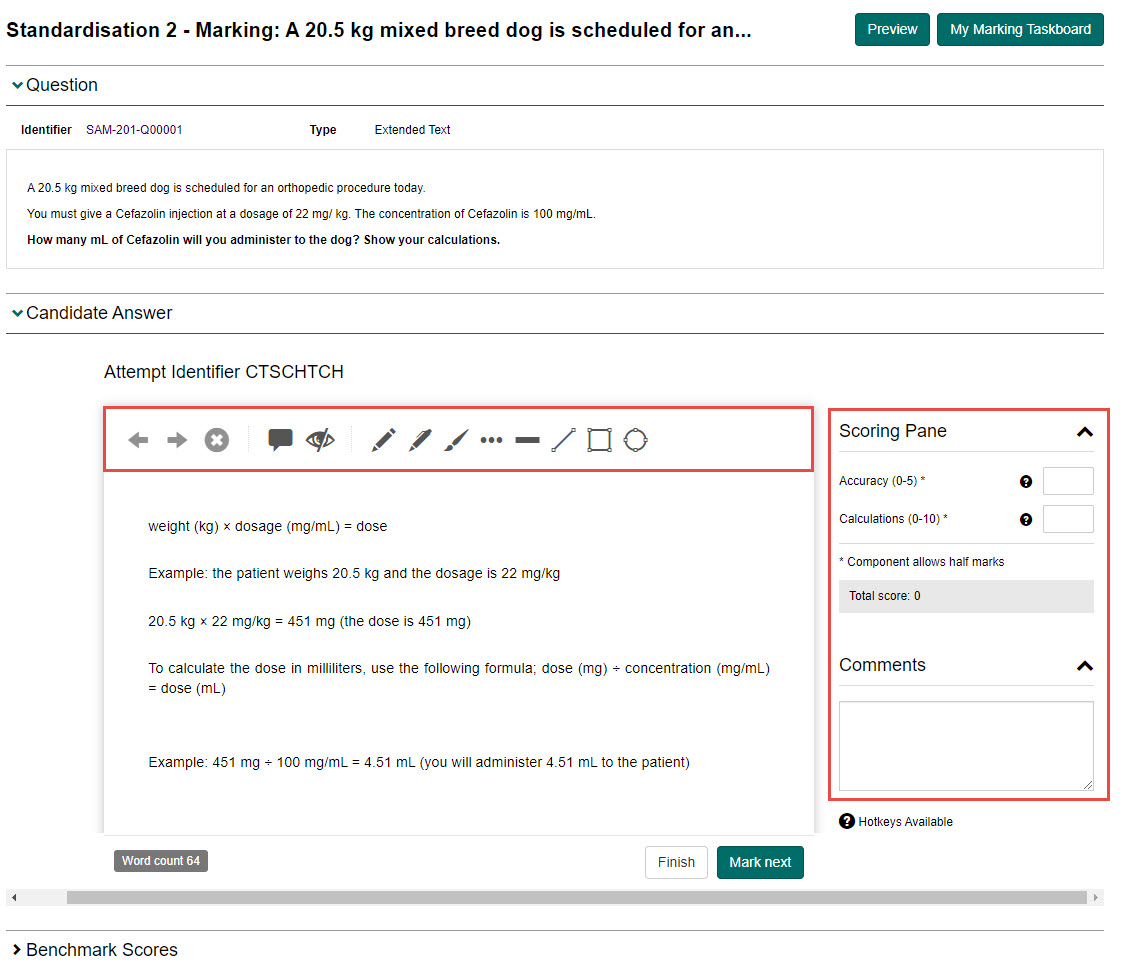
Complete the following:
- Review the candidate's response and add annotations if required.
- Review the benchmark scores under the Benchmark Scores expandable section (optional).
- Enter the necessary scoring in the Scoring Pane.
- Enter any comments (optional) in the Comments field.
-
Select the Finish button to finish the training, or select Mark next to move to the next script (if applicable).
-
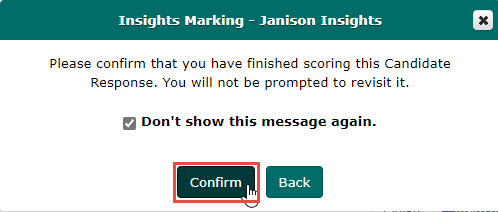
Select the Confirm button to confirm you have finished scoring the response. Selecting the Don't show this message again checkbox will ensure you don't see the message for the rest of the responses you are scoring.
-
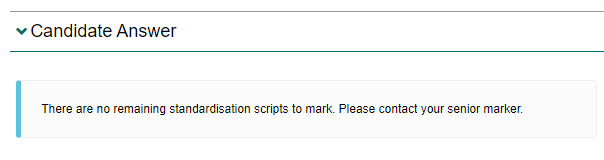
Repeat this process until you have met your quota. When you have done this, the system will notify you.
Tip
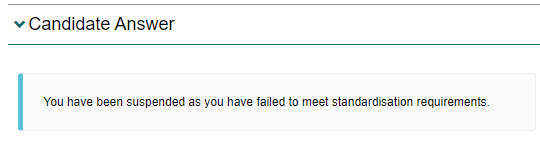
If you have failed standardisation, the system will notify you.
-
Select the My Marking Taskboard button to return to the taskboard where you can complete this standardisation process for other questions.

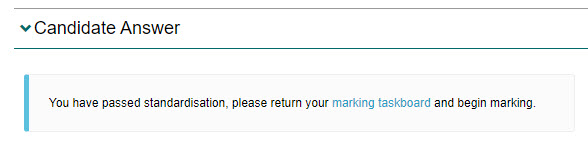
Once you have completed S2, you will receive notification that you can begin marking.
View benchmark scores
Benchmark scores give you an understanding of what responses of a particular score look like. For example, what a response with a score of 2/10 or 7/10 look like. A score is similar when it is within 10% of the question's available score (above or below) the selected score.
Tip
To learn how to search for and view benchmark scores, see the Benchmark scores section.
Monitor Marker progress in the main marking phase
Senior Markers can monitor Marker progress from a couple of places.
From the Marker Profile screen
When a Marker commences the main marking phase of a marking project, a section appears in their profile which details the result of their marking.
-
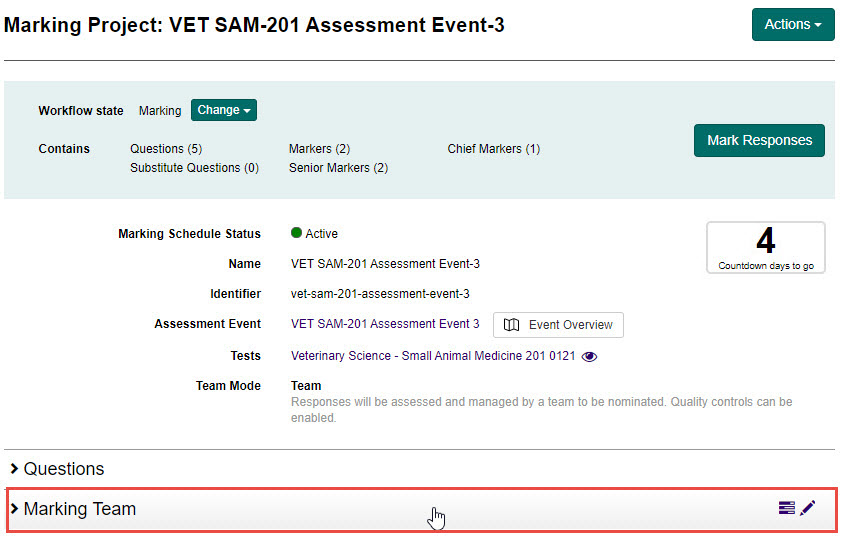
Select the Marking Team expandable section from the Marking Project screen.
-
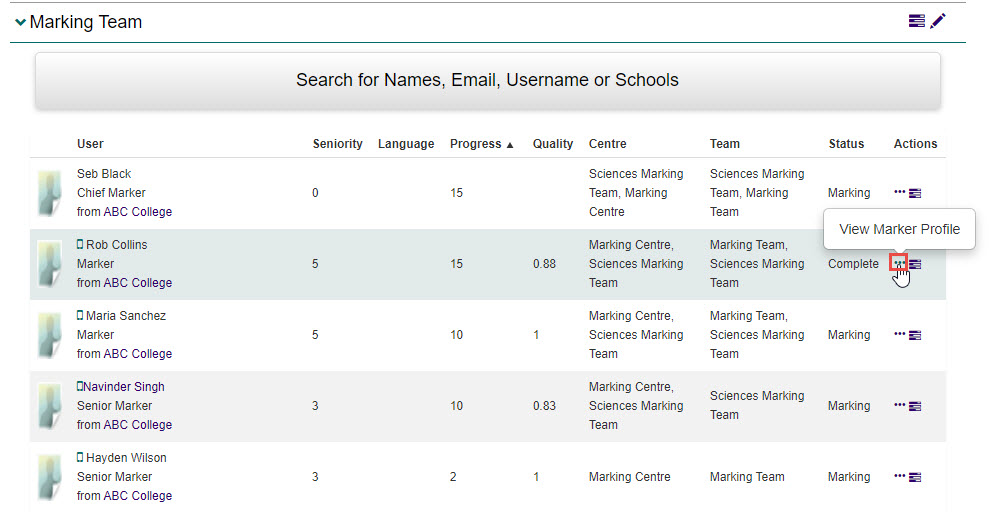
Select the View Marker Profile icon in the Actions column for the appropriate Marker.
-
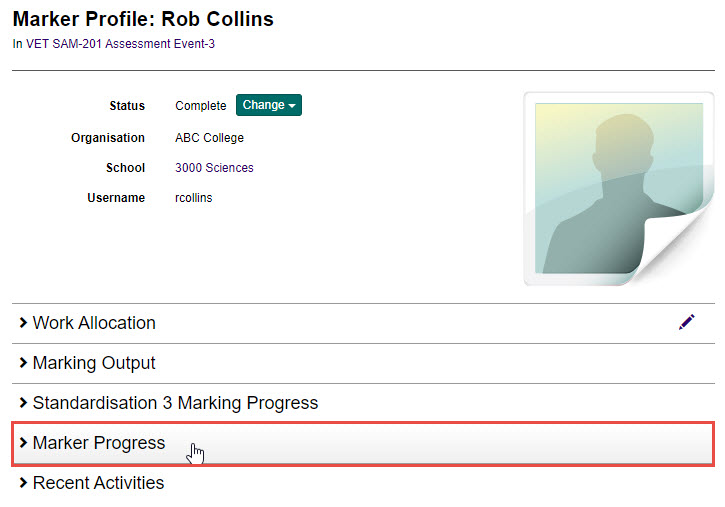
Select the Marker Progress expandable section.
The Legend expandable section provides a legend for the different icons used to indicate progress.
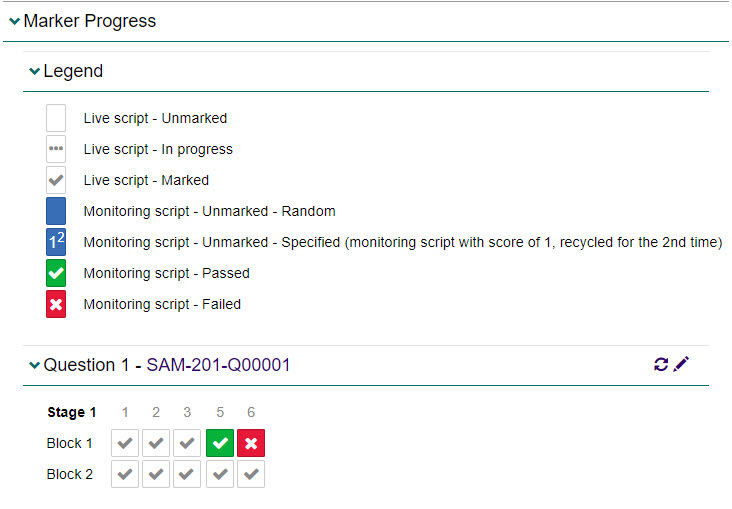
Selecting a Passed or Failed icon in a question opens the progress screen which provides more details.
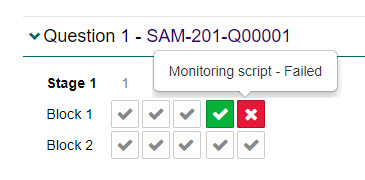
Tip
Senior Markers can also monitor quality in the Marking Output section of the Marker Profile screen.
From Scoring Details section
This path provides Senior Markers the ability to view all scoring for a question, not just the specific Marker as in the Marker Profile screen.
-
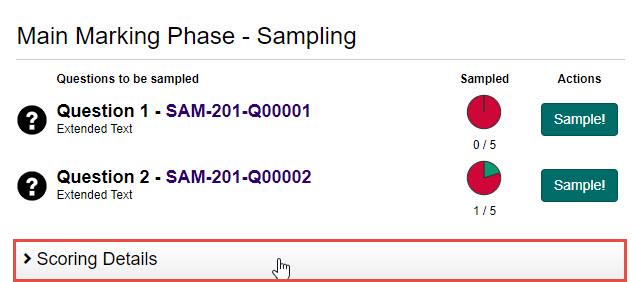
Scroll to the bottom of the My Marking Taskboard screen and select the Scoring Details expandable section.
-
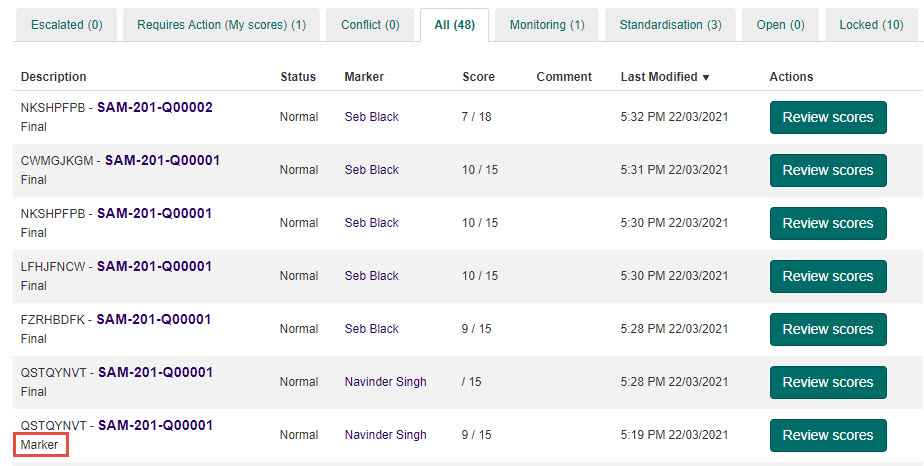
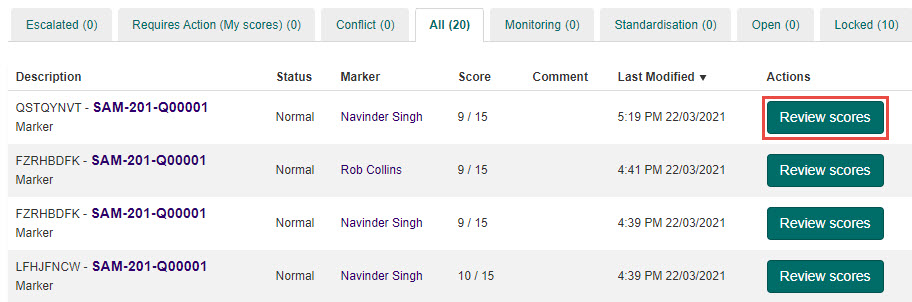
Select the All tab. From here, you can identify the type of marking in the Description column.
-
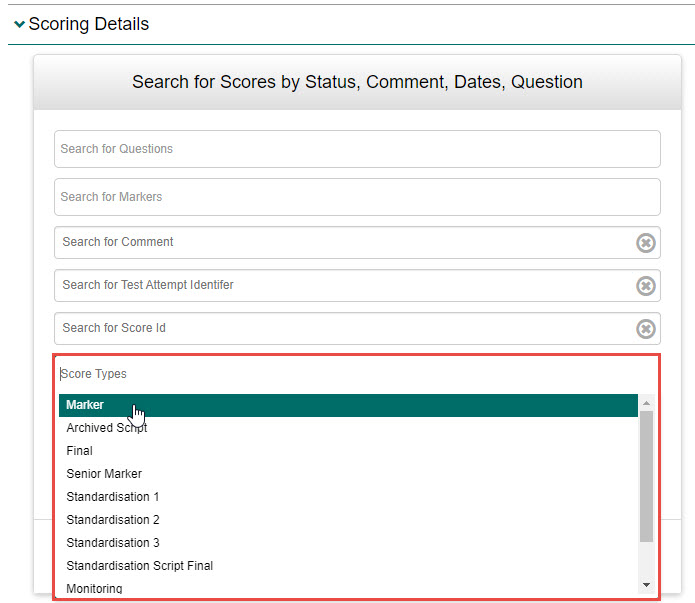
Use the search functionality to search 'Marker' from the Score Types search field, then select the Search button.
-
Select the Review scores button next to the relevant script.
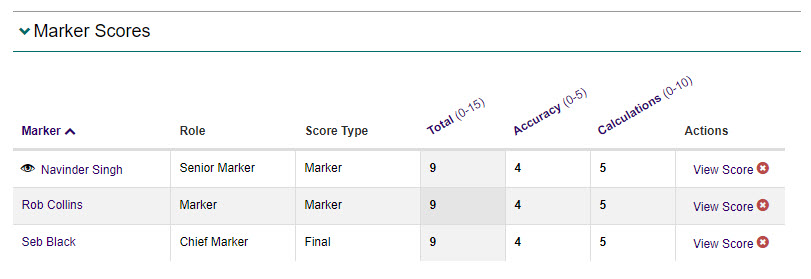
The Marker Scores section contains the marking progress for all Markers involved with the question.
Sample Marker scores in the main marking phase
Sampling is the process whereby Senior Markers view marked scores to ensure consistency and Marker accuracy.
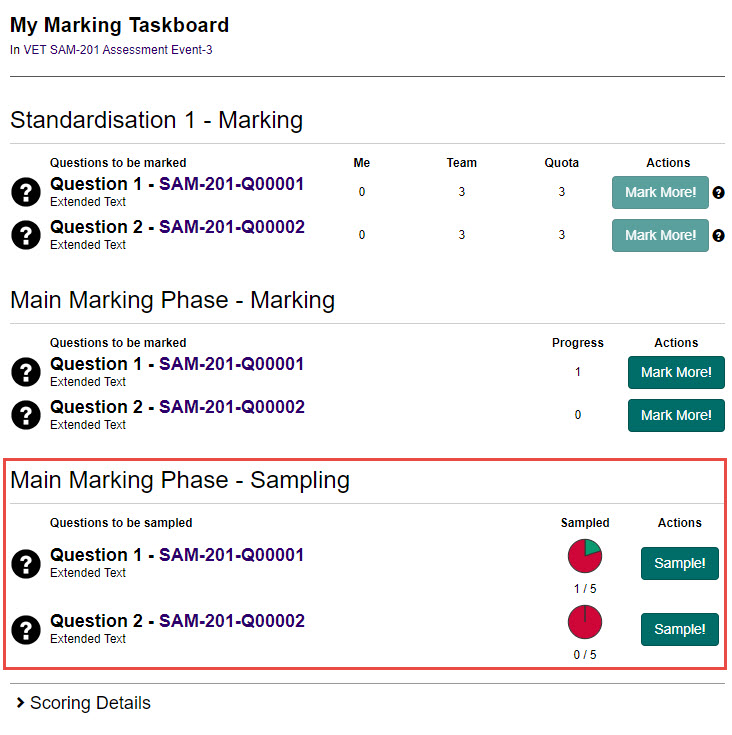
During the marking phase, a section called Main Marking Phase – Sampling displays on the My Marking Taskboard screen. This is where you can review marked responses to ensure consistency and Marker accuracy.
-
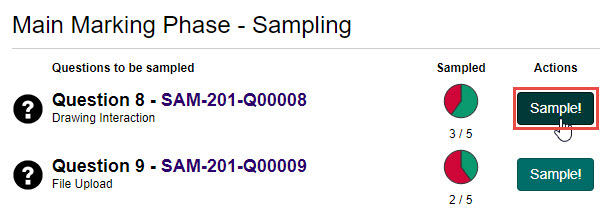
Select the Sample! button next to the question you'd like to sample.
-
Select the Agree button if you agree with the Marker's scores, or Disagree if you disagree with the Marker's score.
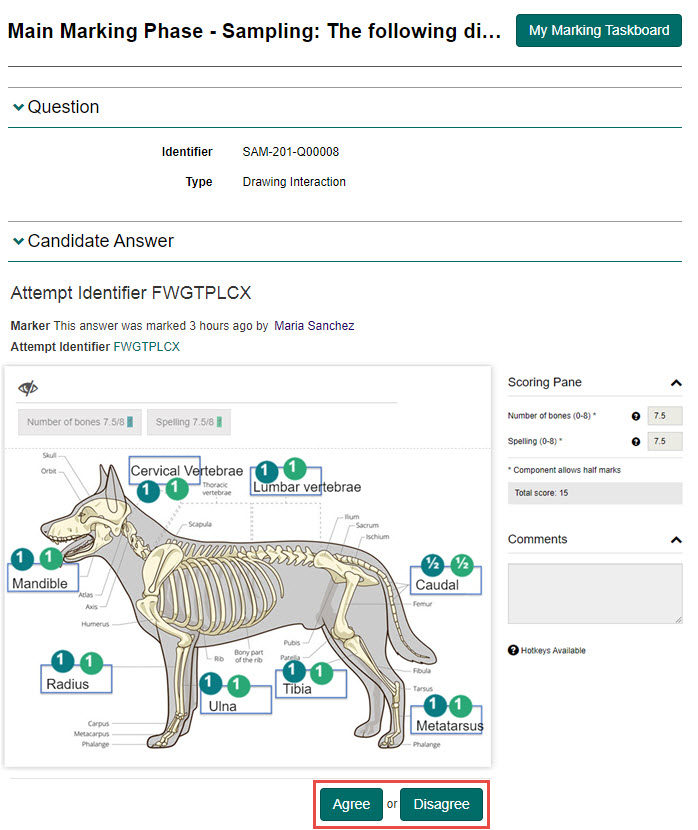
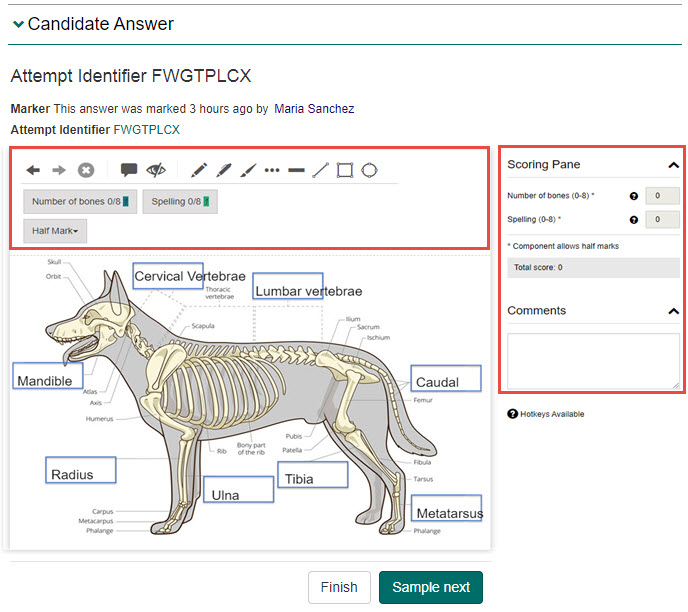
Selecting Disagree unlocks the marking features and allows you to annotate, enter new scores and comments as appropriate.
-
Once finished scoring and annotating, select the Finish or Sample next button.
-
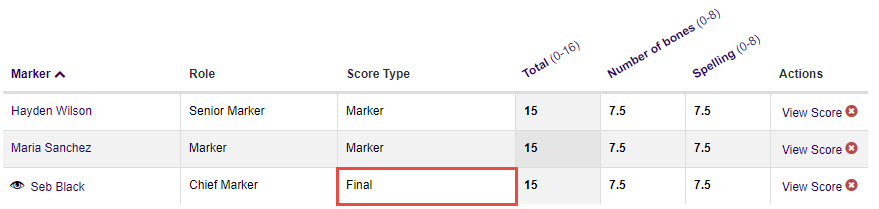
The marks assigned by the Senior Marker will have a 'Final' score type.
Marking output
Senior Markers can monitor the quality from the Marking Output section of the Marker Profile.
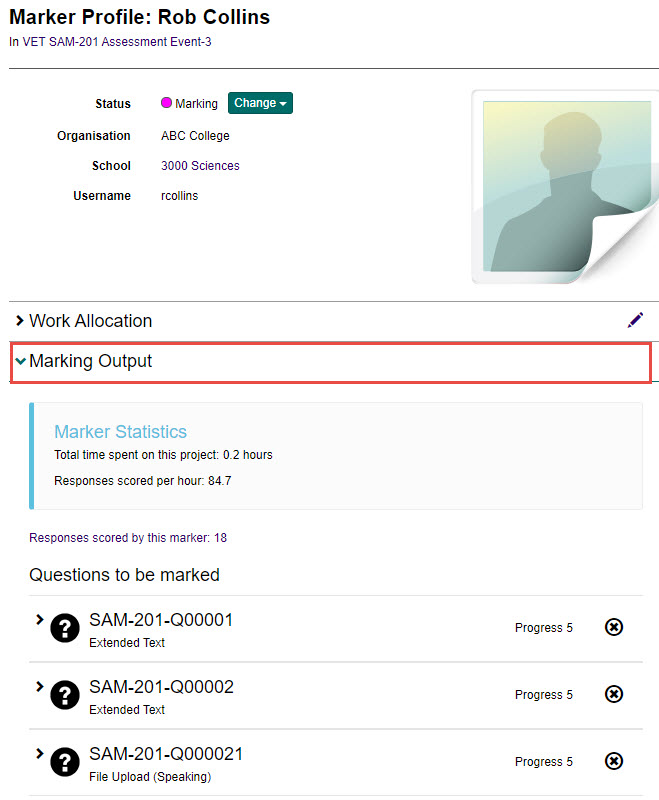
Drilling down into each question displays an expandable section for Marking Phase. From here you can see information on Monitoring, Double Marking, Sampling and Speed and output rating.
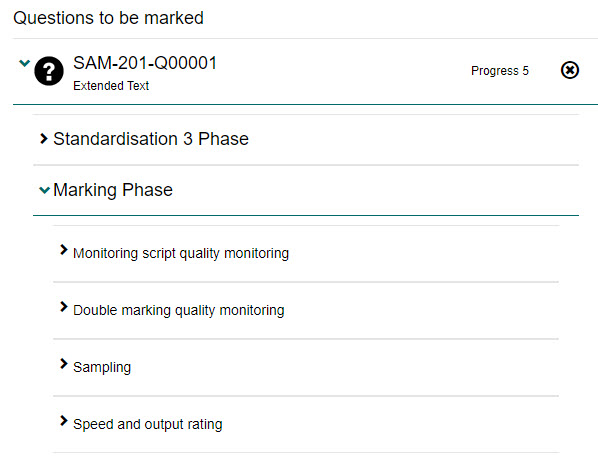
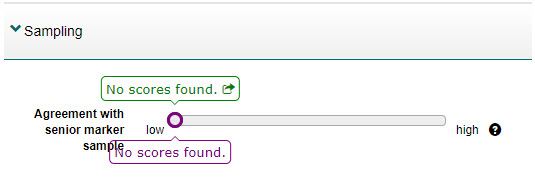
The Sampling expandable section shows the Agreement with senior marker sample. This quality rating indicates the percentage of time a Senior Marker's score (during sampling) is different to what the Marker originally scored.
Monitor Marker progress for BQM
Blind quality monitoring (BQM) is the technique of monitoring Marker consistency by randomly presenting a Marker with a candidate response that was standardised during S1, and then monitoring any error or discrepancy.
From the Marker Profile screen
When a Marker has marked BQM responses, you can view the results of their marking in the Marker Profile screen.
Tip
See the Monitor Marker progress in the main marking phase section for more information on how to access this.
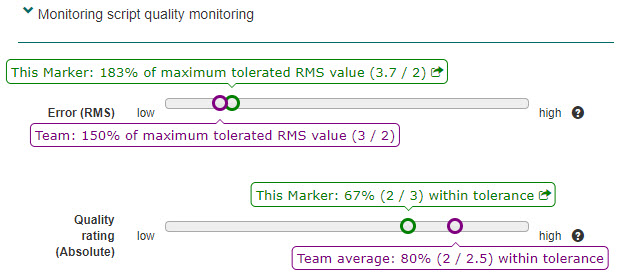
You can also view charts of a Marker's performance compared to the marking team in the Marking Output expandable section of the Marker Profile.
The Monitoring script quality monitoring expandable section shows two things:
- Error (RMS) — the root mean square value of the error between this Marker's score and the score for the same response in the monitoring script.
- Quality rating (Absolute) — the percentage of time this Marker's blind score of a monitoring script exceeded the tolerance.
From Scoring Details section
-
Scroll to the bottom of the My Marking Taskboard screen and select the Scoring Details expandable section.
-
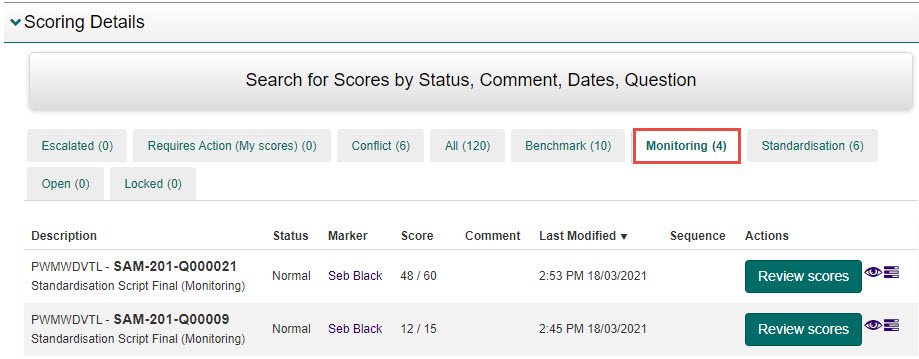
Select the Monitoring tab.
-
Select the Review scores button next to the relevant script.

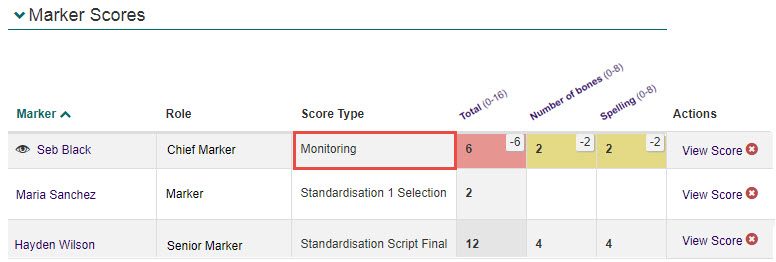
The Marker Scores section contains the marking progress for all Markers involved with the question. You can identify the monitoring scores in the Score Type column.
Monitor Marker training progress (S3)
Senior Markers can monitor Marker progress during S3 from a couple of places.
From the Marker Profile screen
When a Marker commences S3, a section appears in their profile which details the result of their training.
-
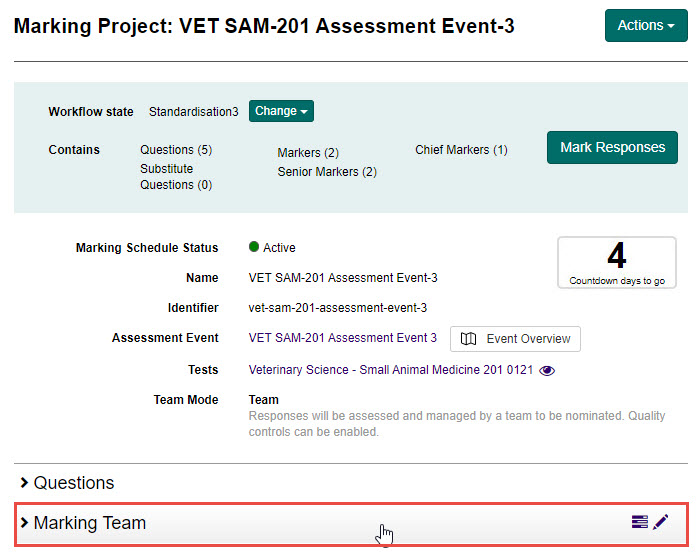
Select the Marking Team expandable section from the Marking Project screen.
-
Select the View Marker Profile icon in the Actions column for the appropriate Marker.

-
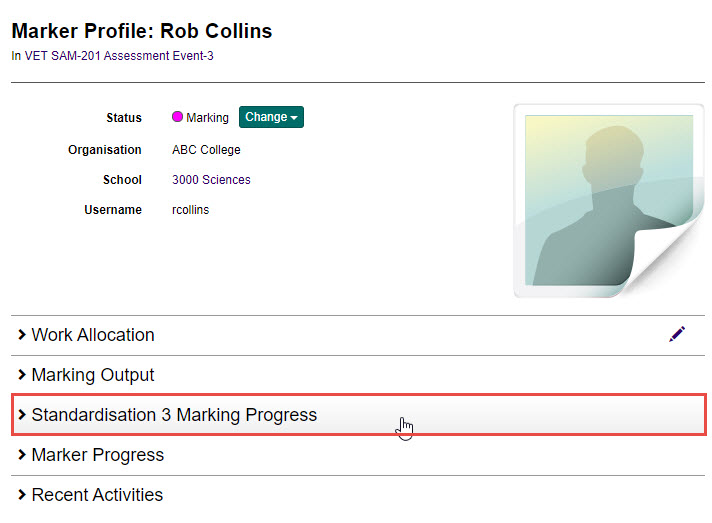
Select the Standardisation 3 Marking Progress expandable section.
The Legend expandable section provides a legend for the different icons used to indicate progress.
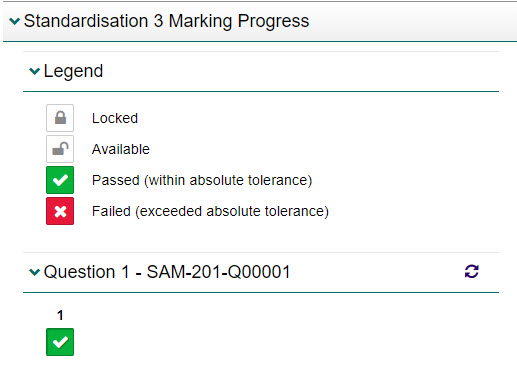
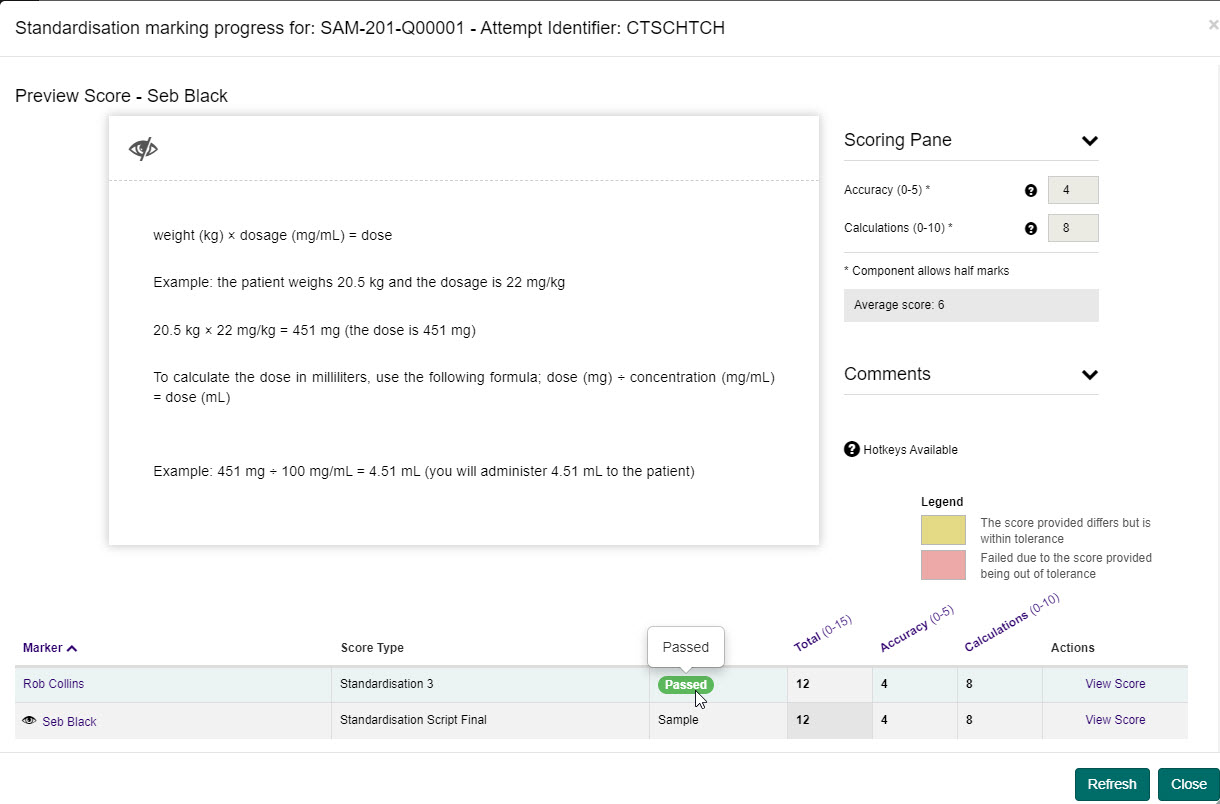
Selecting a Passed or Failed icon in a question opens the progress screen which provides more details.
From Scoring Details section
-
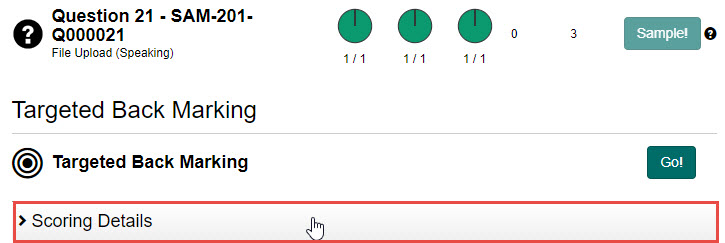
Scroll to the bottom of the My Marking Taskboard screen and select the Scoring Details expandable section.
-
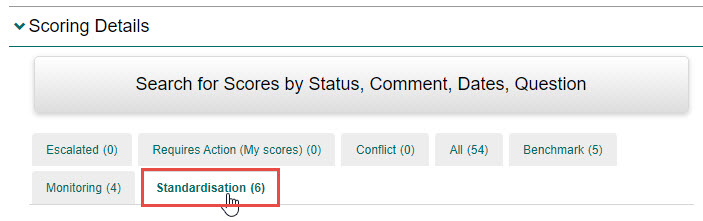
Select the Standardisation tab.
-
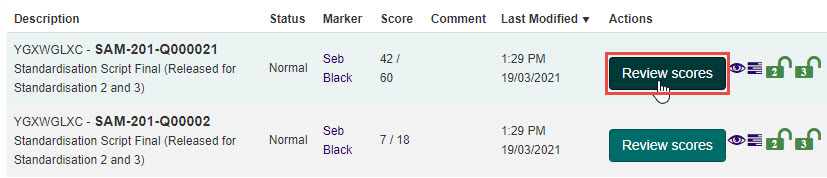
Select the Review scores button next to the relevant script.
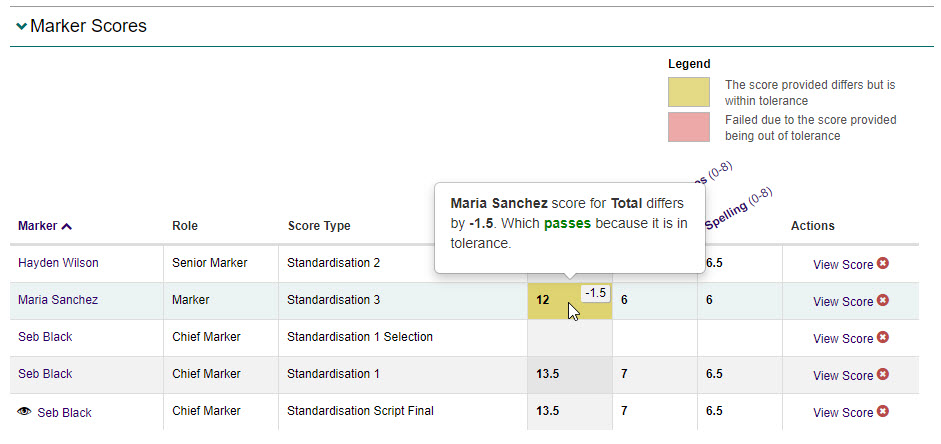
The Marker Scores section contains the marking progress for all Markers involved with the question. You can identify the S3 scores in the Score Type column. An information popup about the score will appear when hovering over a cell.
Monitor Marker progress for DM
When double marking (DM) is enabled in a marking project, more than one Marker scores a single candidate response. If the scores assigned by the different Markers fall out of the tolerance, a conflict occurs.
Review a conflict
-
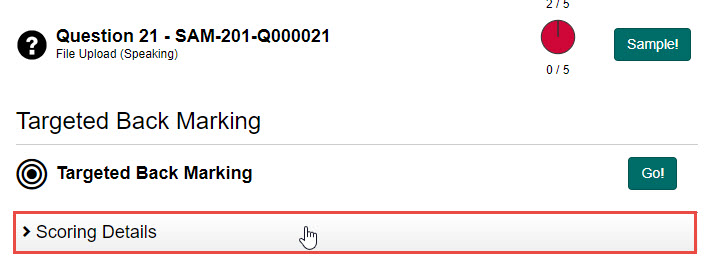
Scroll to the bottom of the My Marking Taskboard screen and select the Scoring Details expandable section.
-
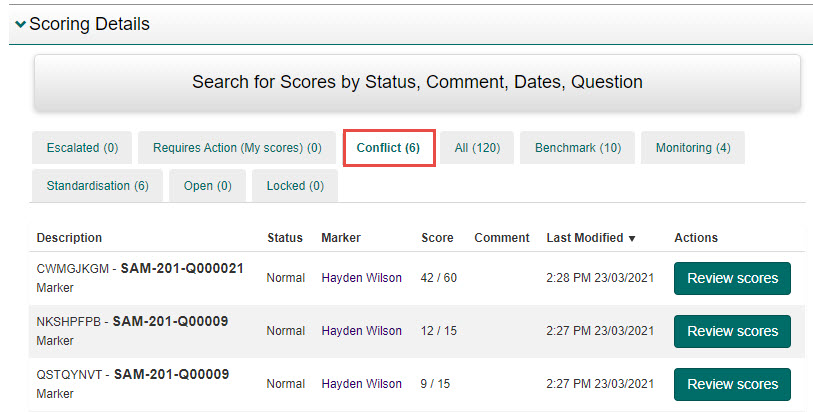
Select the Conflict tab.
-
Select the Review scores button next to the relevant script.

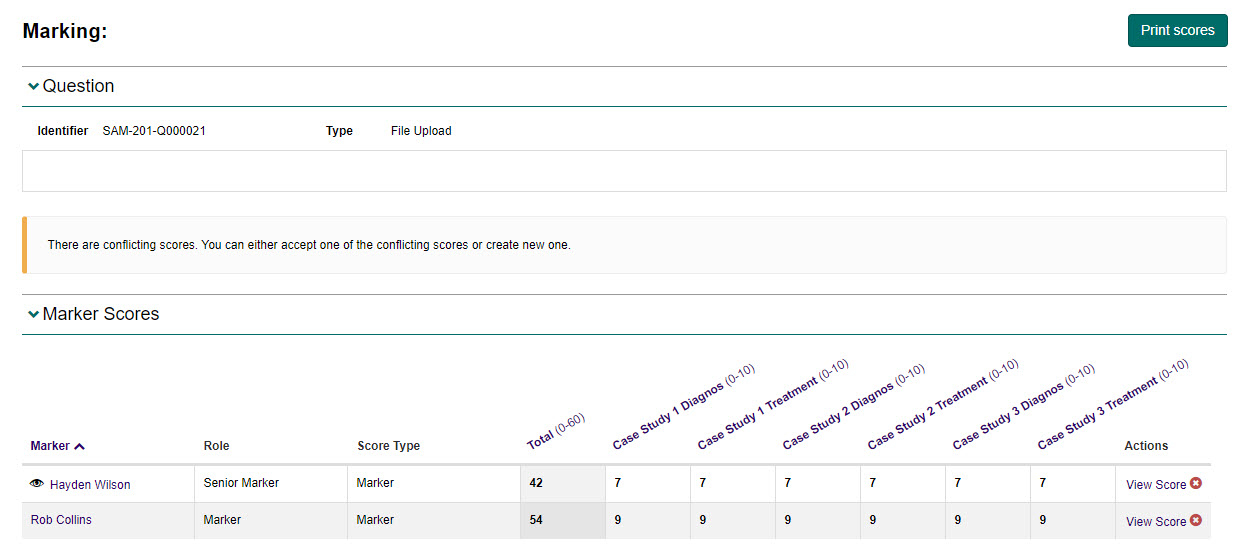
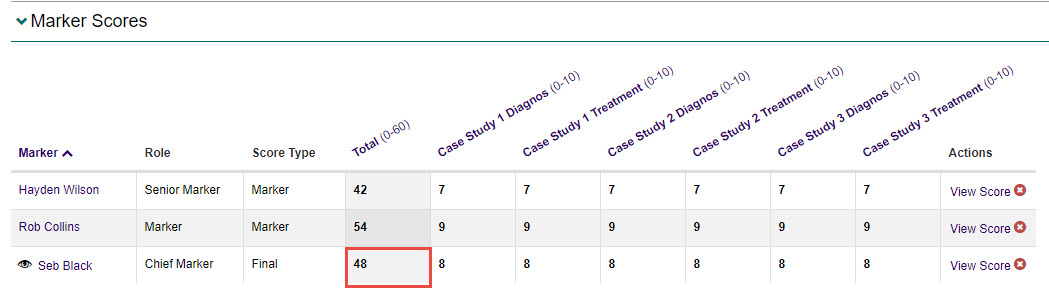
The Marking screen displays. The Marker Scores expandable section displays the different scores given by the Markers.
-
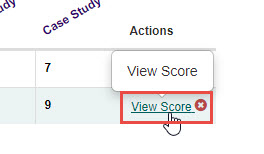
Select the View Score link in the Actions column next to one of the scores.
-
Select the appropriate button from the following options:
Option Description Add your Score Allows you to create your own score if you don't want to accept any of the ones already completed. Once selected, the annotation tools, scoring and comments become active. Accept Score Accepts the particular score you are reviewing. Accept Score and review another Accepts the particular score you are reviewing and moves to the next one for review. Accept Score and finish reviewing Accepts the particular score you are reviewing and finishes the review process. 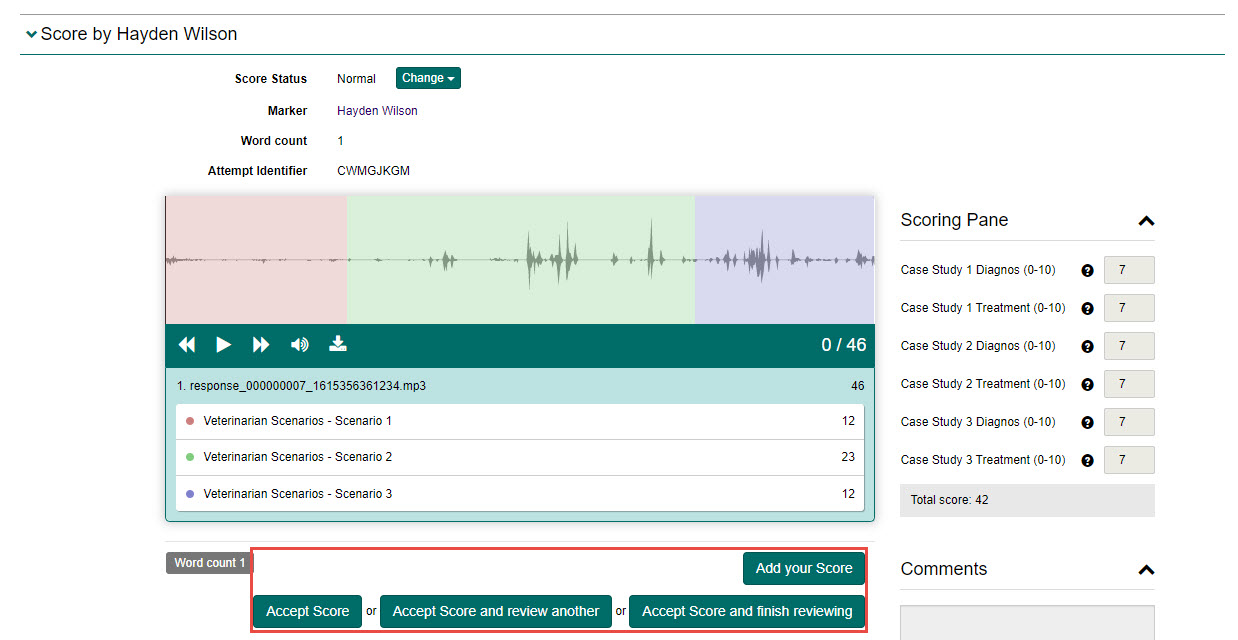
Tip
The score created at this point will become the new score for the candidate response and will be marked as 'Final' in the Score Type column.
Monitor from the Marker Profile
Senior Markers can monitor conflicts from the Marking Output section of the Marker Profile.
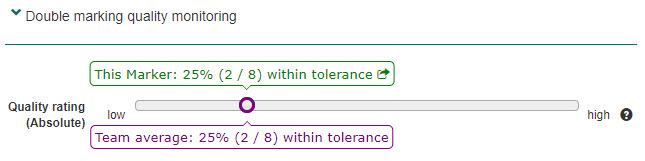
The Double marking quality monitoring expandable section displays the Quality Rating (Absolute) which is the percentage of times that this marker's score exceeded the double marking tolerance. It is useful to compare how often this happens on average within the team. Markers that disagree substantially more than the team average may require closer monitoring.