Targeted script allocation
Targeted script allocation allows you to temporarily focus the marking queue on a particular combination of questions and assessment events. Once Markers have exhausted the scripts available against these filters, they will receive a message that there are no more scripts to mark.
Important
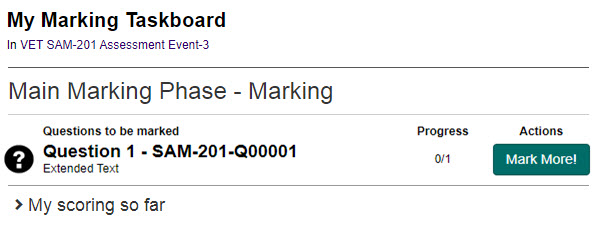
Targeted script allocation is only available if the current marking project has the Mark all questions as though they are one setting enabled. If this is enabled, Markers will not be able to select the questions they are marking — there will only be a Mark More! action for them, where the system will randomly allocate scripts to mark from any of the questions set in targeted script allocation.
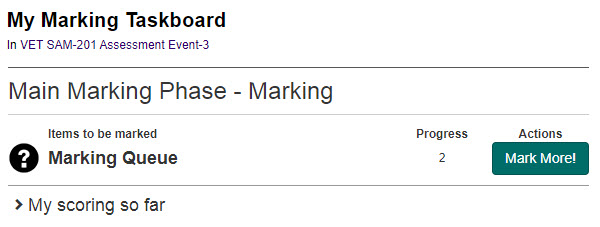
The following image shows this section when the setting is disabled.
Enable targeted script allocation
-
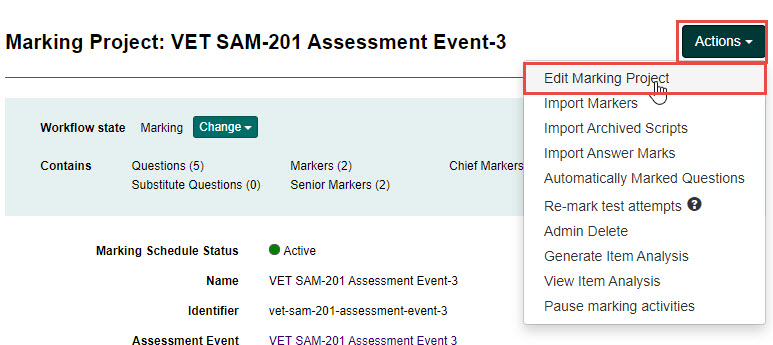
From the Marking Project screen, select Edit Marking Project from the Actions drop-down button.
-
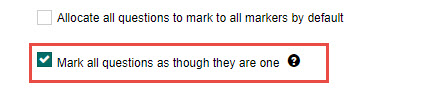
Select the Mark all questions as though they are one checkbox.
-
Select the Save Marking Project button to save your changes. Once targeted script allocation has been enabled, you will have access to the Targeted Script Allocation section of the Marking Project screen.
-
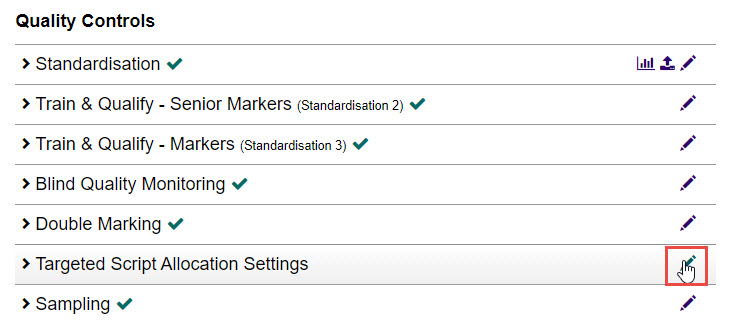
Select the Edit icon next to the Targeted Script Allocation Settings expandable section.
-
Complete the following:
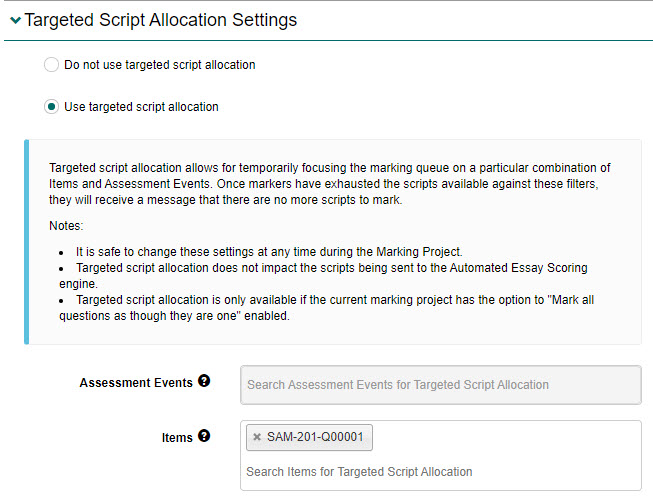
- Select the Use targeted script allocation option. Additional options will display.
- Review the notes.
-
Select one or more assessment events in the Assessment Events field.
Tip
Assessment events can only be selected if there is more than one assigned to the marking project.
-
Select one or more questions in the Items field.
-
Select the Save button to save your changes.