Announcements
Use Announcements to send targeted messages to your users and groups. You can email an announcement, post an on-screen sticky note, save reusable templates, and review what you've sent.
Manage announcements
Go to Manage People > Announcements.
You can also open announcements directly by adding /organisation/announcement/index to the end of your site URL — for example, https://yoursiteurl/organisation/announcement/index.
Tokens
Tokens are placeholders in your announcement text that are automatically replaced with real values when the announcement is sent. Use them to add dynamic content such as personalised user information or authentication links. In the example below, the token User.GivenName personalises the message by inserting the user's first name.
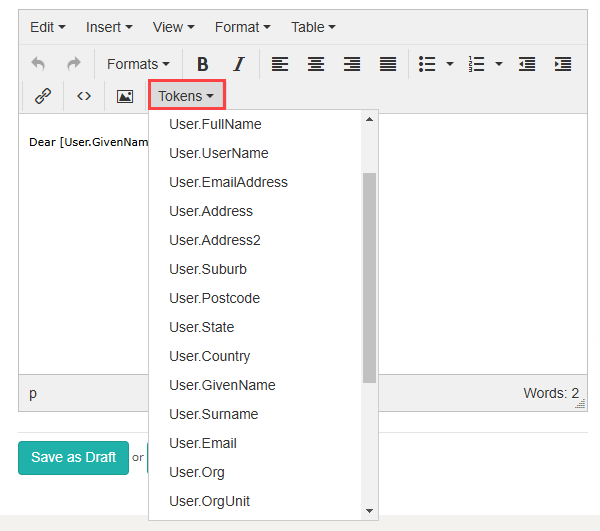
Most tokens are straightforward. For example, User.Surname inserts the user's last name. A few tokens need further explanation:
Links.AuthActionLink generates a clickable password reset link, using customisable text (by default, Complete the registration process). You can change this text through string resources.
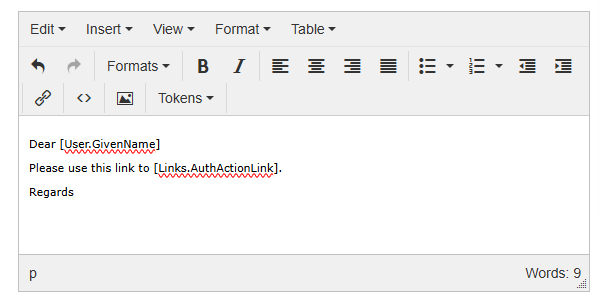
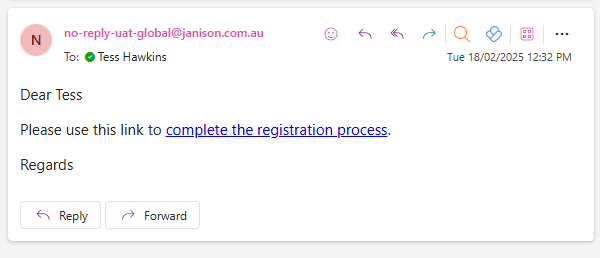
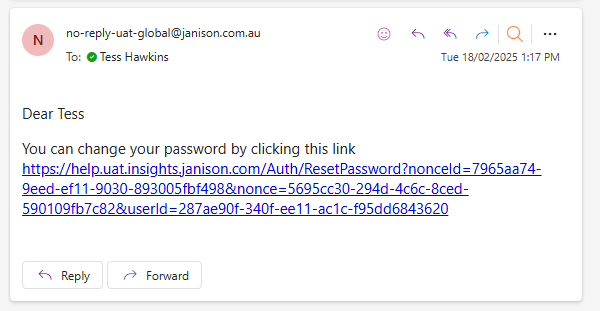
An announcement like this appears in the user's inbox, as shown in the email below.
LinkToken and Link insert the password reset URL directly into the announcement body, without wrapping it in clickable text. Use these when you want the raw link to appear, rather than the worded link that Links.AuthActionLink produces.
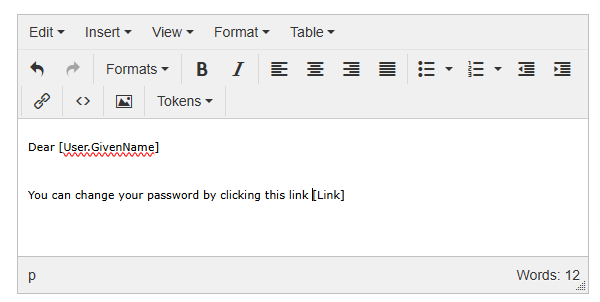
An announcement like this appears in the user's inbox, as shown in the email below.
Create an announcement
Follow these steps to create an announcement from scratch.
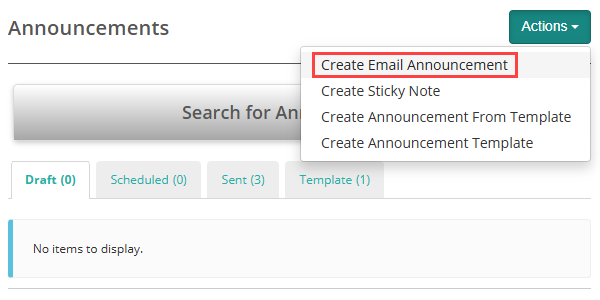
From the Actions dropdown, select Create Email Announcement.
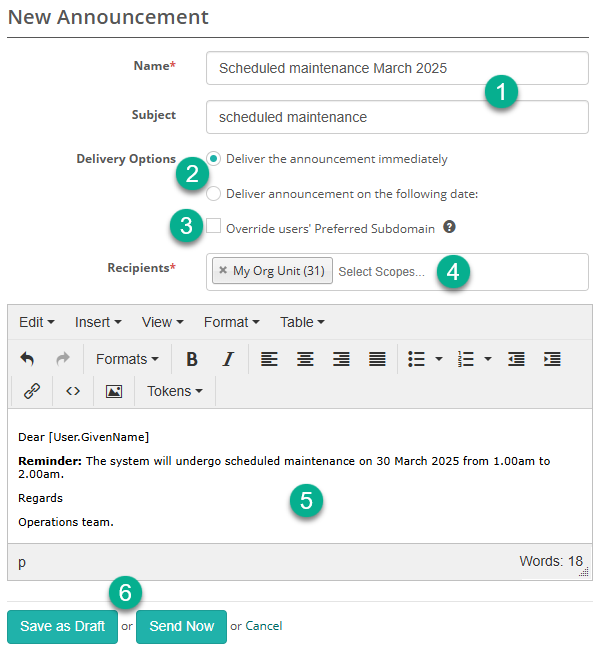
Below is an example of a completed form.
- Enter a Name and Subject.
-
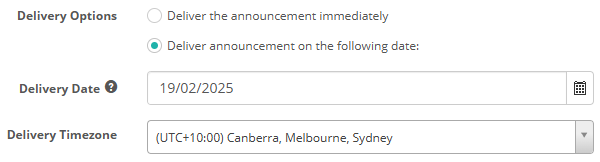
Select a Delivery Options value. You can choose to deliver the message immediately or set a specific delivery date and time zone.
-
If you check Override users' Preferred Subdomain, links direct users to the subdomain where you created the announcement.
- Select the Recipients for the announcement. This could be individual users, organisations, organisation units or groups of users.
- Enter the announcement text.
-
Select Save as Draft to continue working on the announcement later, or Send Now to send it immediately or schedule it for a future delivery.
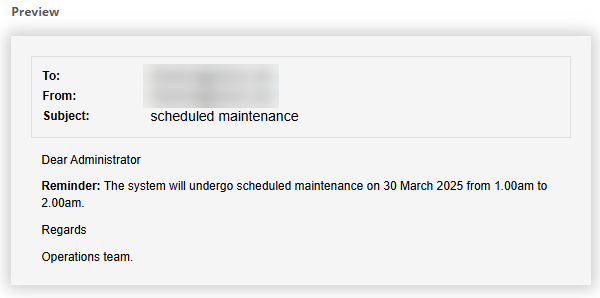
A preview appears to the right of the form.
Create an announcement from the user list
You can also send announcements directly from the Users list screen.
Go to Manage People > Users.
The Users screen displays.
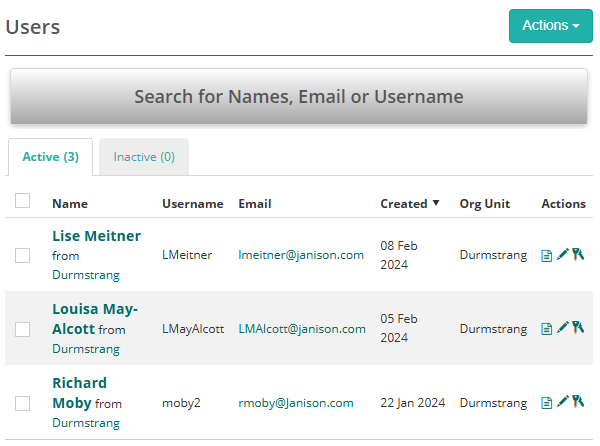
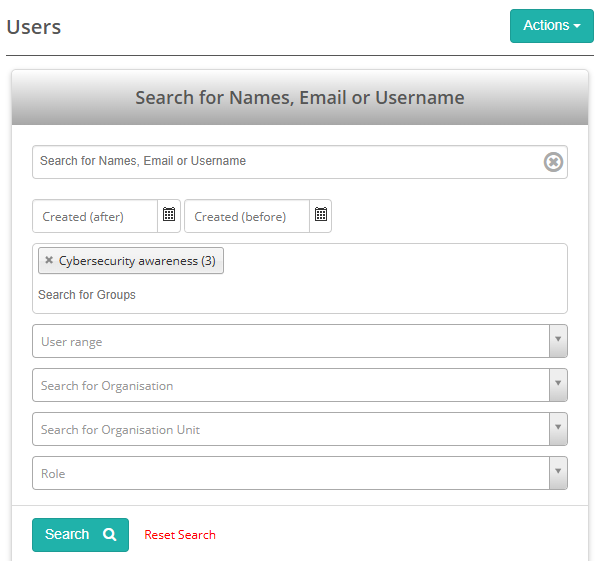
Use the Search tool to find the users you need.
Use the checkboxes in the left column to select users. To select all users on the page, check the topmost checkbox.
Select Bulk Email Users.
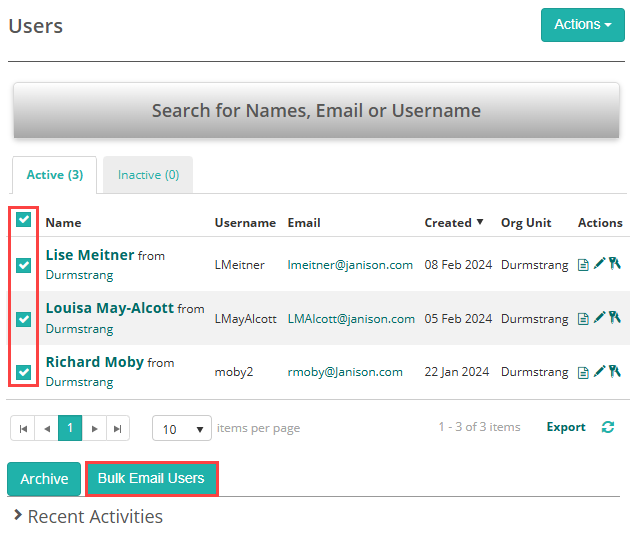
The bulk email screen displays.
Select a template and select Create Announcement.
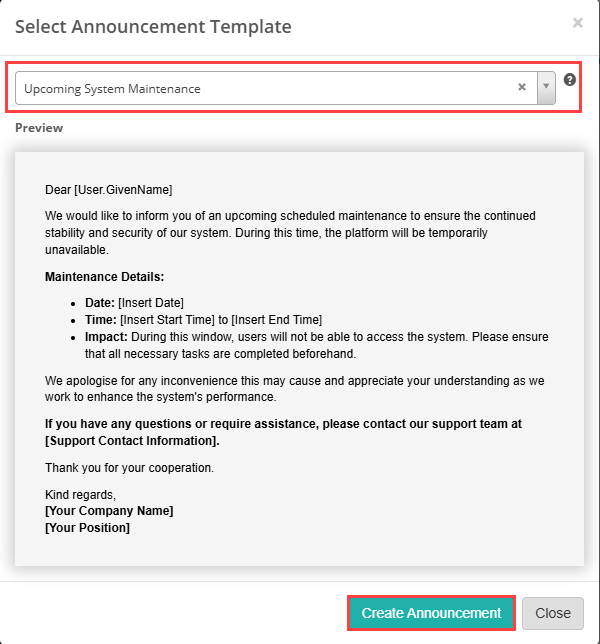
The New Announcement screen displays.
The steps from this point onward are identical to those for creating an announcement, as outlined above.
Create a sticky note
A sticky note is a digital message or reminder that stays visible on the screen. Use it to highlight important information, announcements, or tips you want users to see.
Sticky notes stay in place until the user dismisses them or you remove them. Keep your message brief — a sticky note can hold up to 300 characters.
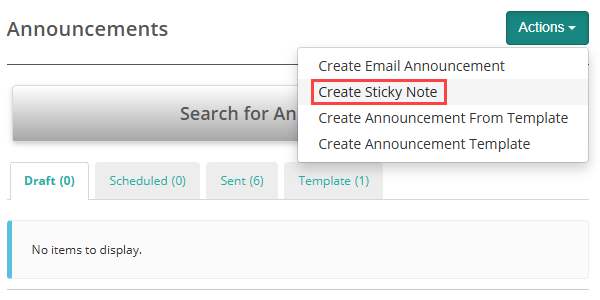
From the Actions dropdown, select Create Sticky Note.
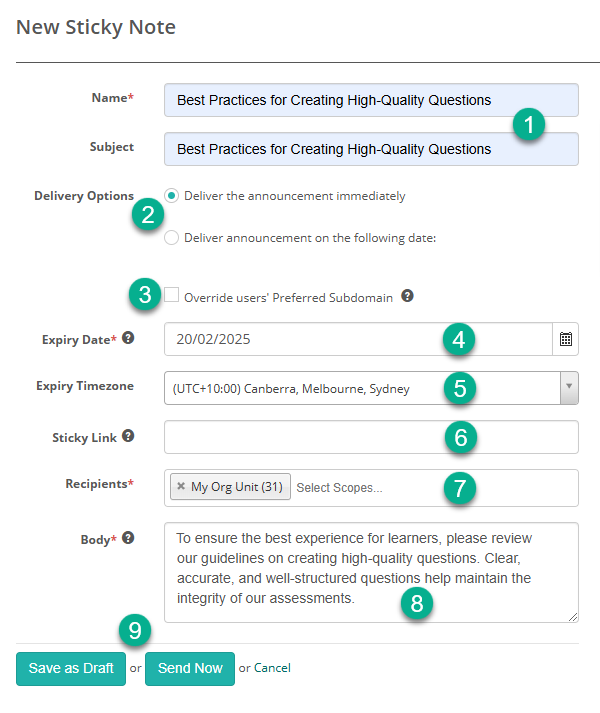
The New Sticky Note screen displays.
- Enter the Name and Subject.
-
Select one of the Delivery Options. You can choose to deliver the message immediately or set a specific Delivery Date and Delivery Timezone.
-
If you check Override users' Preferred Subdomain, links direct users to the subdomain where you created the announcement.
- Set the Expiry Date. A sticky note can stay active for no more than seven days from its delivery date. The note displays for the whole of the expiry date and disappears at midnight at the start of the following day, in the Expiry Timezone you choose. For example, set the expiry date to the 28th and the note shows all through the 28th, then disappears as the 29th begins. The note's expiry is rechecked whenever the sticky note list refreshes, so it can linger for a few minutes past midnight before it clears.
- Select the Expiry Timezone.
- The Sticky Link field lets you optionally provide a URL for users to select to access more information about the announcement.
- Select the Recipients for the announcement. This could be individual users, organisations, organisation units or groups of users.
- Enter a short message of up to 300 characters.
-
Select Save as Draft to continue editing the announcement later, or Send Now to send it immediately or schedule it for future delivery.
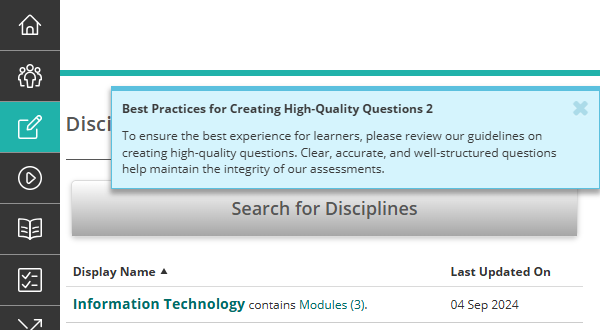
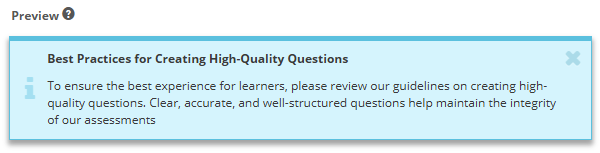
A preview shows you how the announcement will appear to users. Users can close the sticky note by selecting the X in the top right corner.
Use a template to create an announcement
Using a template to create an announcement streamlines the process by reusing pre-written content.
Select Actions > Create Announcement From Template.
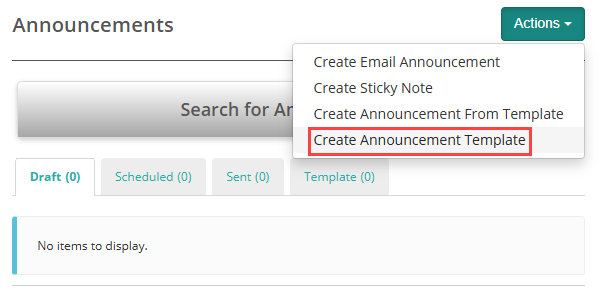
The Select Announcement Template screen displays.
Select the template you want.
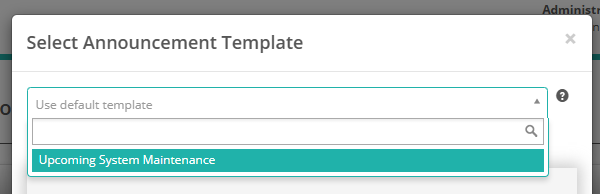
The announcement displays in the body as a Preview.
Select Create Announcement.
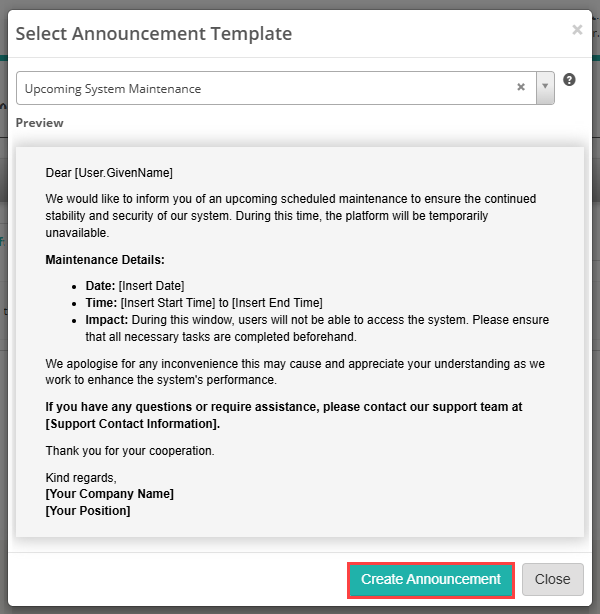
The New Announcement screen appears, allowing you to modify the announcement as needed.
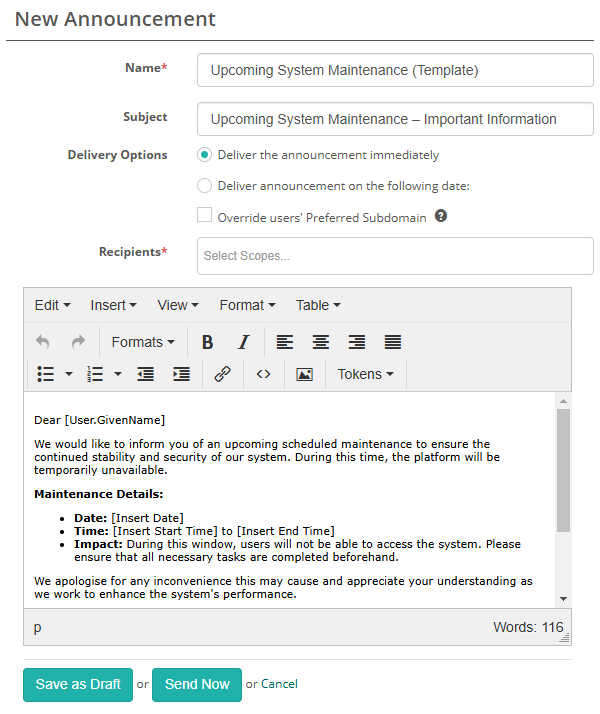
Create an announcement template
Templates save time and keep your messaging consistent by reusing pre-approved content.
Select Actions > Create Announcement Template.
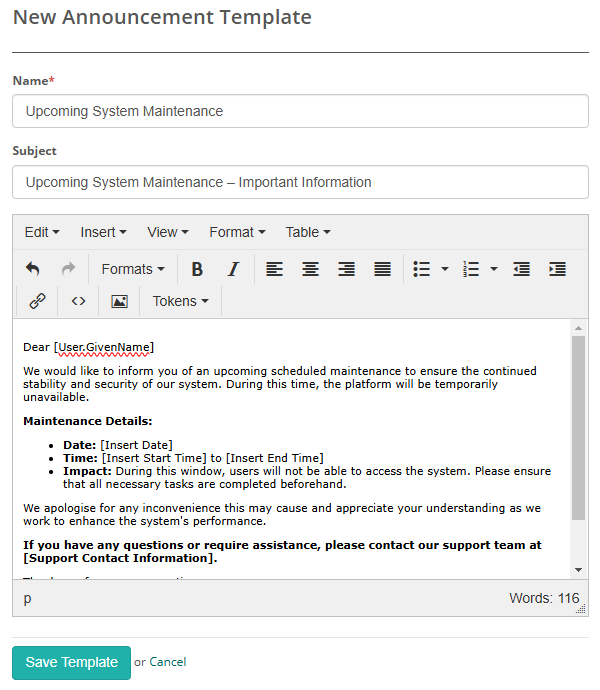
Enter the Name, Subject, and Template Body for your announcement.
Select Save Template to finalise the creation.
Refer to the example in the screenshot below.
View announcements and templates
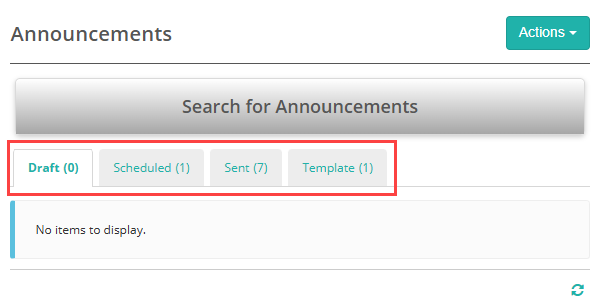
Use the filter tabs to find the announcements you need:
- Draft — announcements you've started and saved, but not yet sent or scheduled.
- Scheduled — announcements set for a future delivery date that haven't been sent yet.
- Sent — announcements that have already been delivered.
- Template — reusable templates you've saved to create future announcements from.
Settings
No tenant-level or feature-specific settings control how Announcements behaves — the feature is available to administrators by default.
The one customisable element is the link text generated by the Links.AuthActionLink token (by default, Complete the registration process). Administrators can change this text through string resources.