Marking team
The Marking Team section is where you add markers and define their roles and seniority within the project.
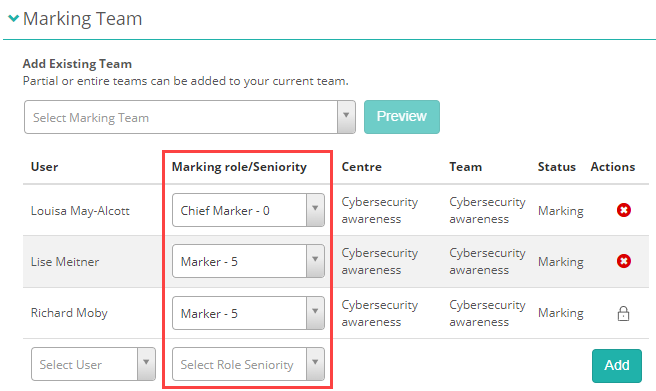
Marking roles and seniority
A marking team has two default roles:
- Markers — assess test-taker responses.
- Chief Markers — mark responses, manage escalations raised by other markers, and pre-mark seed scripts.
Seed scripts are test-taker responses pre-marked by chief markers before live marking begins. They're distributed into markers' queues to verify that marking is consistent with the standard the chief markers have set.
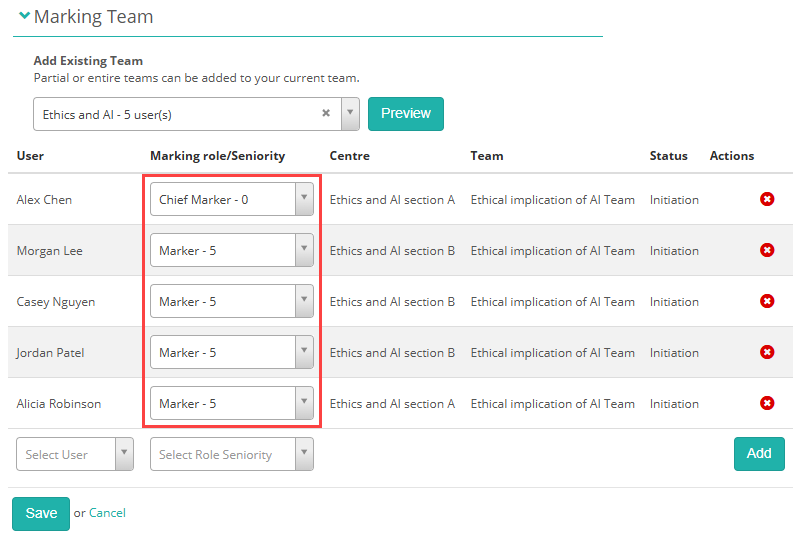
Roles and seniority are set in the Marking role/Seniority column.
Info
Insights supports complex marker structures with up to eight levels of seniority. Contact your Janison account manager for details.
Add markers to the project
You can add multiple markers at once using groups, or add individual markers one at a time.
Add a marking team using groups
Before you begin, make sure a Marking Team group has been created in Manage People > Groups and the required markers have been added to it.
-
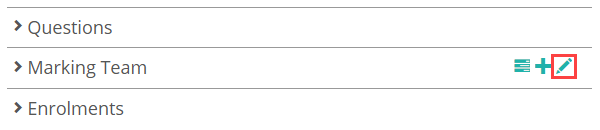
In the Marking Team section, select the pencil icon.
-
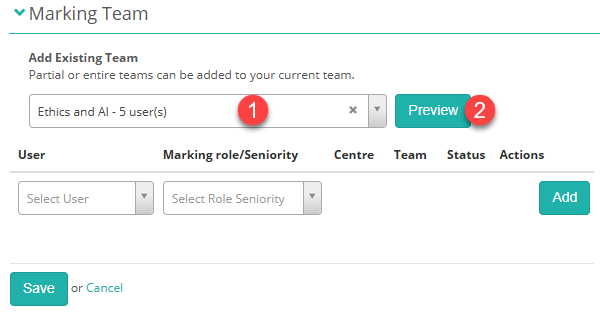
Select the marking team from the dropdown, then select Preview.
-
In the preview modal, select the markers you want to add, then select Add to project.
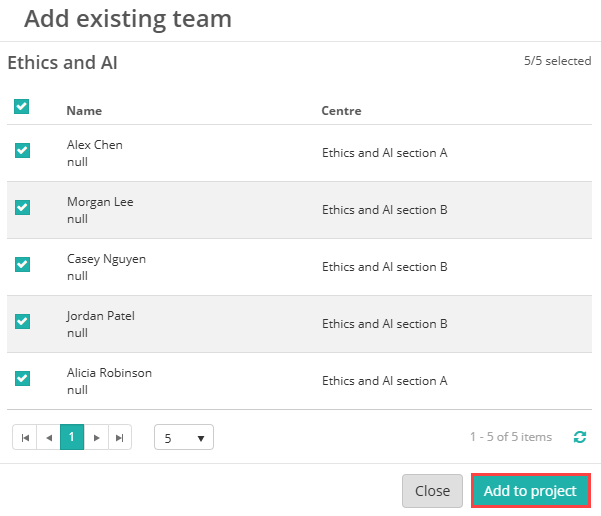
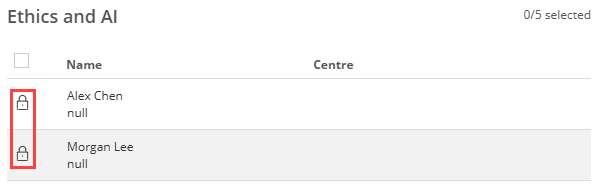
Markers already in the project appear locked and cannot be selected again.
-
The selected markers appear in the list. Assign their Marking Role/Seniority as needed.
Add individual markers
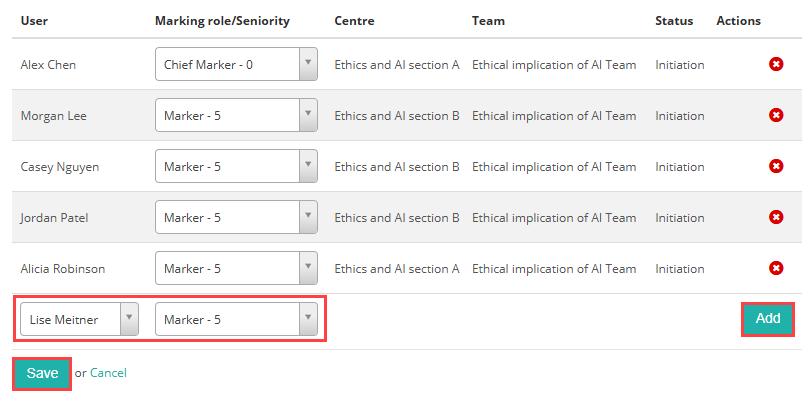
- From the Select User dropdown, choose the marker.
- Select their Marking Role/Seniority.
- Select Add.
-
Select Save when finished.
Allocate items to markers
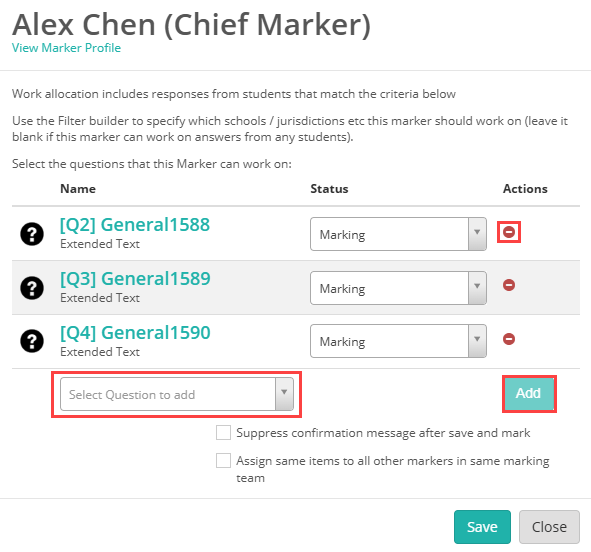
When you add markers, they're automatically assigned all questions from the linked assessment events. You can change this at any time.
-
Select the work allocation icon next to the marker.


-
To remove an item, select the – icon next to it.
-
To add an item, choose a question from the Select Question to add dropdown, then select Add.
-
Select Save to close the modal.
The Work Allocation Summary page, accessed from the icon in the Marking Team section, shows all markers and the questions assigned to each one.

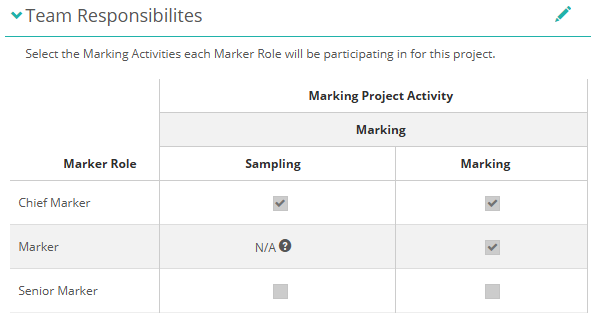
Team responsibilities
This section controls which marking activities each role can perform.
For a straightforward project with just markers and chief markers, the defaults are usually fine. If your project includes extra roles such as Senior Markers, use this area to configure who can assign seed scripts or handle other quality control steps.