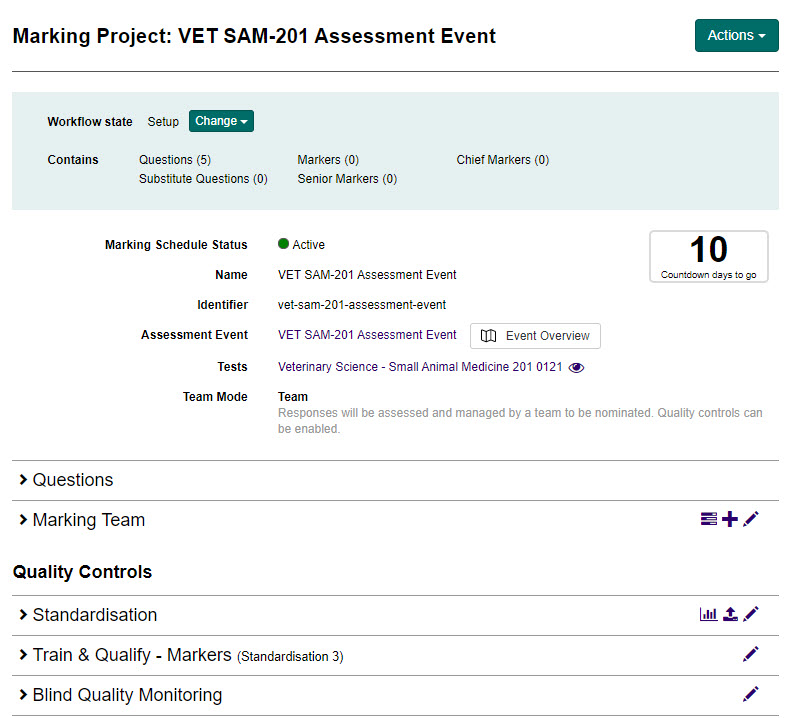
Create marking project
Marking projects manage all aspects of marking candidate responses. You can create them manually or have them created automatically when an assessment event is progressed.
Tip
If auto-creation is enabled in Settings, a marking project is created automatically when an assessment event is progressed to delivery or closed. You can skip manual creation in that case.
Manually create a marking project
Users with the Chief Marker system role can create marking projects manually.
Via the Marking Projects screen
-
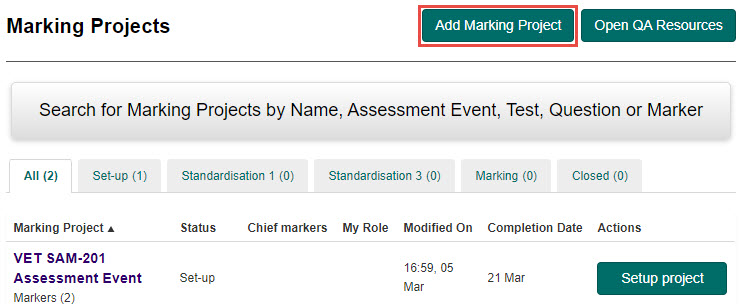
Go to Marking > Marking Projects.
-
Select Add Marking Project.
-
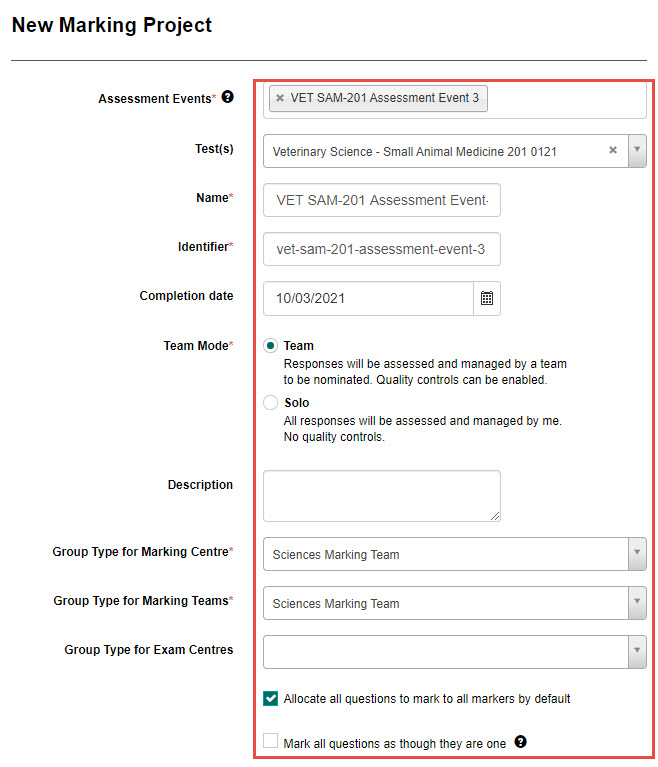
Complete the form:
- Select one or more assessment events from the dropdown.
- Select a test (optional).
- Enter a project name — the identifier auto-populates.
- Set a completion date — this drives the countdown timer markers see.
- Choose a Team Mode.
- Add a description (optional).
- Select a group type for the marking centre (optional).
-
Enable optional checkboxes as needed:
- Allocate all items to all markers by default — automatically assigns all assessment questions to every marker added to the project.
- Mark all questions as one — pools responses for random allocation across markers.
-
Select Save Marking Project.
Via an assessment event
- Go to Deliver > Assessment Events and open the relevant event.
-
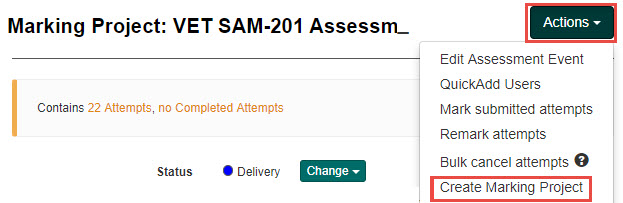
Select Create Marking Project from the Actions dropdown.
Find a marking project
-
Go to Marking > Marking Projects.
-
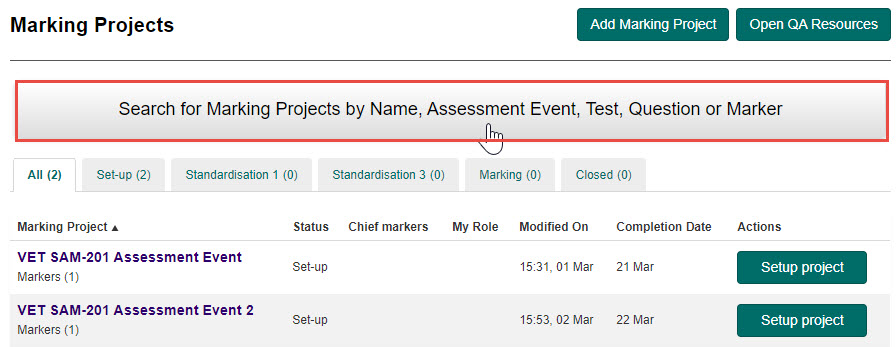
Use the search field or browse the list.
-
Select the project name or the Setup project button to open it.