Assessment packages
The default process when creating an assessment event is to link it to one specific test. However, there is another option.
An assessment package is a group of components which contains a number of test versions. Each test contains one or more clusters of questions. Assessment packages are used when you want to build an assessment event which will enrol candidates at random from a selection of available tests or if you want to have multiple tests in one sitting.
Tip
To use assessment packages, there is a setting to link assessment events to assessment packages rather than a test. If this is enabled, after creating a test, you will need to create the assessment package, create the test components and link these to the assessment package and then move into creating the assessment event.
Enable assessment packages
Assessment packages can be enabled by navigating to Settings > Assessment Event Settings > Event Settings.
Important
Only Administrators will have access to these settings.
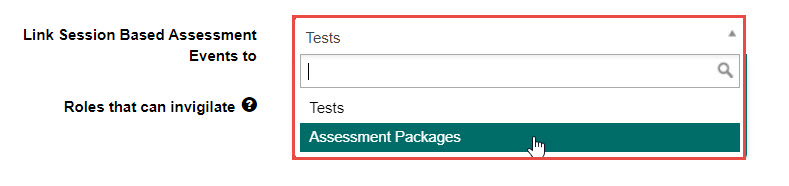
Find the setting Link Session Based Assessment Events to then select Assessment Packages from the drop-down field.
Select the Save Assessment Event Settings button to save your changes.
Create an assessment package
To create a new assessment package:
-
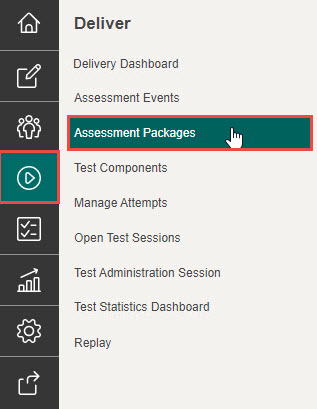
Select Deliver in the Menu, then select Assessment Packages.
-
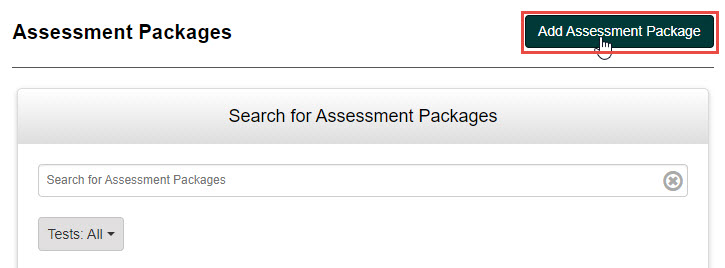
Select the Add Assessment Package button.
-
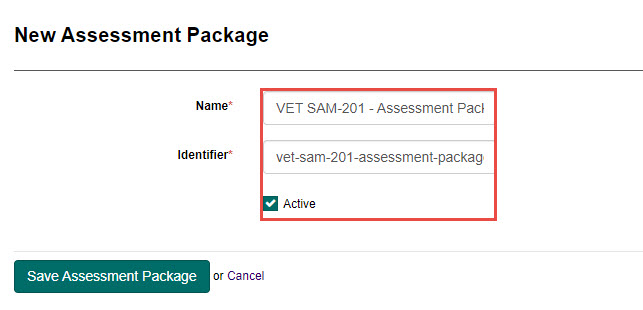
Complete the following:
- Enter a name for the assessment package in the Name field.
- As you type the name, the Identifier field will automatically populate. You can leave this as is, or edit to one of your choosing.
- Ensure the Active checkbox is checked for the assessment package to be active.
-
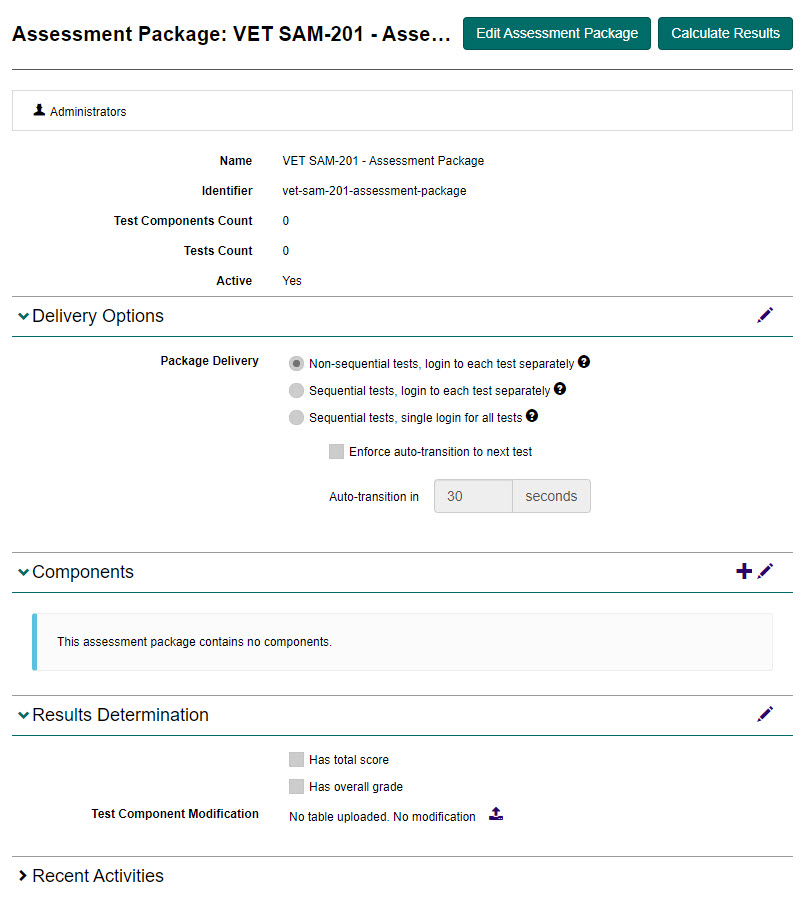
Select the Save Assessment Package button to save. The Assessment Package screen will display with additional options and settings around delivery, components and results.
Delivery options
This section allows you to determine how tests will be delivered to candidates.
To edit the settings:
-
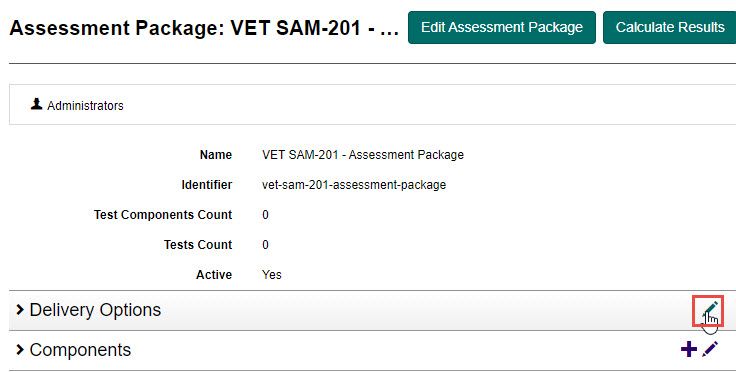
Select the Edit icon next to the Delivery Options expandable section.
-
Select an option from the Package Delivery options as follows:
Option Description Non-sequential tests, login to each test separately This allows tests to be taken in any order by the candidate. The candidate must log in to each test separately with their unique code for that test. Sequential tests, login to each test separately This allows the candidates to take the tests in a specified order. The candidate must log in to each test separately with their unique code for that test. Sequential tests, single login for all tests This allows students to take the tests in a specified order. The candidate will only require a single login code which will take them to the first uncompleted test in the sequence. If selected, additional options are available to allow you to automatically move the student to the next test after a short period of time. 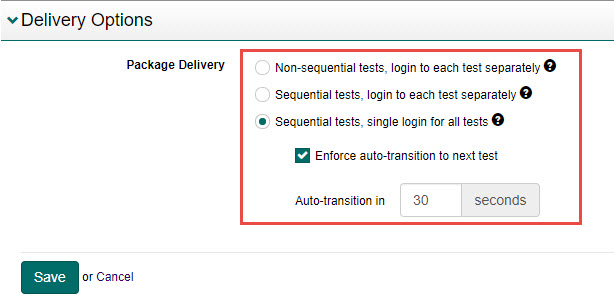
-
Select the Save button to save your changes.
Components
This section allows you to add new or existing test components.
Important
An assessment package must have one or more test components to be able to create an assessment event.
Add a new test component
-
Select the Add Components icon next to the Components expandable section.
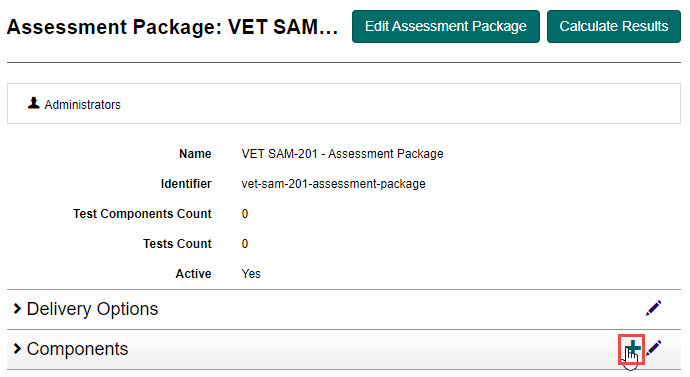
This displays the New Test Component screen.
-
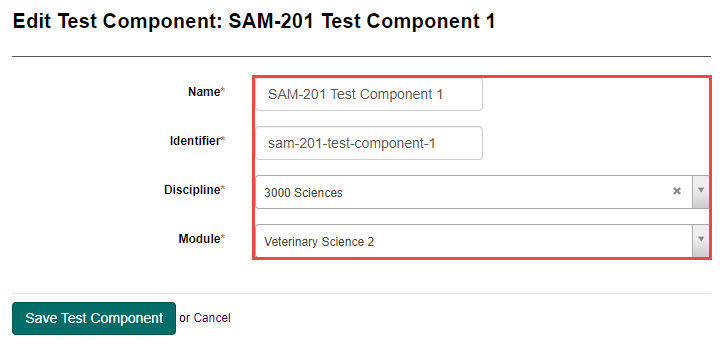
Complete the following:
- Enter a name for the test component in the Name field.
- As you type the name, the Identifier field will automatically populate. You can leave this as is, or edit to one of your choosing.
- Select a discipline from the Discipline drop-down field.
- Select a module from the Module drop-down field.
-
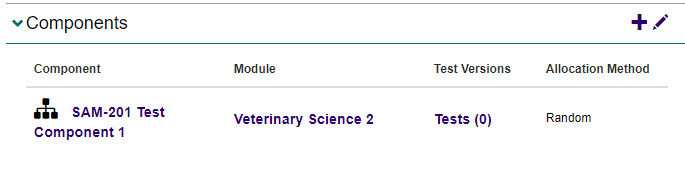
Select the Save Test Component button to save your changes. The test component now displays under the Components expandable section.
Add an existing test component
-
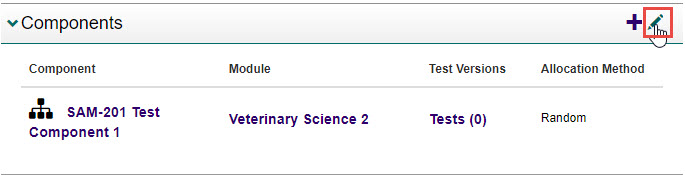
Select the Edit icon next to the Components expandable section.
-
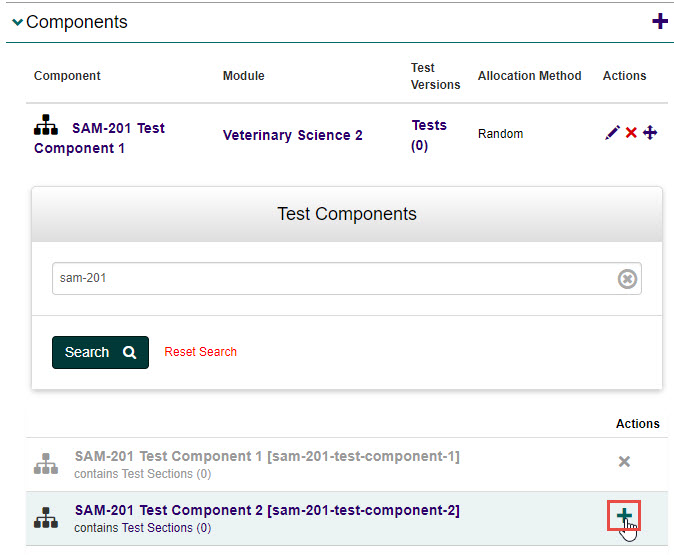
Use the search functionality to search for the test component, or locate it in the list, then select the + icon to add the test component.
Tip
Any test components already added will be unable to be selected (and will appear inactive).
Selecting the X icon in the Actions column removes the test component from the assessment package.
-
Select the Save button to save your changes.
Results determination
This section allows you to identify how results should be determined, either by a total score for the tests, or an overall grade. This setting is optional.
To edit this:
-
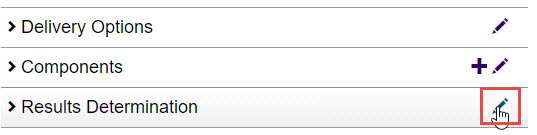
Select the Edit icon next to the Results Determination expandable section.
-
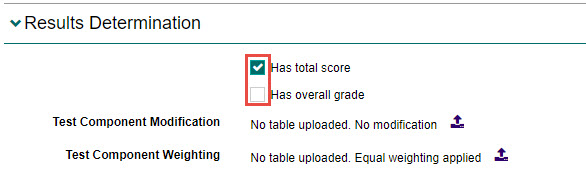
Select an option, either total score or overall grade.
-
Select the Import Test Component Weighting icons to download a template, make your edits to the template and then import it with your data.

-
Select the Save button to save your changes.
Search for an assessment package
To search for an existing assessment package:
-
Select Deliver in the Menu, then select Assessment Packages.
-
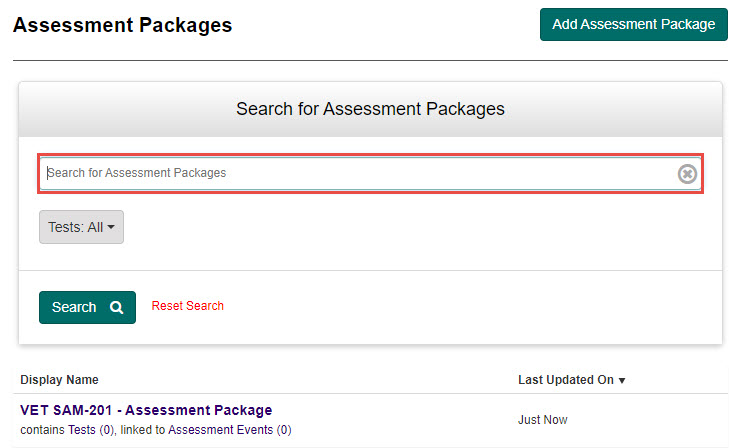
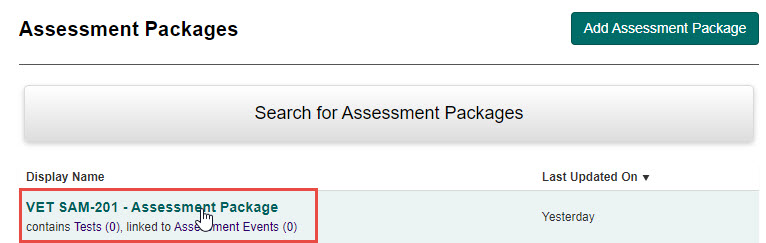
Select the Search for Assessment Packages expandable section to search, or locate the assessment package from the list.
Edit an assessment package
To edit an existing assessment package:
-
Search for an assessment package as previously covered in the Search for an assessment package section.
-
Select the assessment package to open it.
-
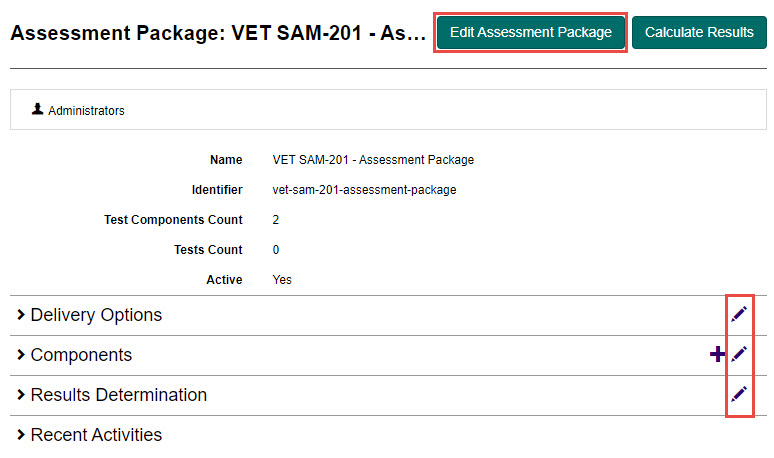
Select the Edit Assessment Package button to edit the Name or Identifier (optional) or select the Edit icons next to any of the expandable section to edit these items.
-
Select the Save button to save your changes.
Link assessment package to assessment event
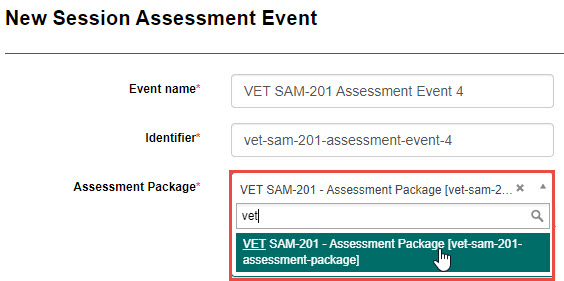
When adding an assessment event while assessment packages are enabled, the process will differ slightly from that in the Create an assessment event section.
You will need to select the assessment package from the Assessment Package drop-down field.